Publishing a Lovable Project and Connecting a Custom Domain
This is a hands-on, step-by-step guide to taking a Lovable project from "built" to "live on the internet with your own domain." Everything below is written so you can follow along directly from this post — no need to watch the video unless you want to.
A quick concept first: how does a website actually go live? A URL is just an address — the digital equivalent of a street address. Your site has to be hosted somewhere (a server it physically lives on), and publishing a project is what makes that address publicly reachable instead of only visible to you inside the editor.
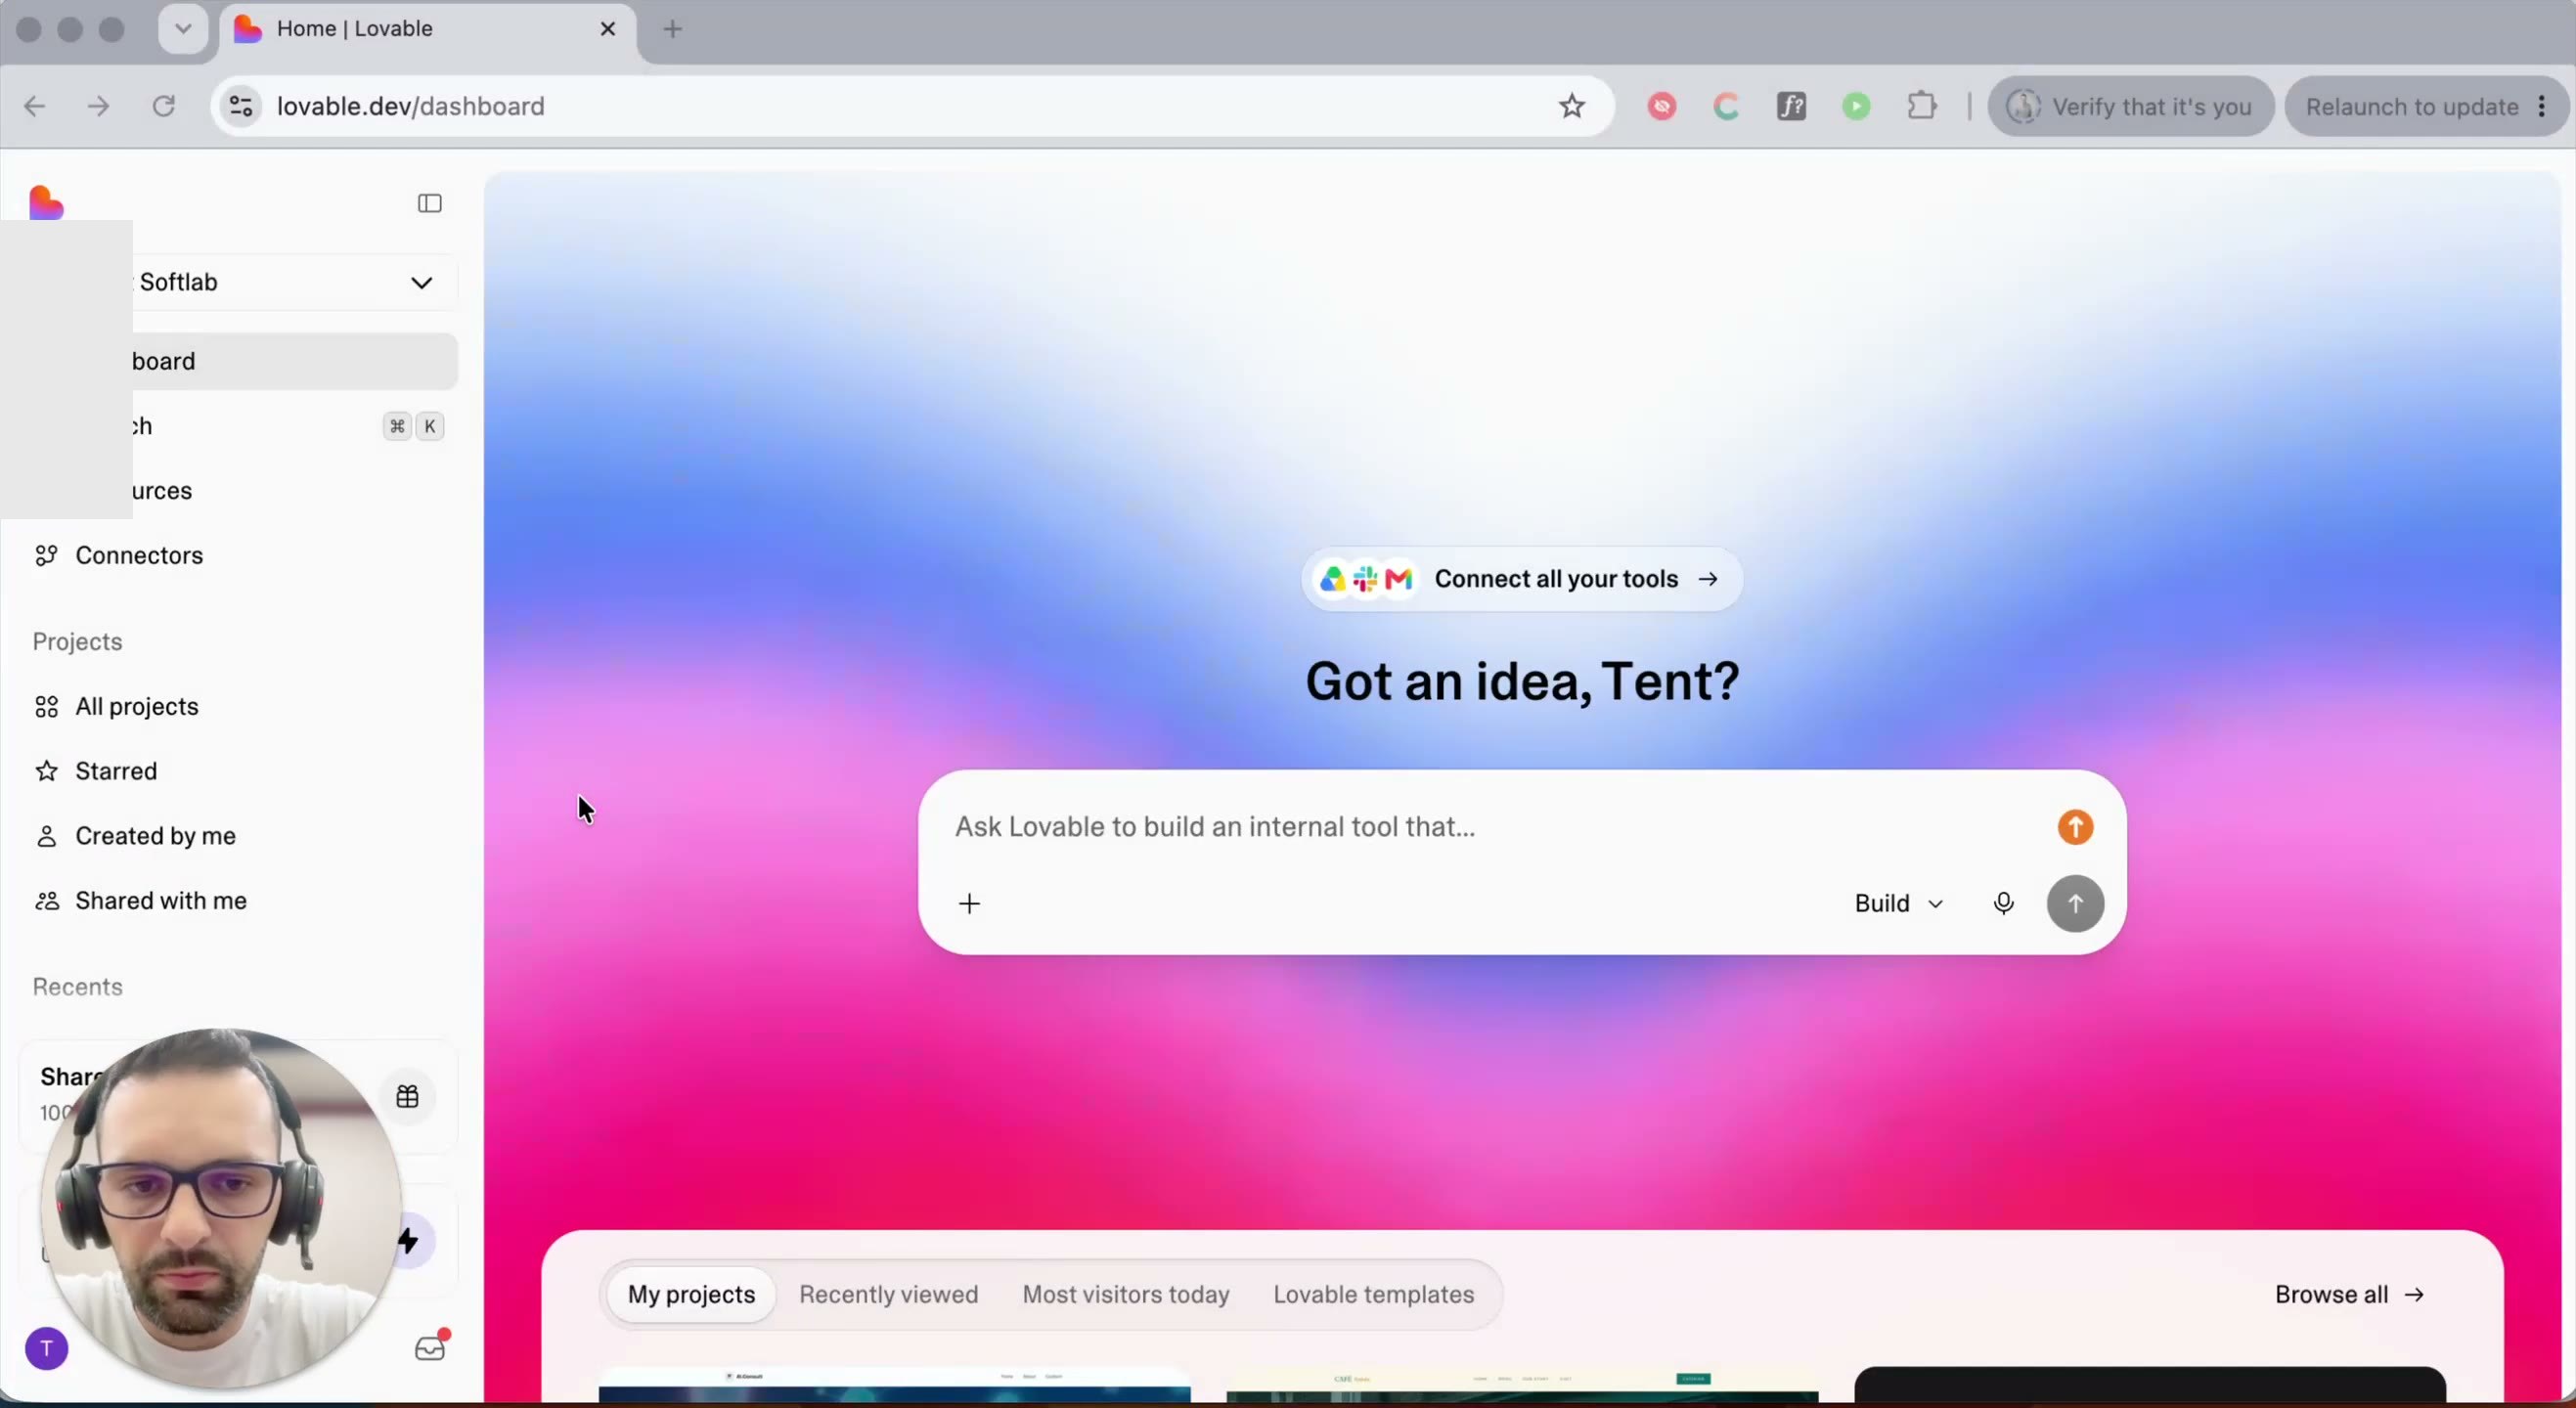
Part 1: Publish Your Project for the First Time
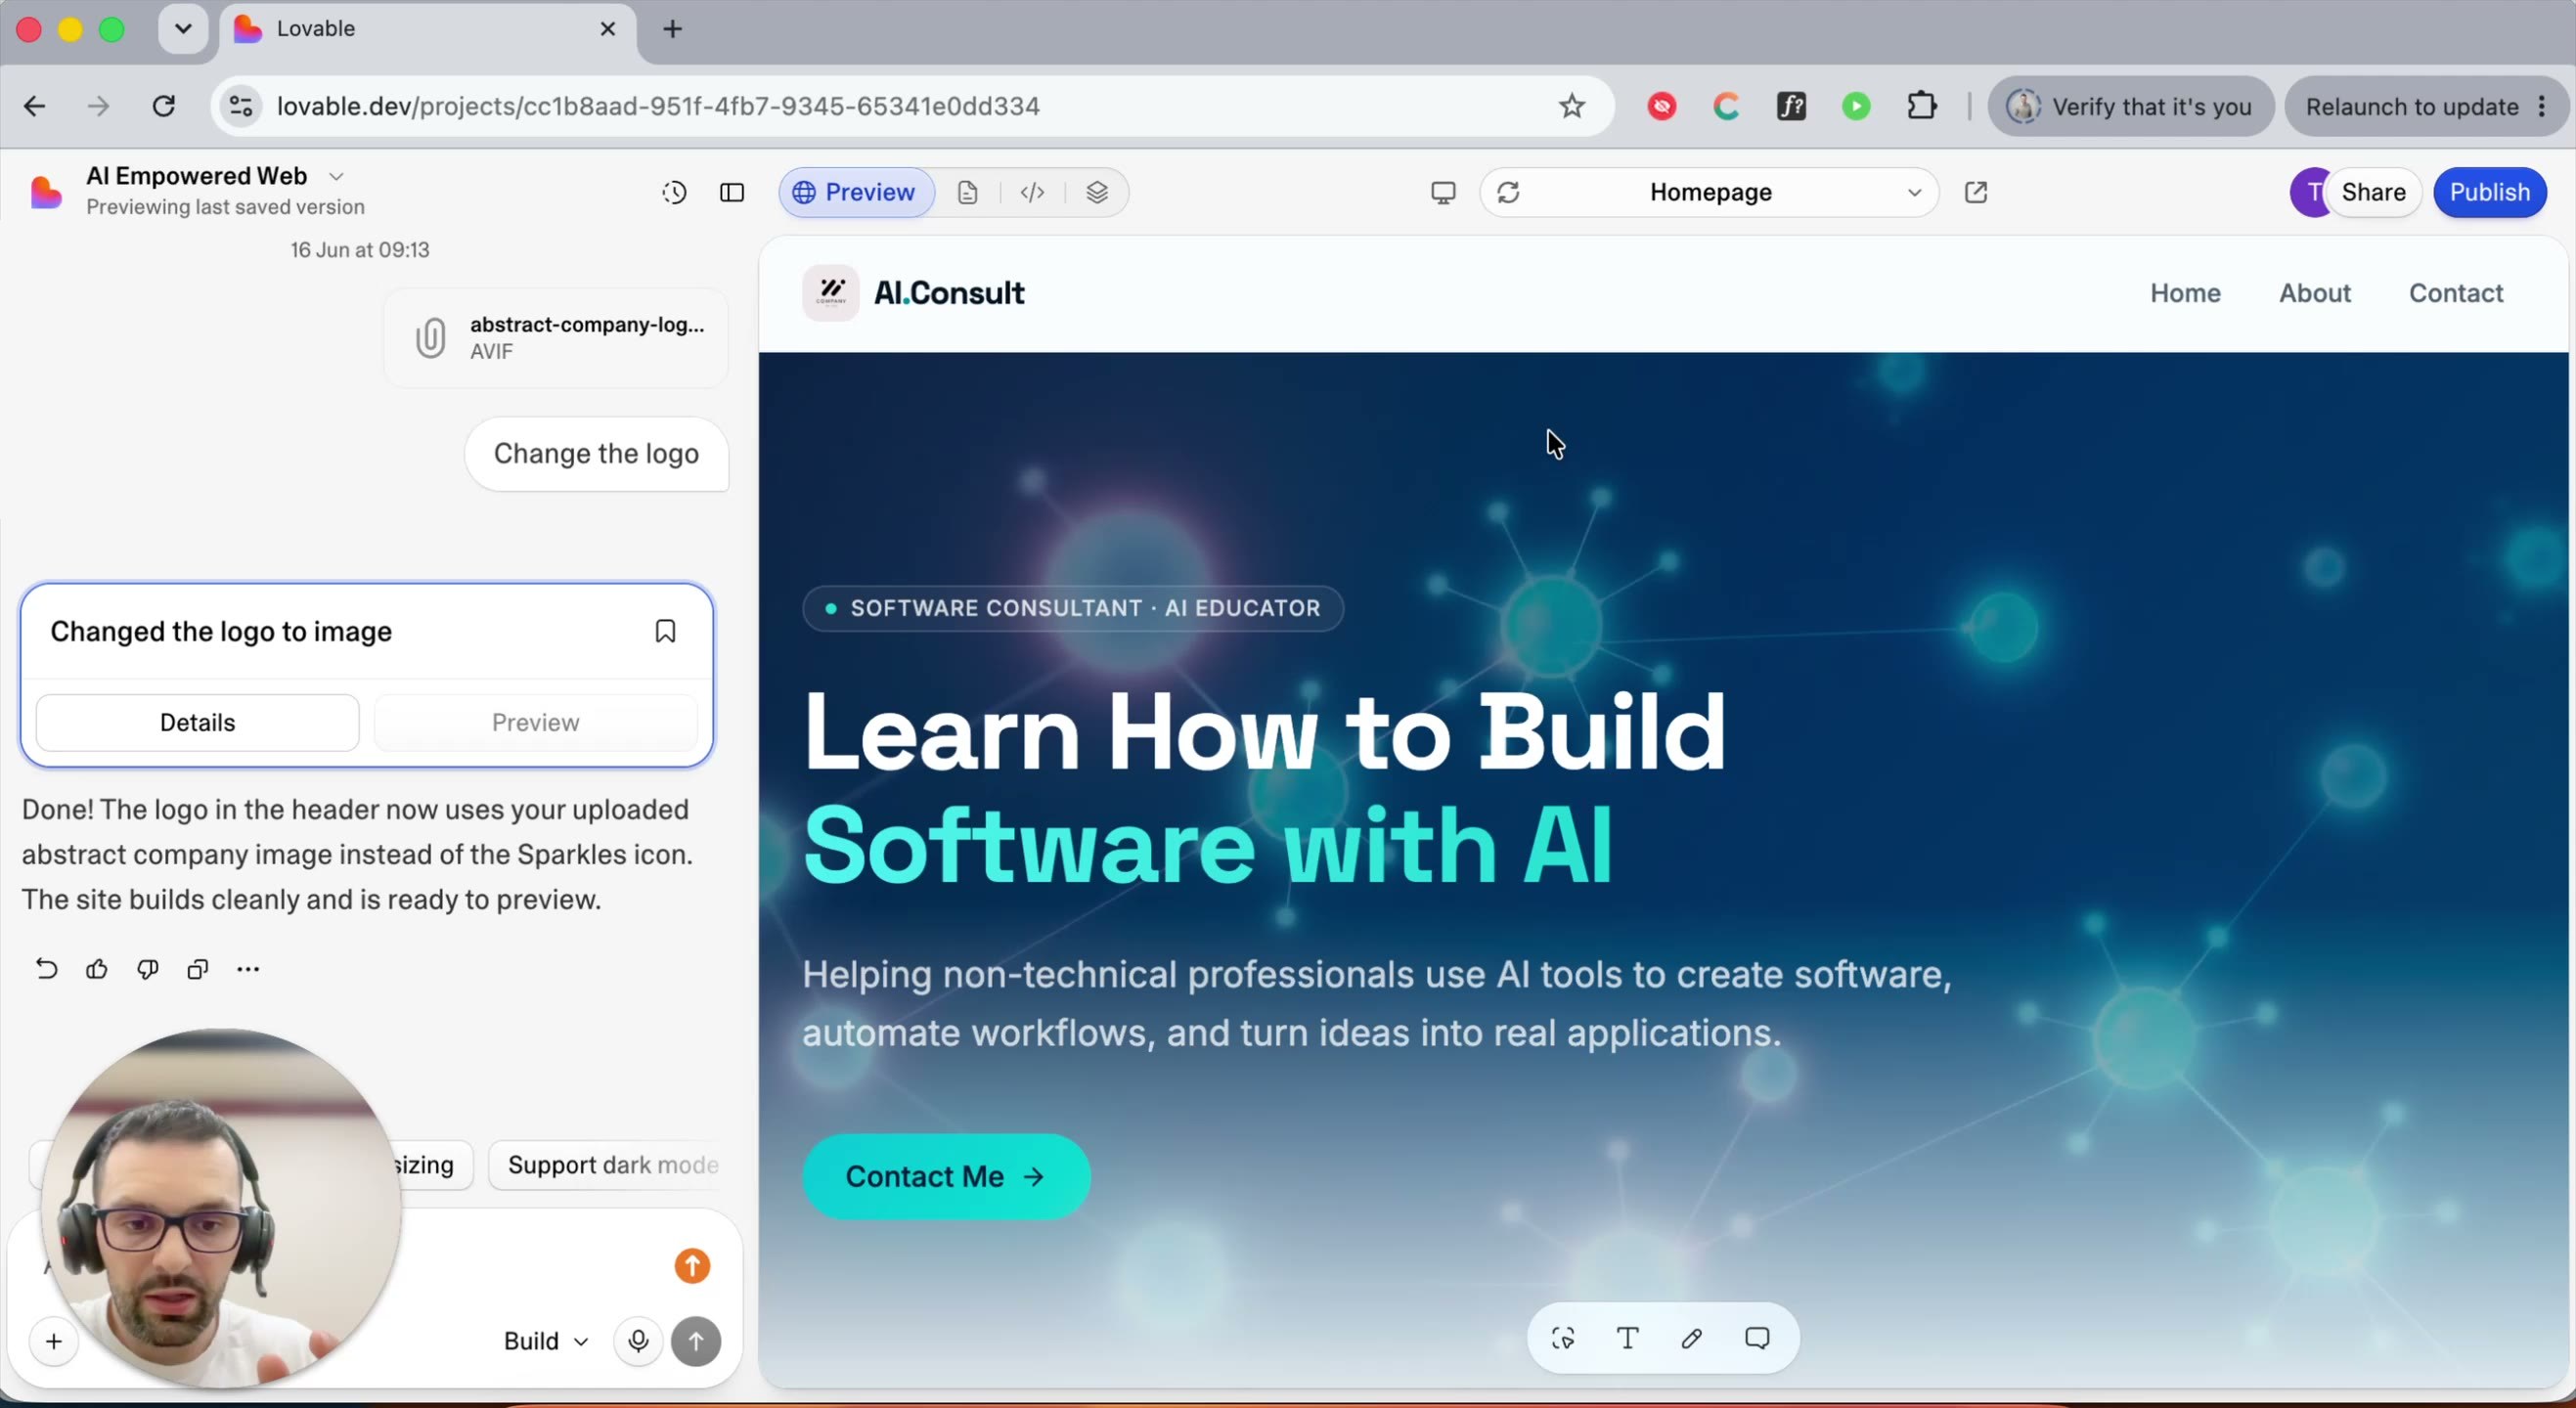
Step 1 — Click Publish. Open your project and click the Publish button in the top-right corner of the editor.
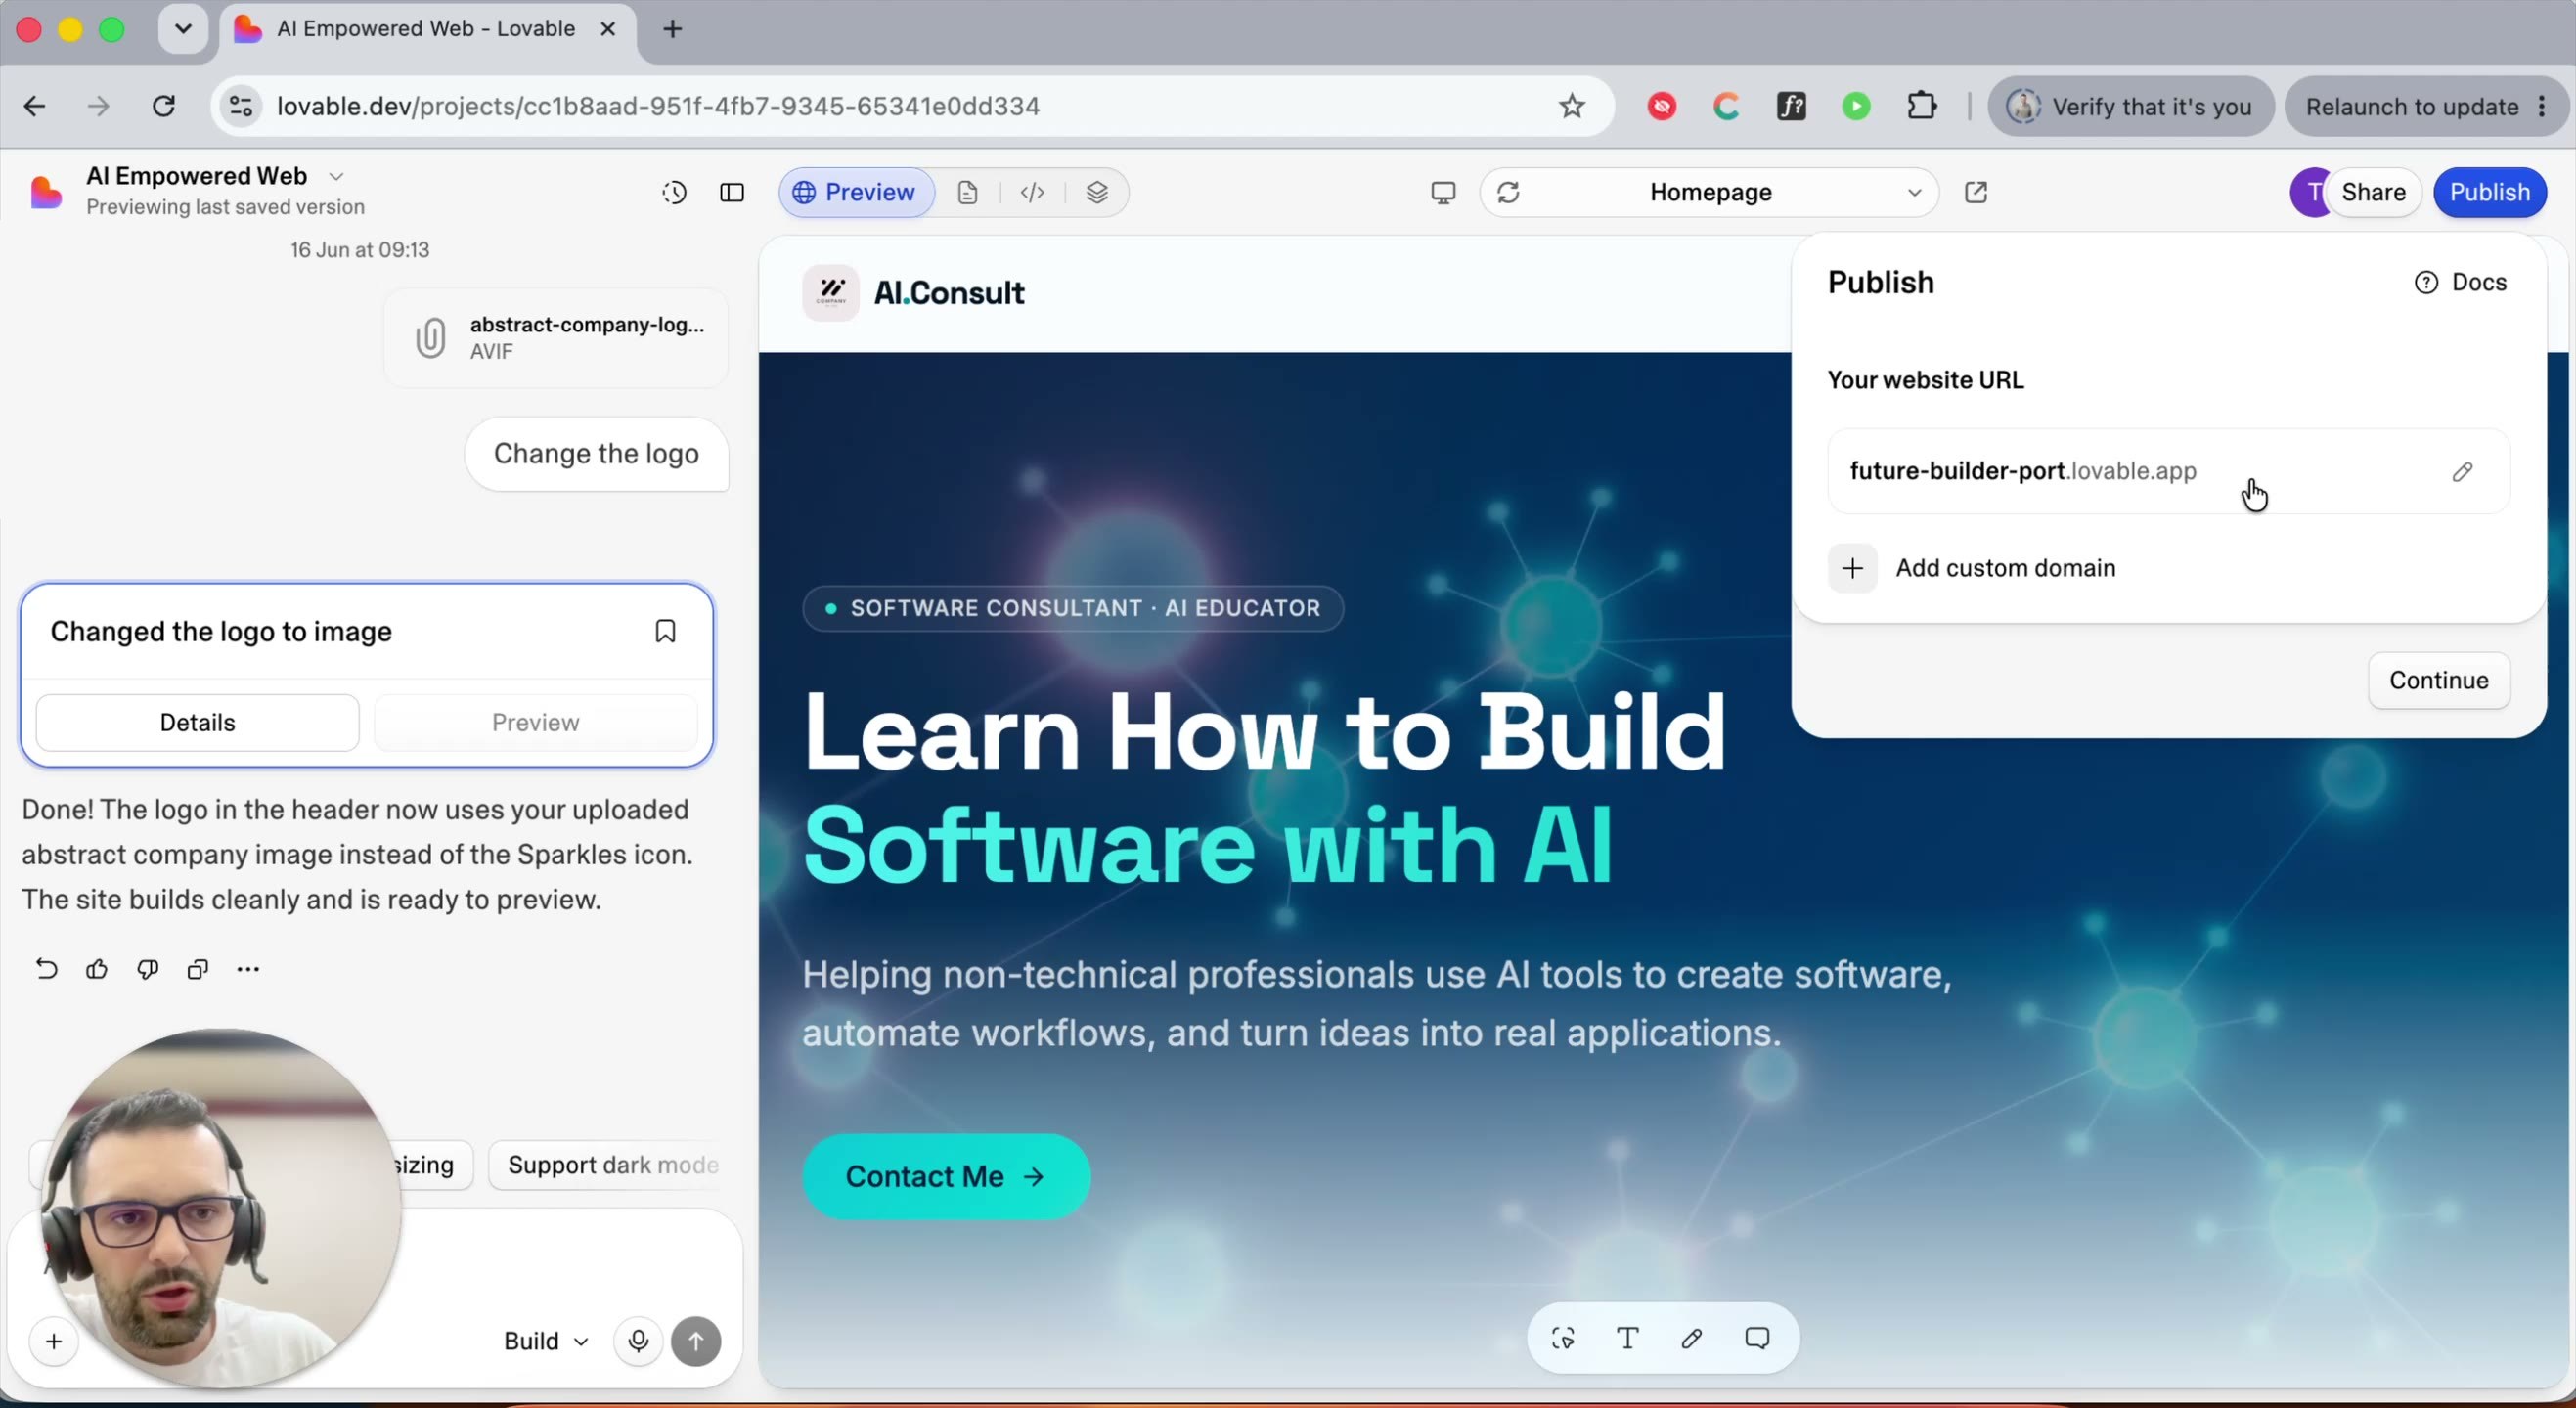
Step 2 — Review your free subdomain. A panel opens showing "Your website URL" —
by default this is a randomly generated name on .lovable.app, e.g.
future-builder-port.lovable.app.
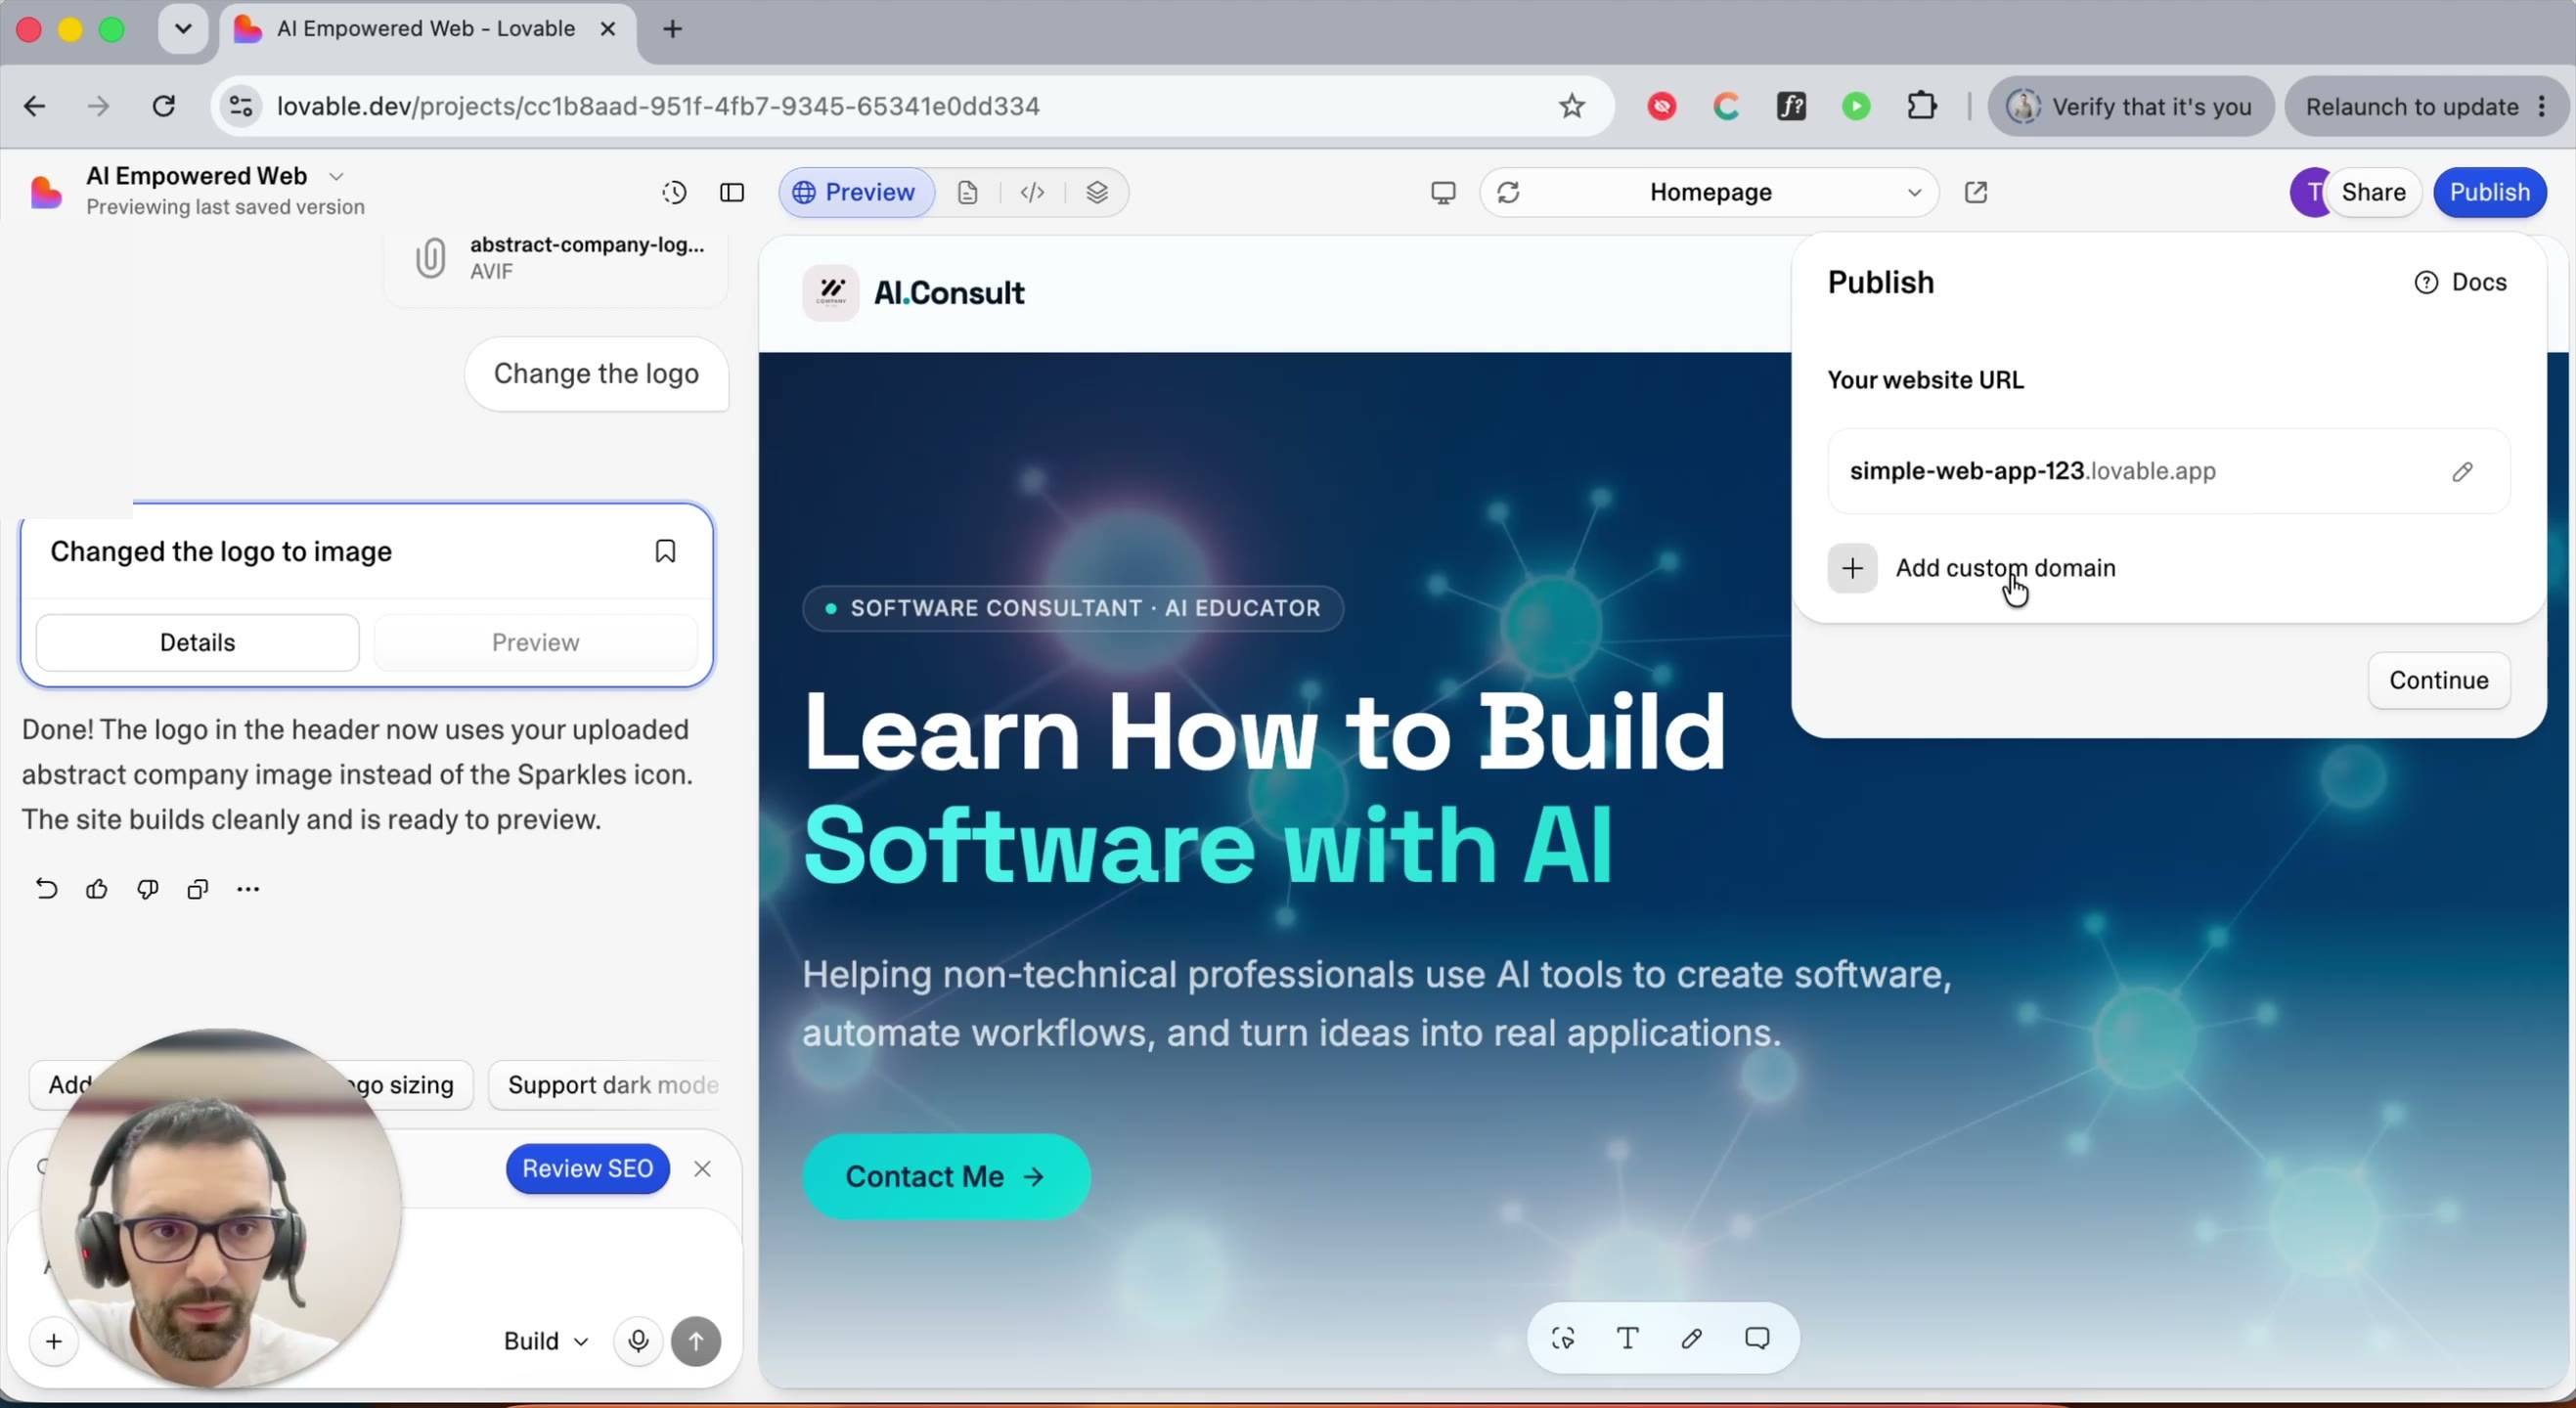
Step 3 — Rename it (optional). Click the pencil icon next to the URL to change the
name to anything available, e.g. simple-web-app-123. You'll also see an
Add custom domain option here — you can skip this for now and add a domain later
(covered in Part 4), then click Continue.
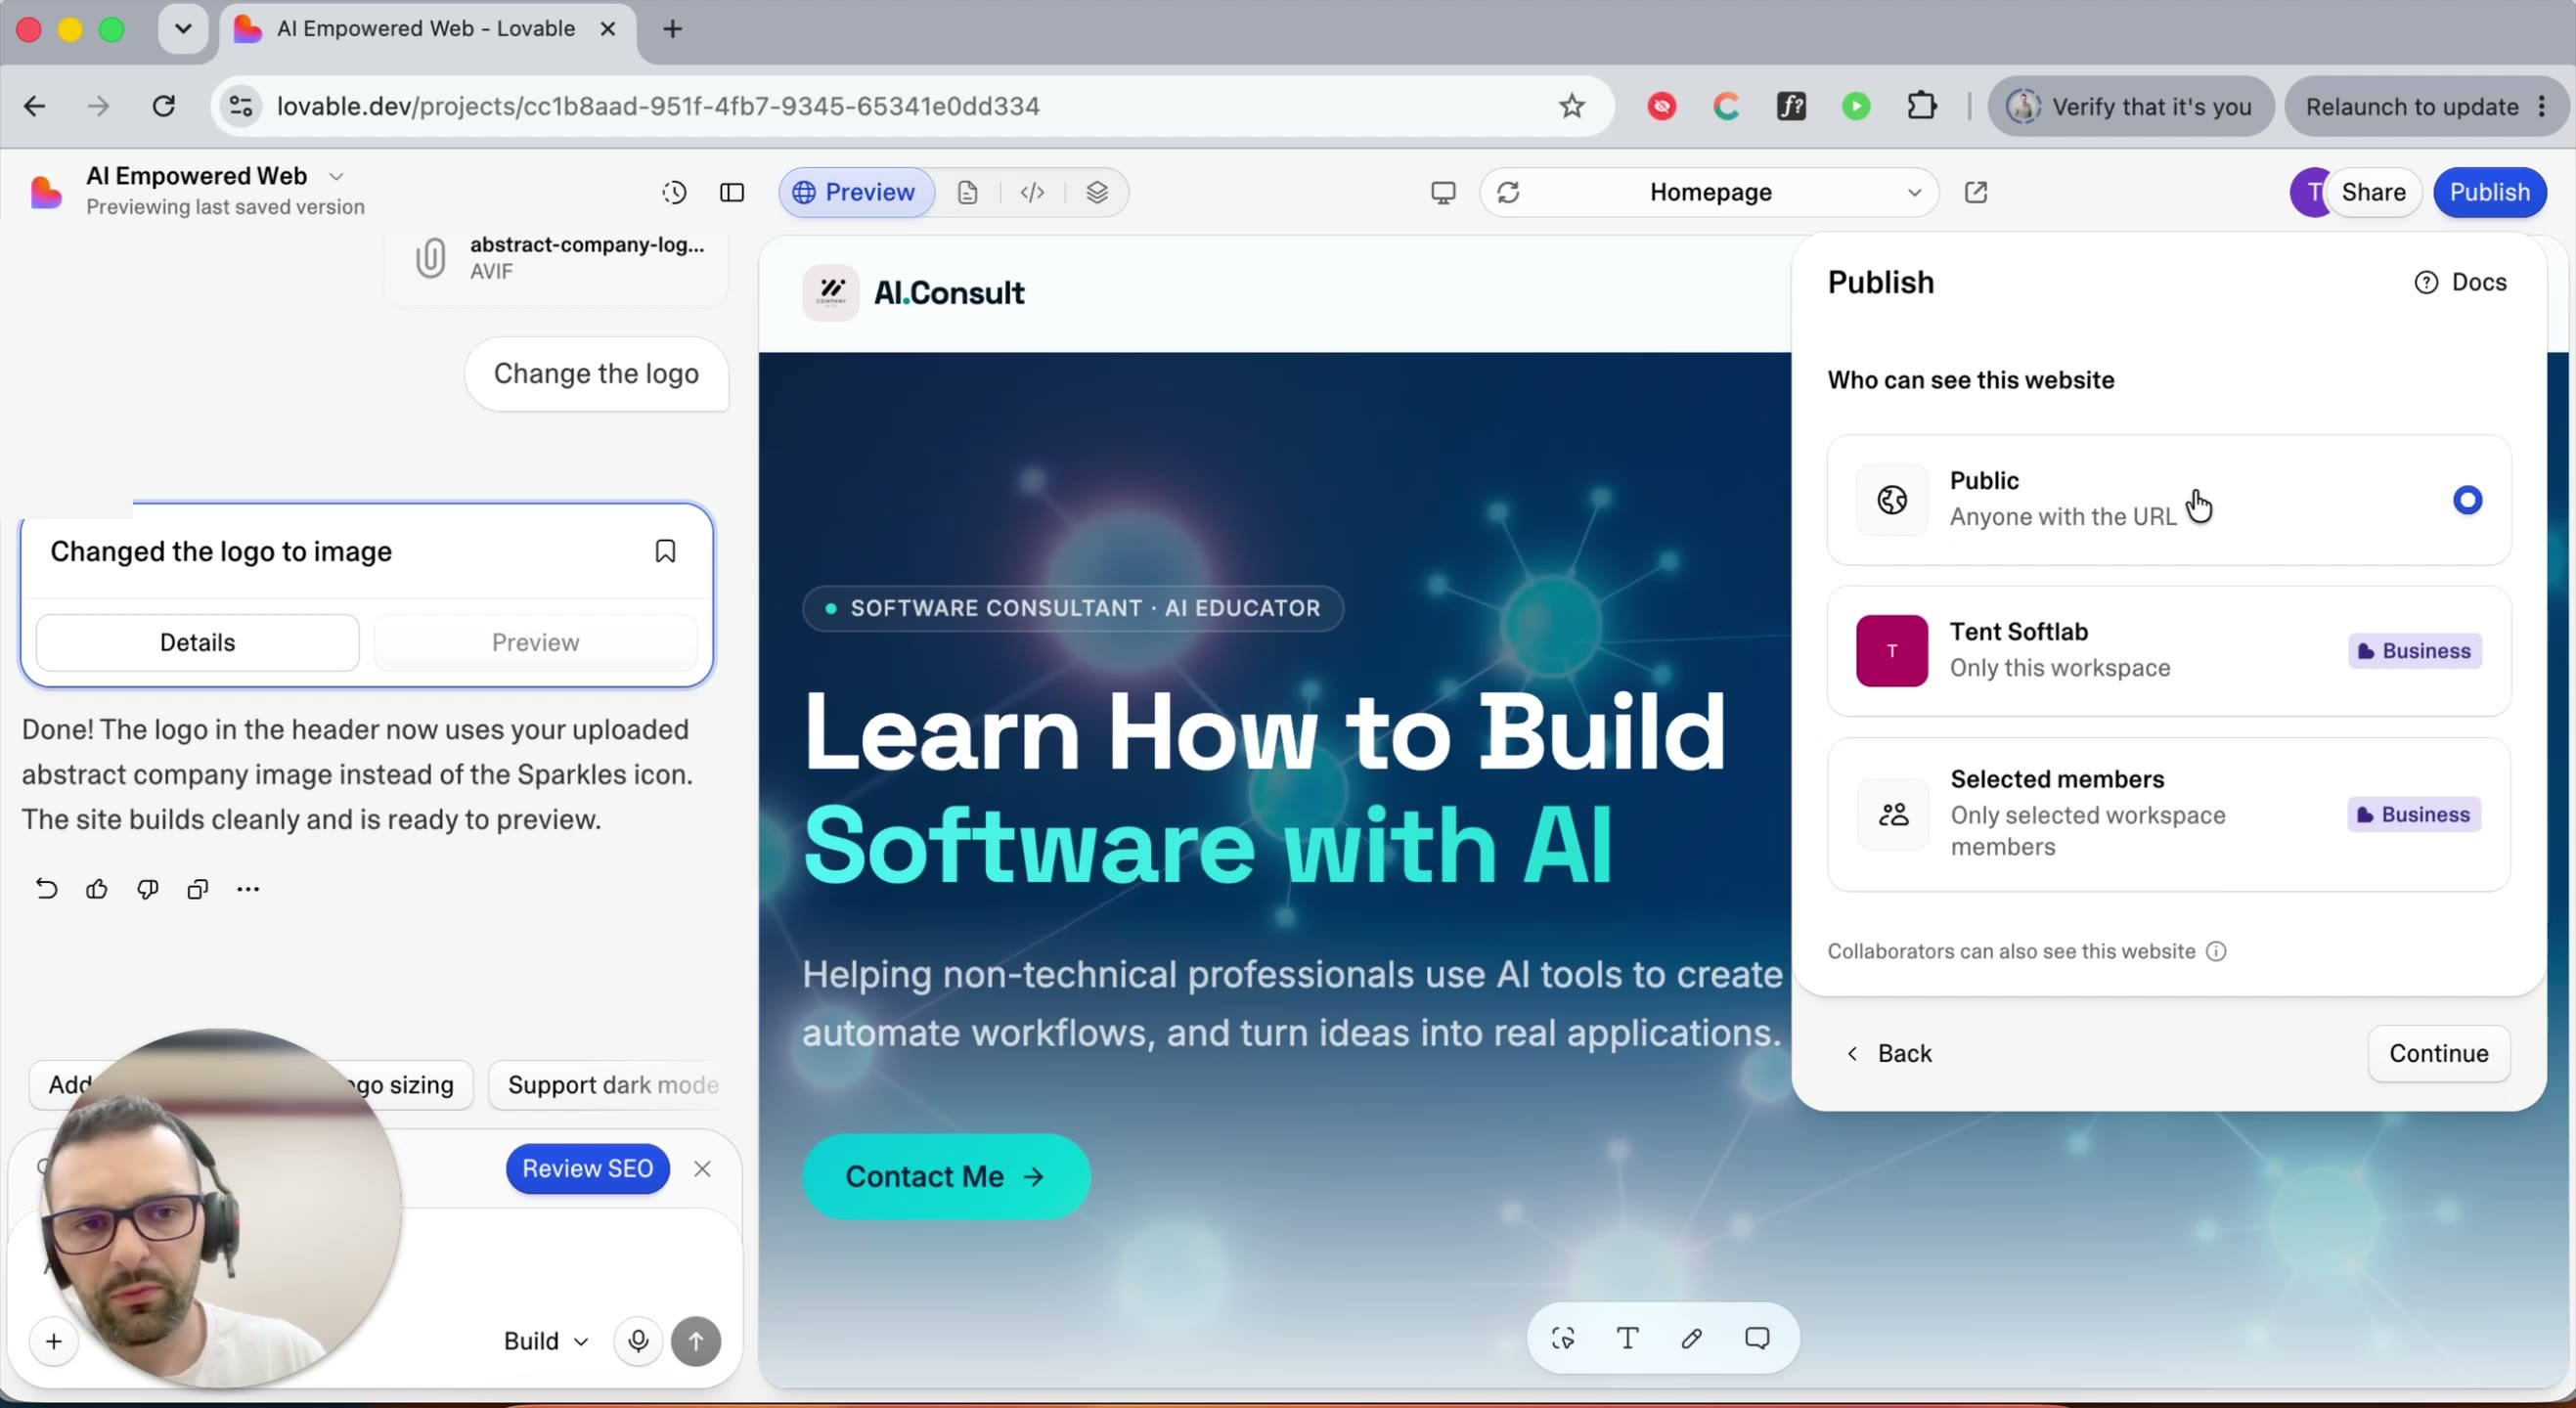
Step 4 — Choose who can see your site. Pick a visibility level, then click Continue:
- Public — anyone with the URL can open it. This is the default and right for most sites.
- [Workspace name] only — restricts access to members of your Lovable workspace, useful for internal tools.
- Selected members — restricts access to specific teammates, useful for sharing a work-in-progress.
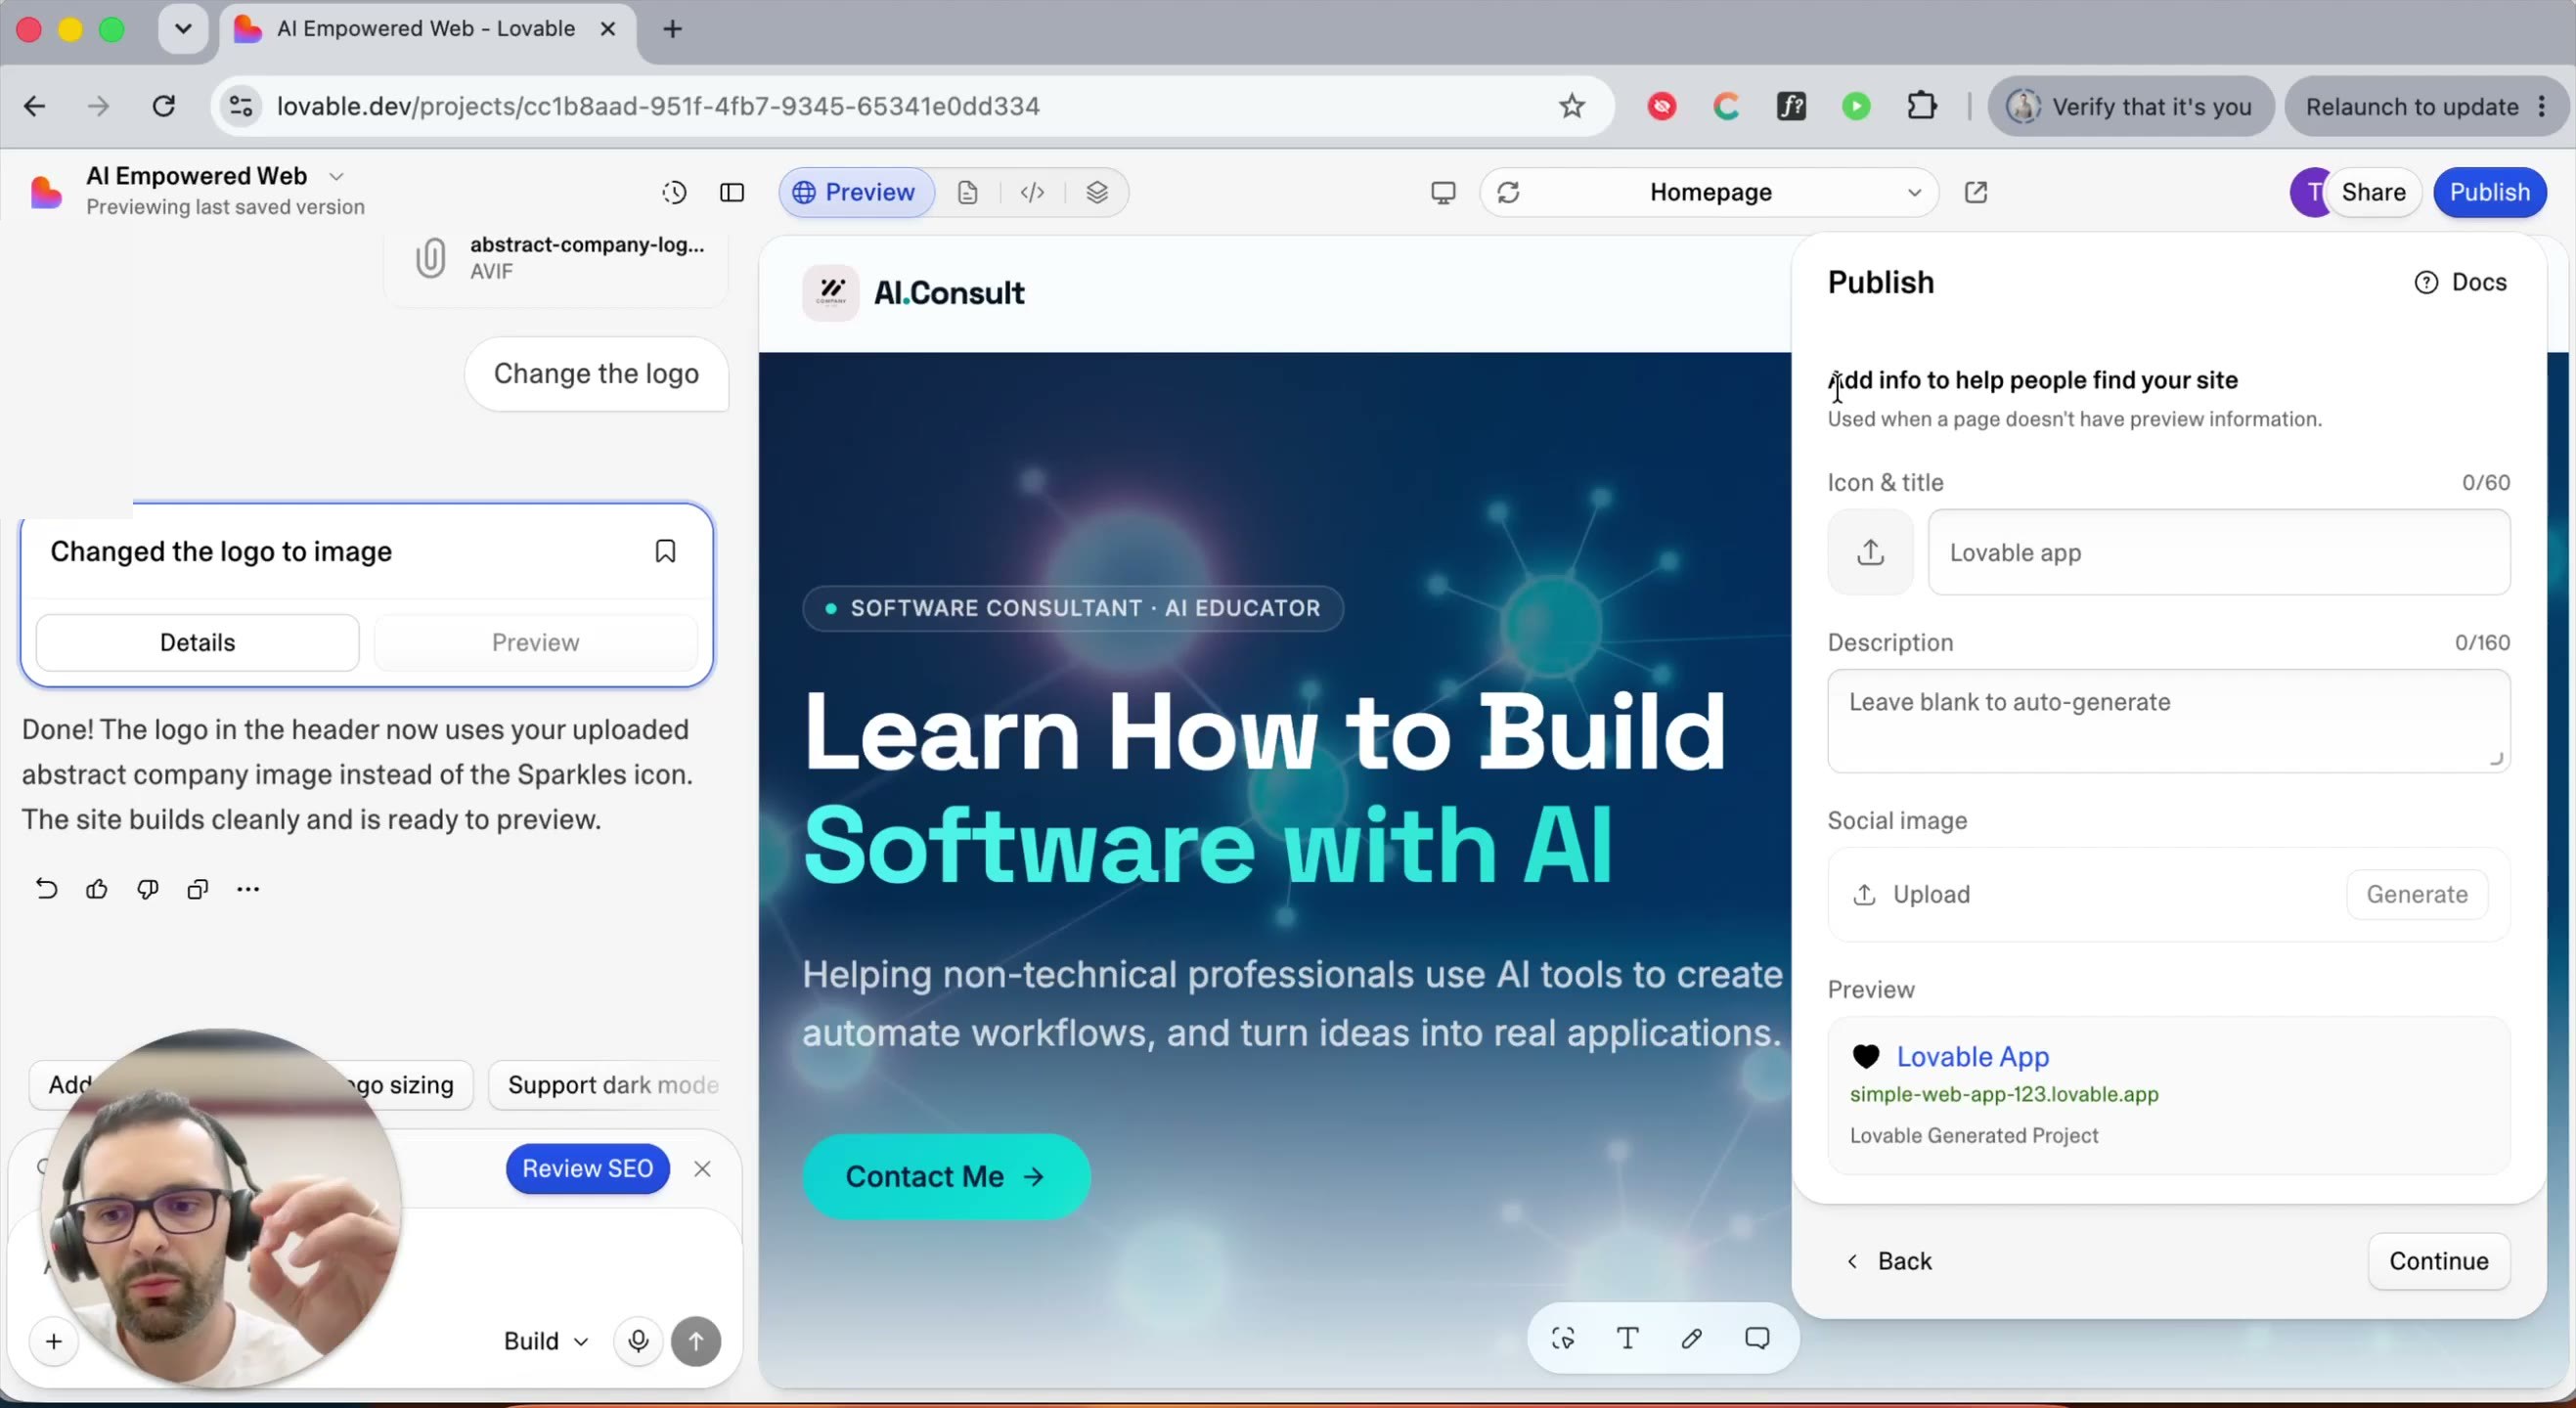
Step 5 — Fill in your SEO details. This controls what shows up when your link is shared or found in Google search:
- Icon & title — the identity shown in search results and link previews.
- Description — a short, keyword-relevant summary (e.g. "affordable taxi in Valencia, Spain" rather than something generic).
- Social image — upload one or click Generate to create one automatically.
Click Continue once you're done.
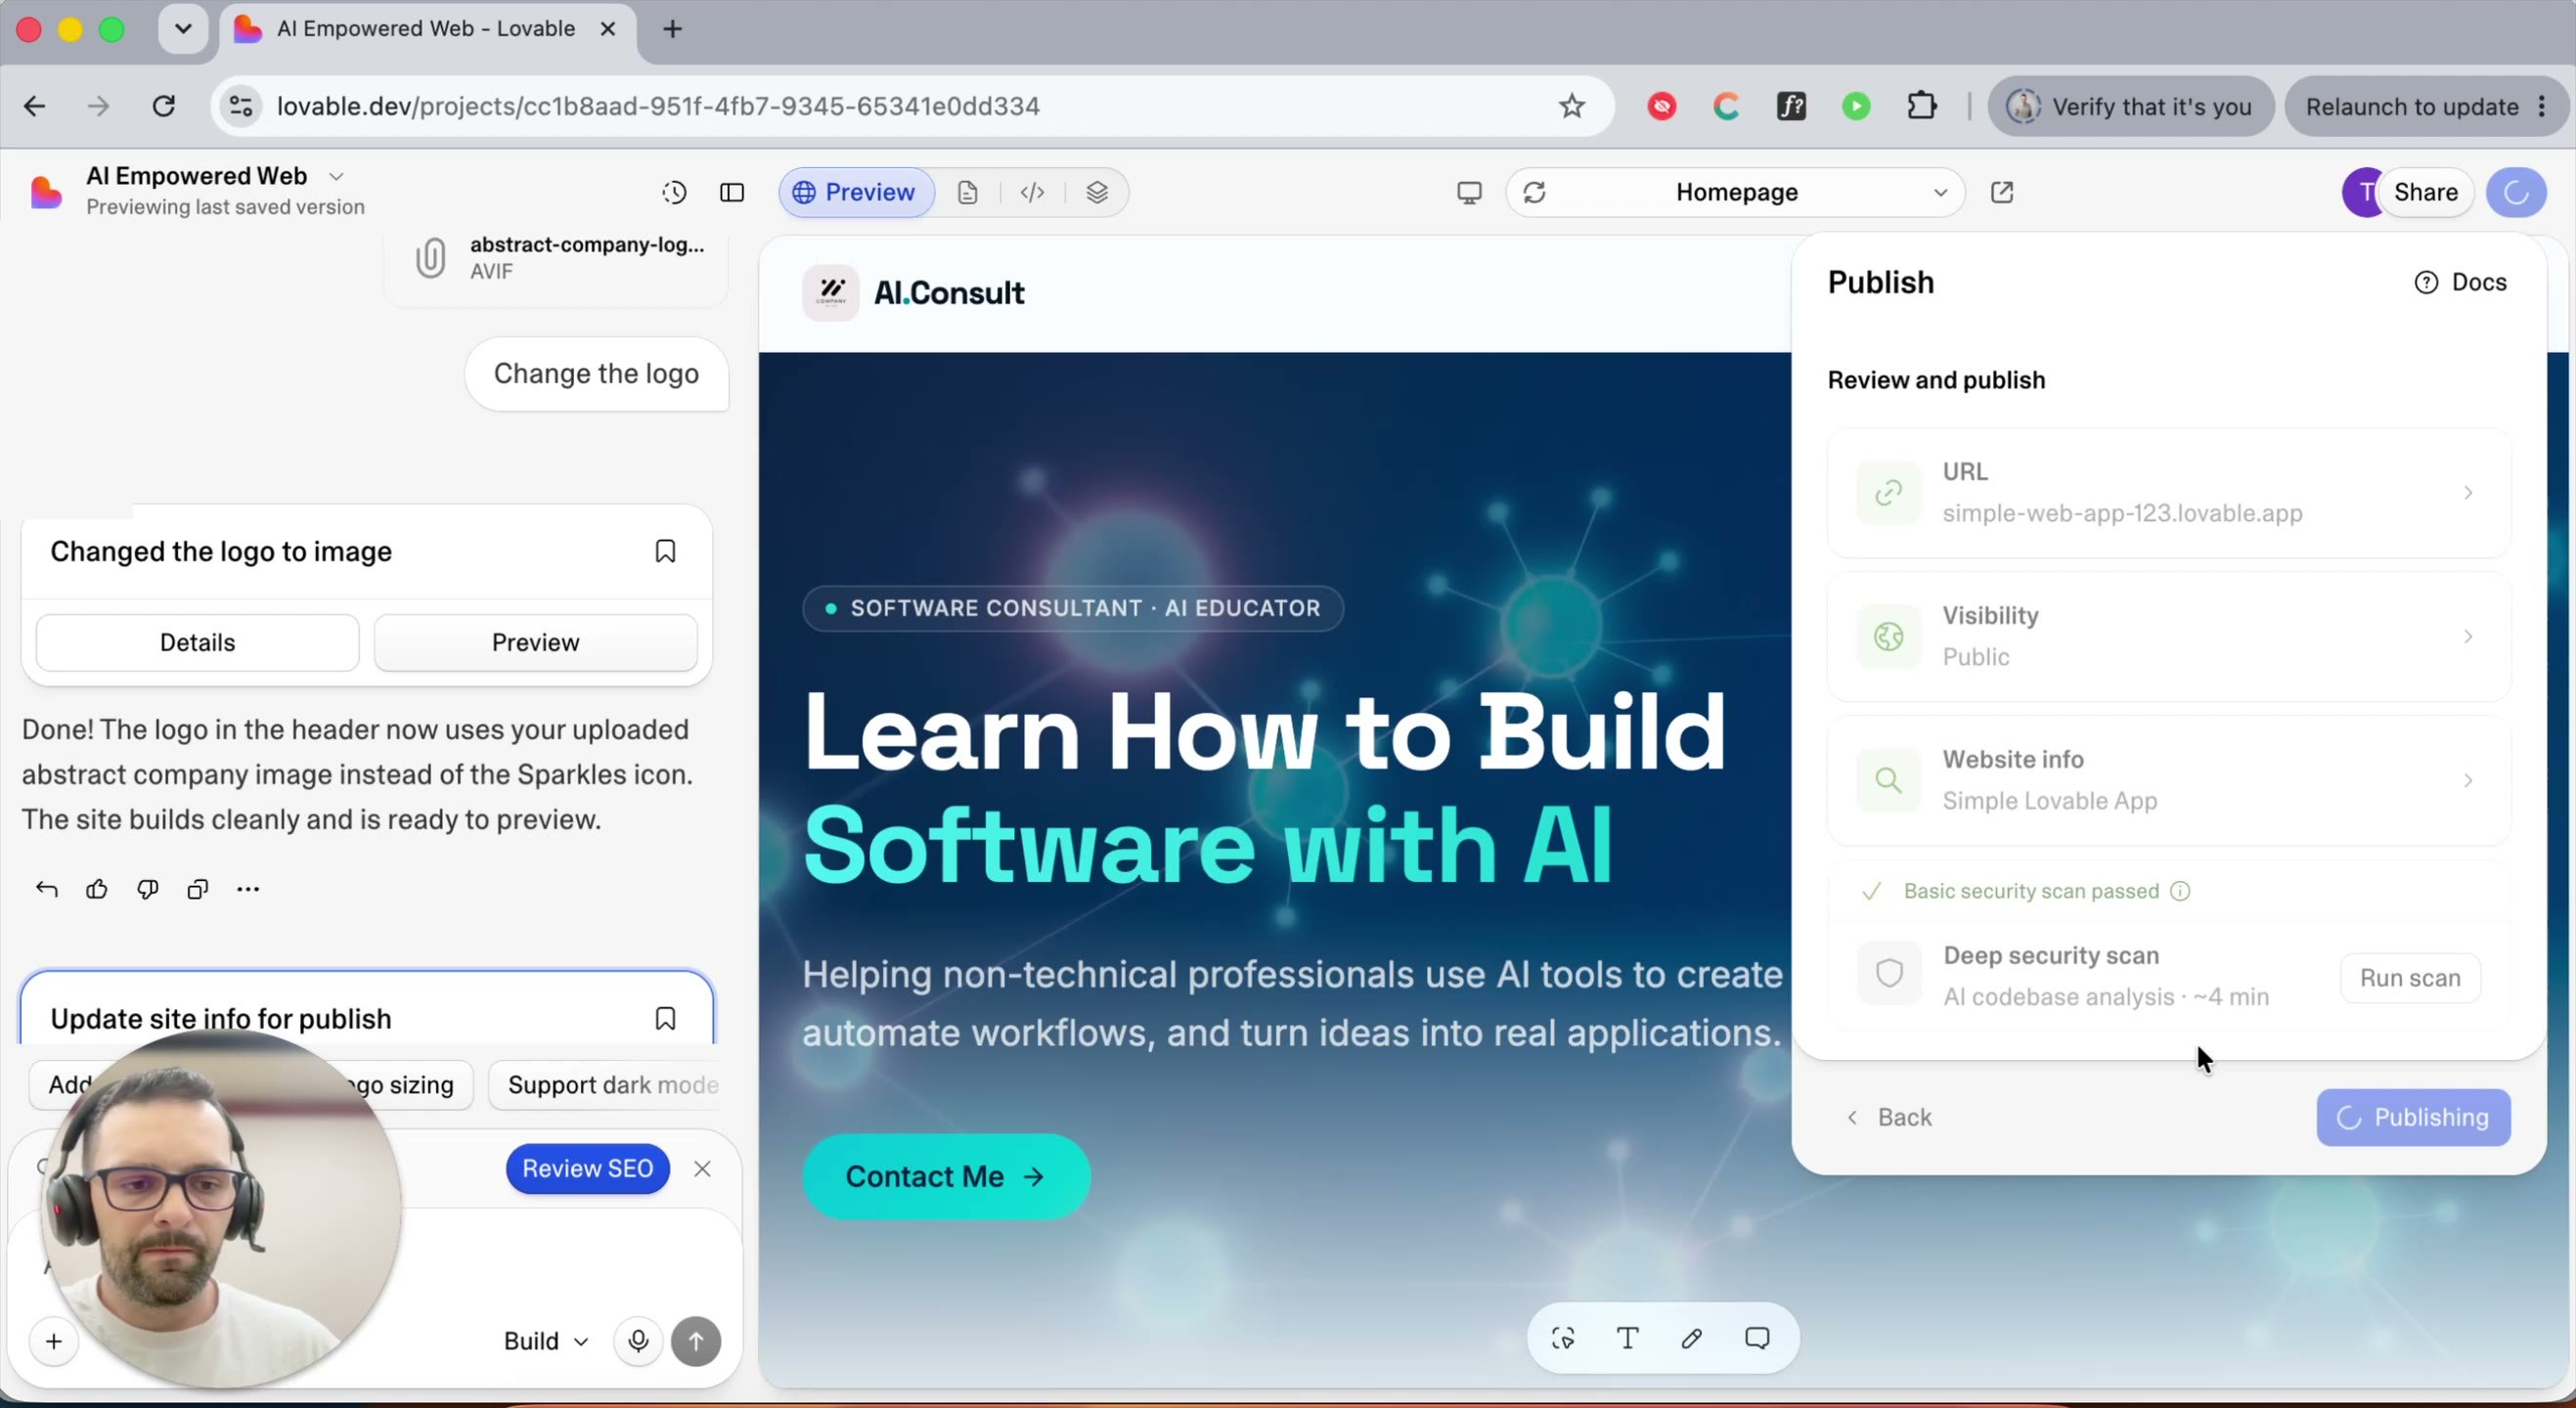
Step 6 — Review and publish. The last screen shows a summary (URL, visibility, website info) and runs a basic security scan automatically. There's also an optional Deep security scan — worth running once your project has backend integrations, logins, or other sensitive functionality; for a simple project you can skip it. Click Publish.
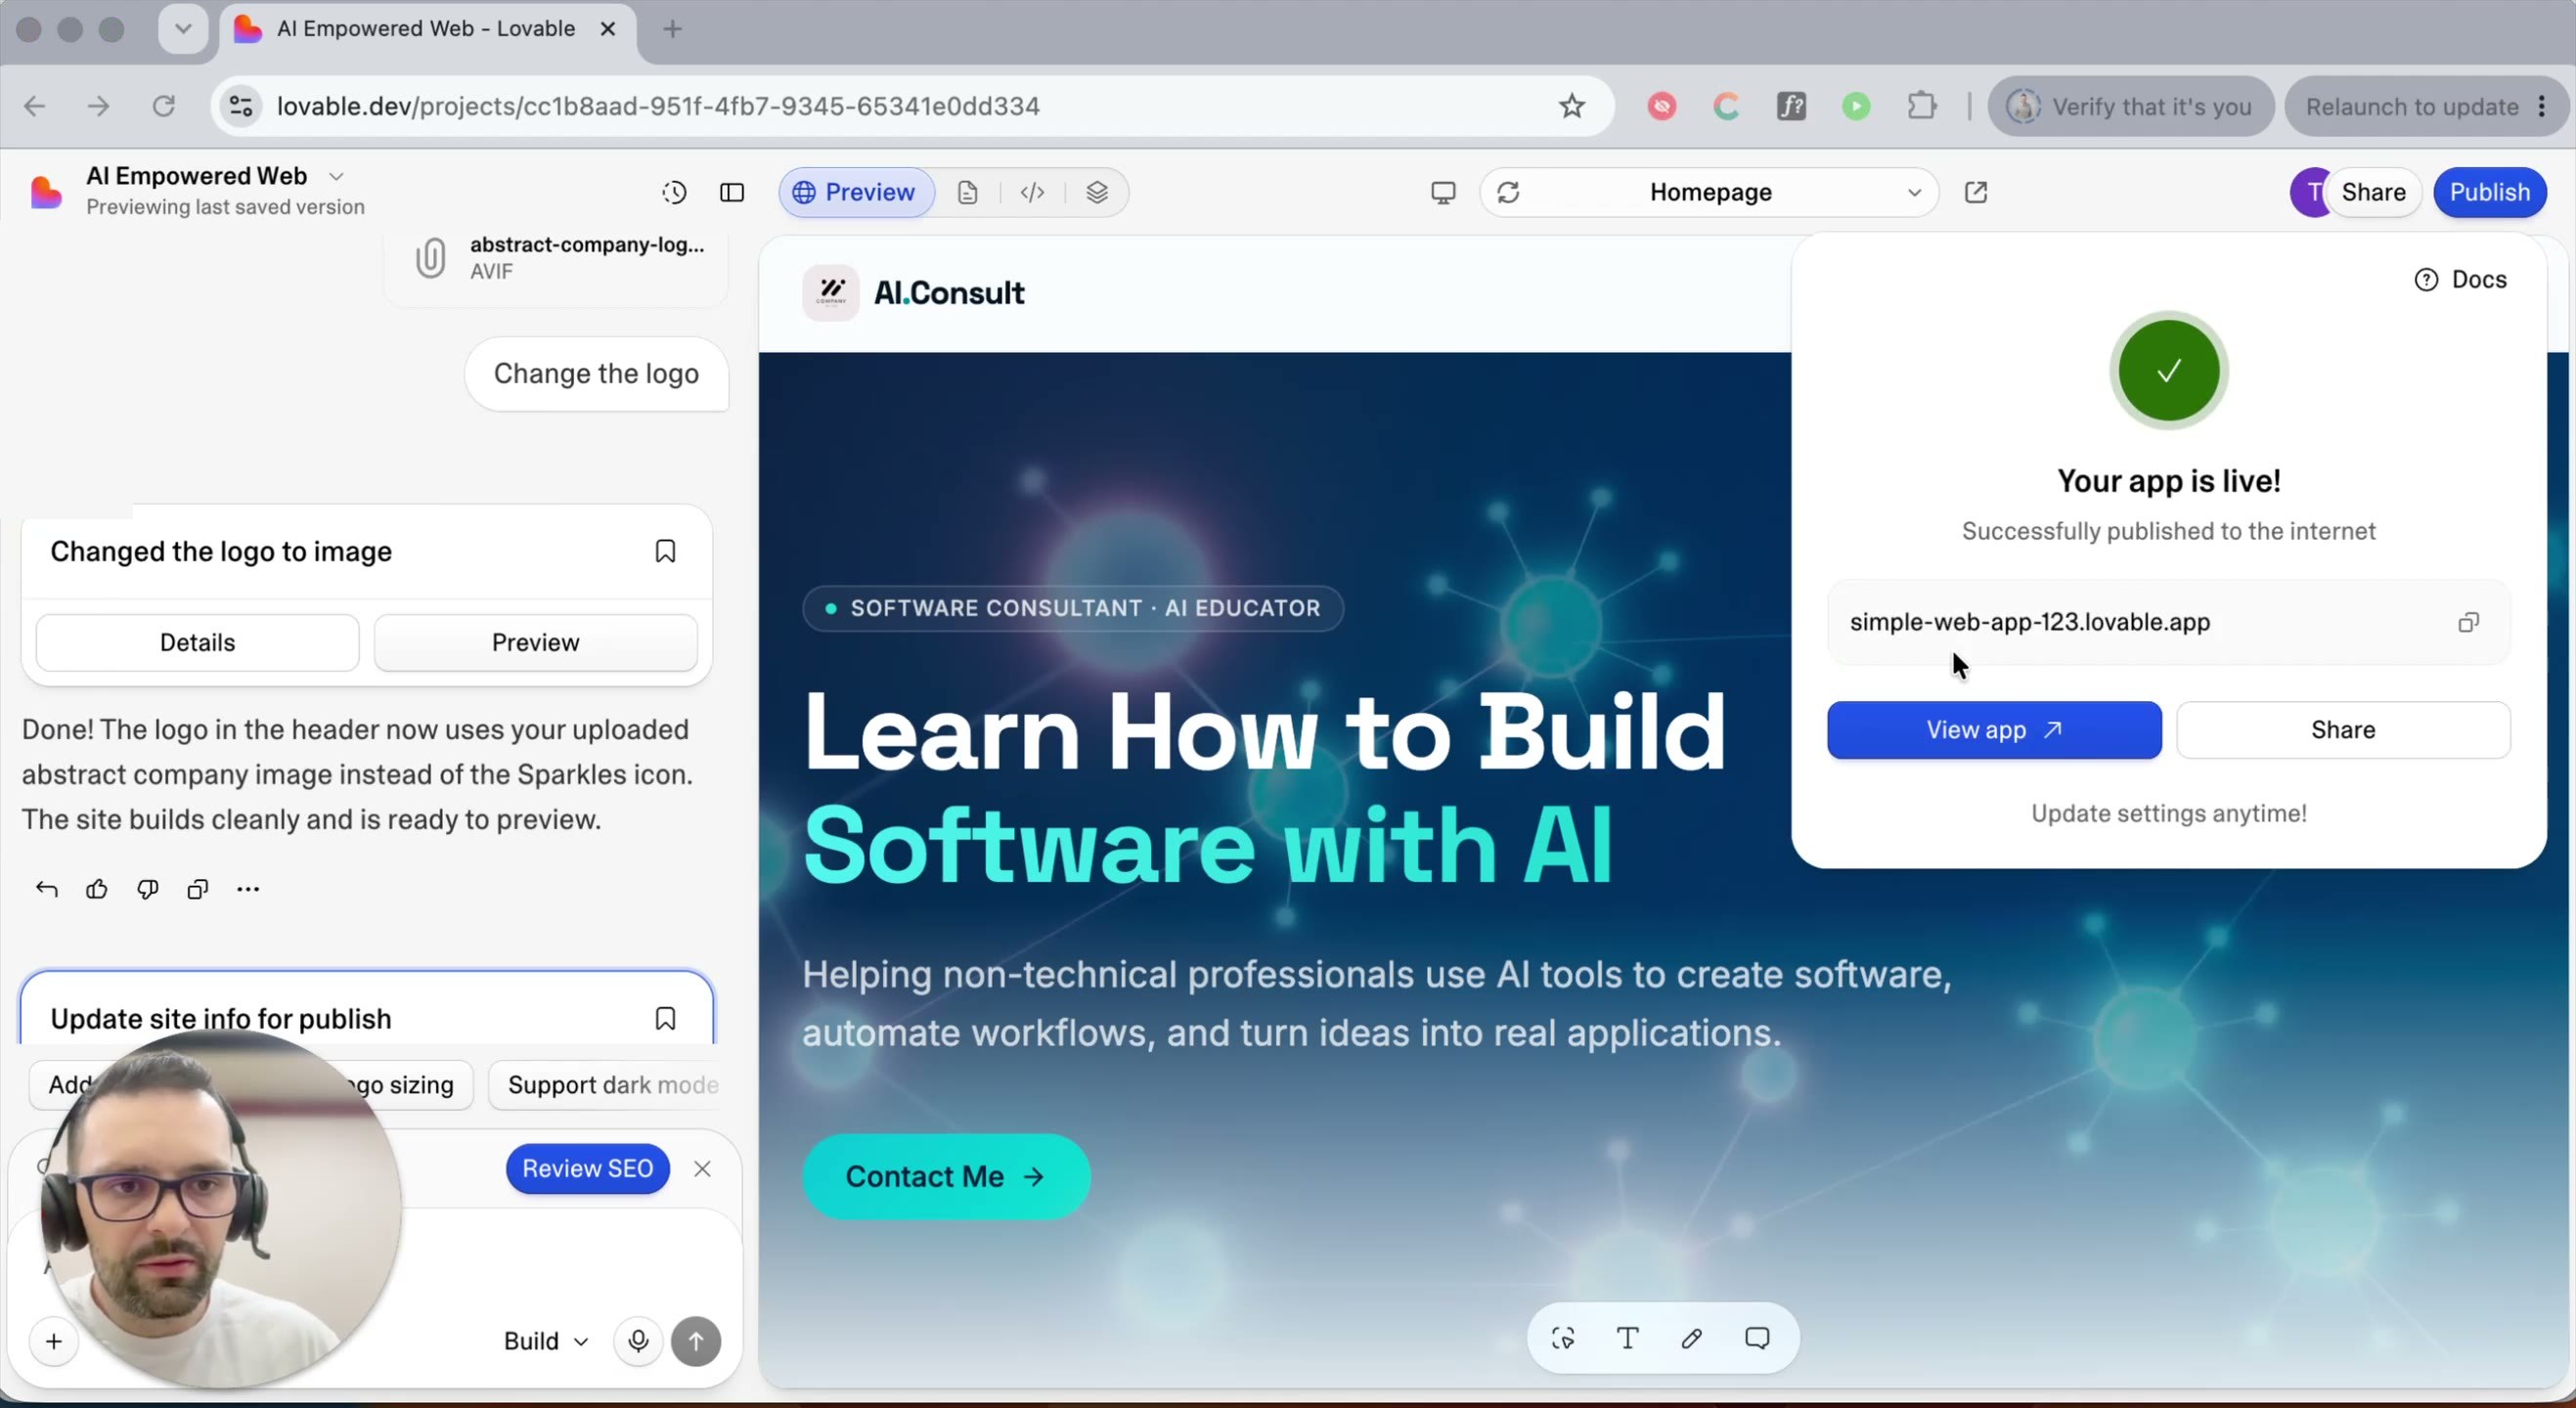
Step 7 — You're live. Publishing takes about 20–30 seconds. Once it's done, click View app to open your actual public website at its new URL.
Part 2: Remove the "Edit with Lovable" Badge
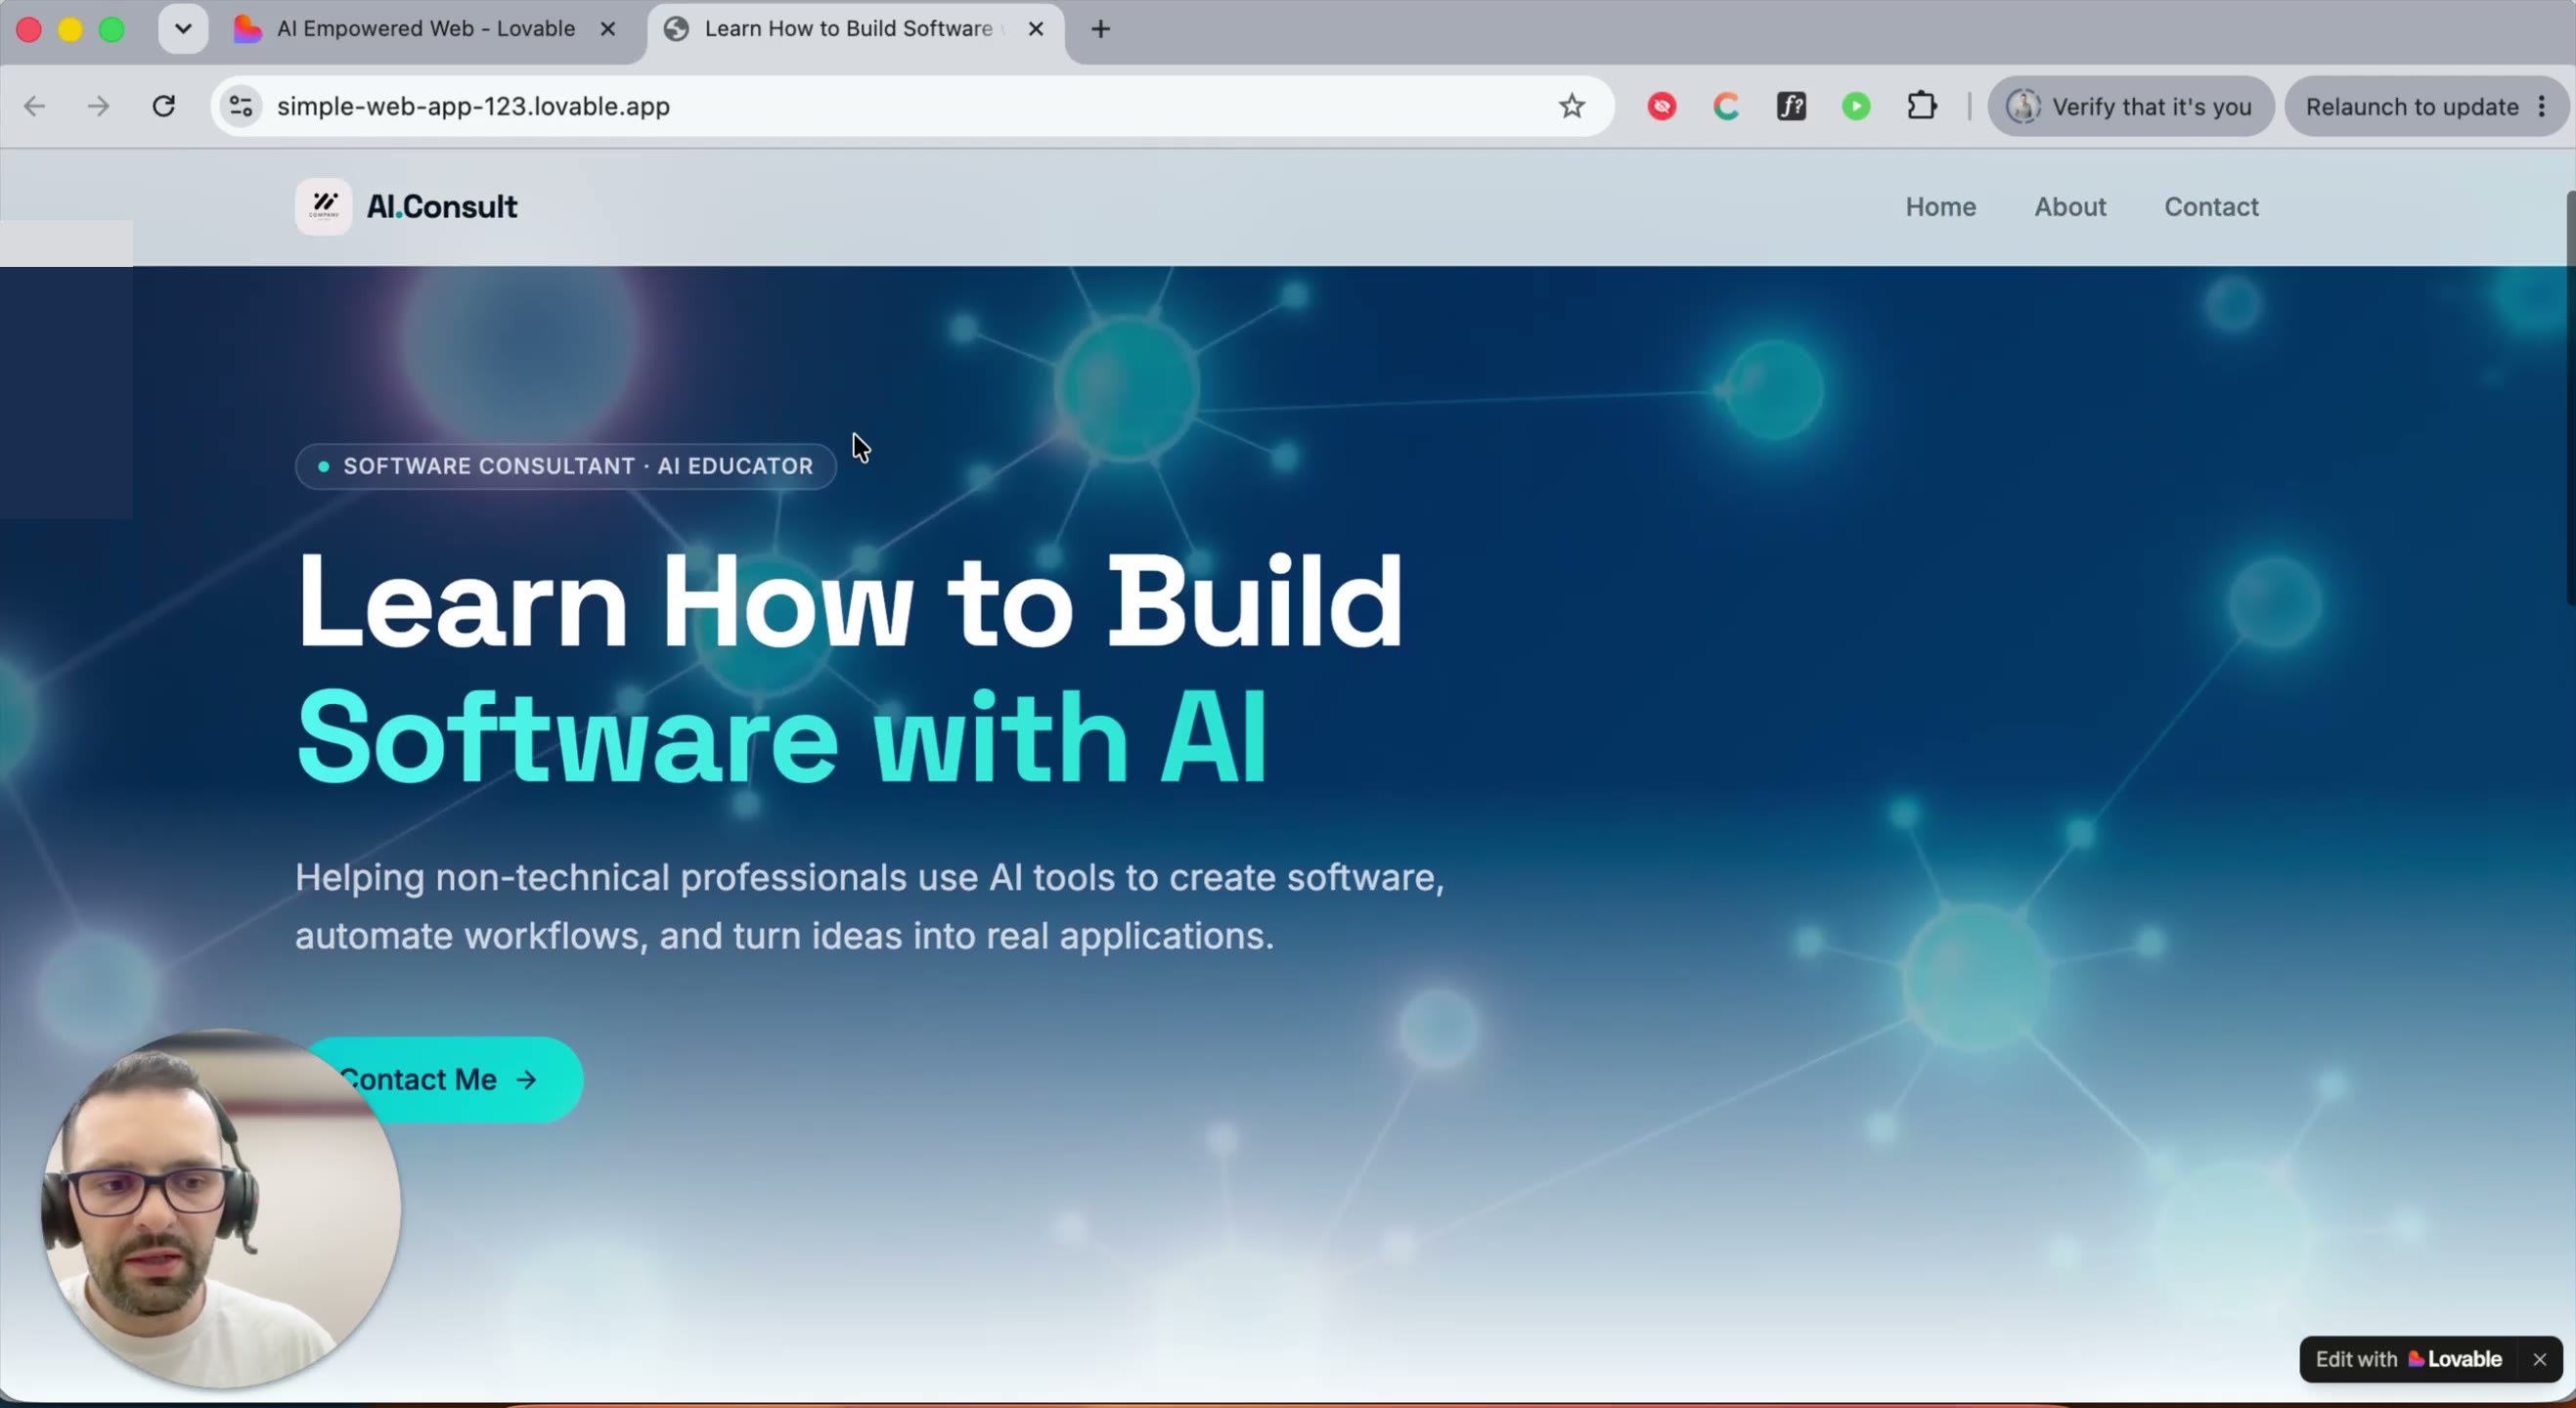
Step 8 — Notice the badge. By default, published sites show an "Edit with Lovable" badge in the bottom corner. Closing it on the page doesn't remove it permanently — it comes back on refresh.
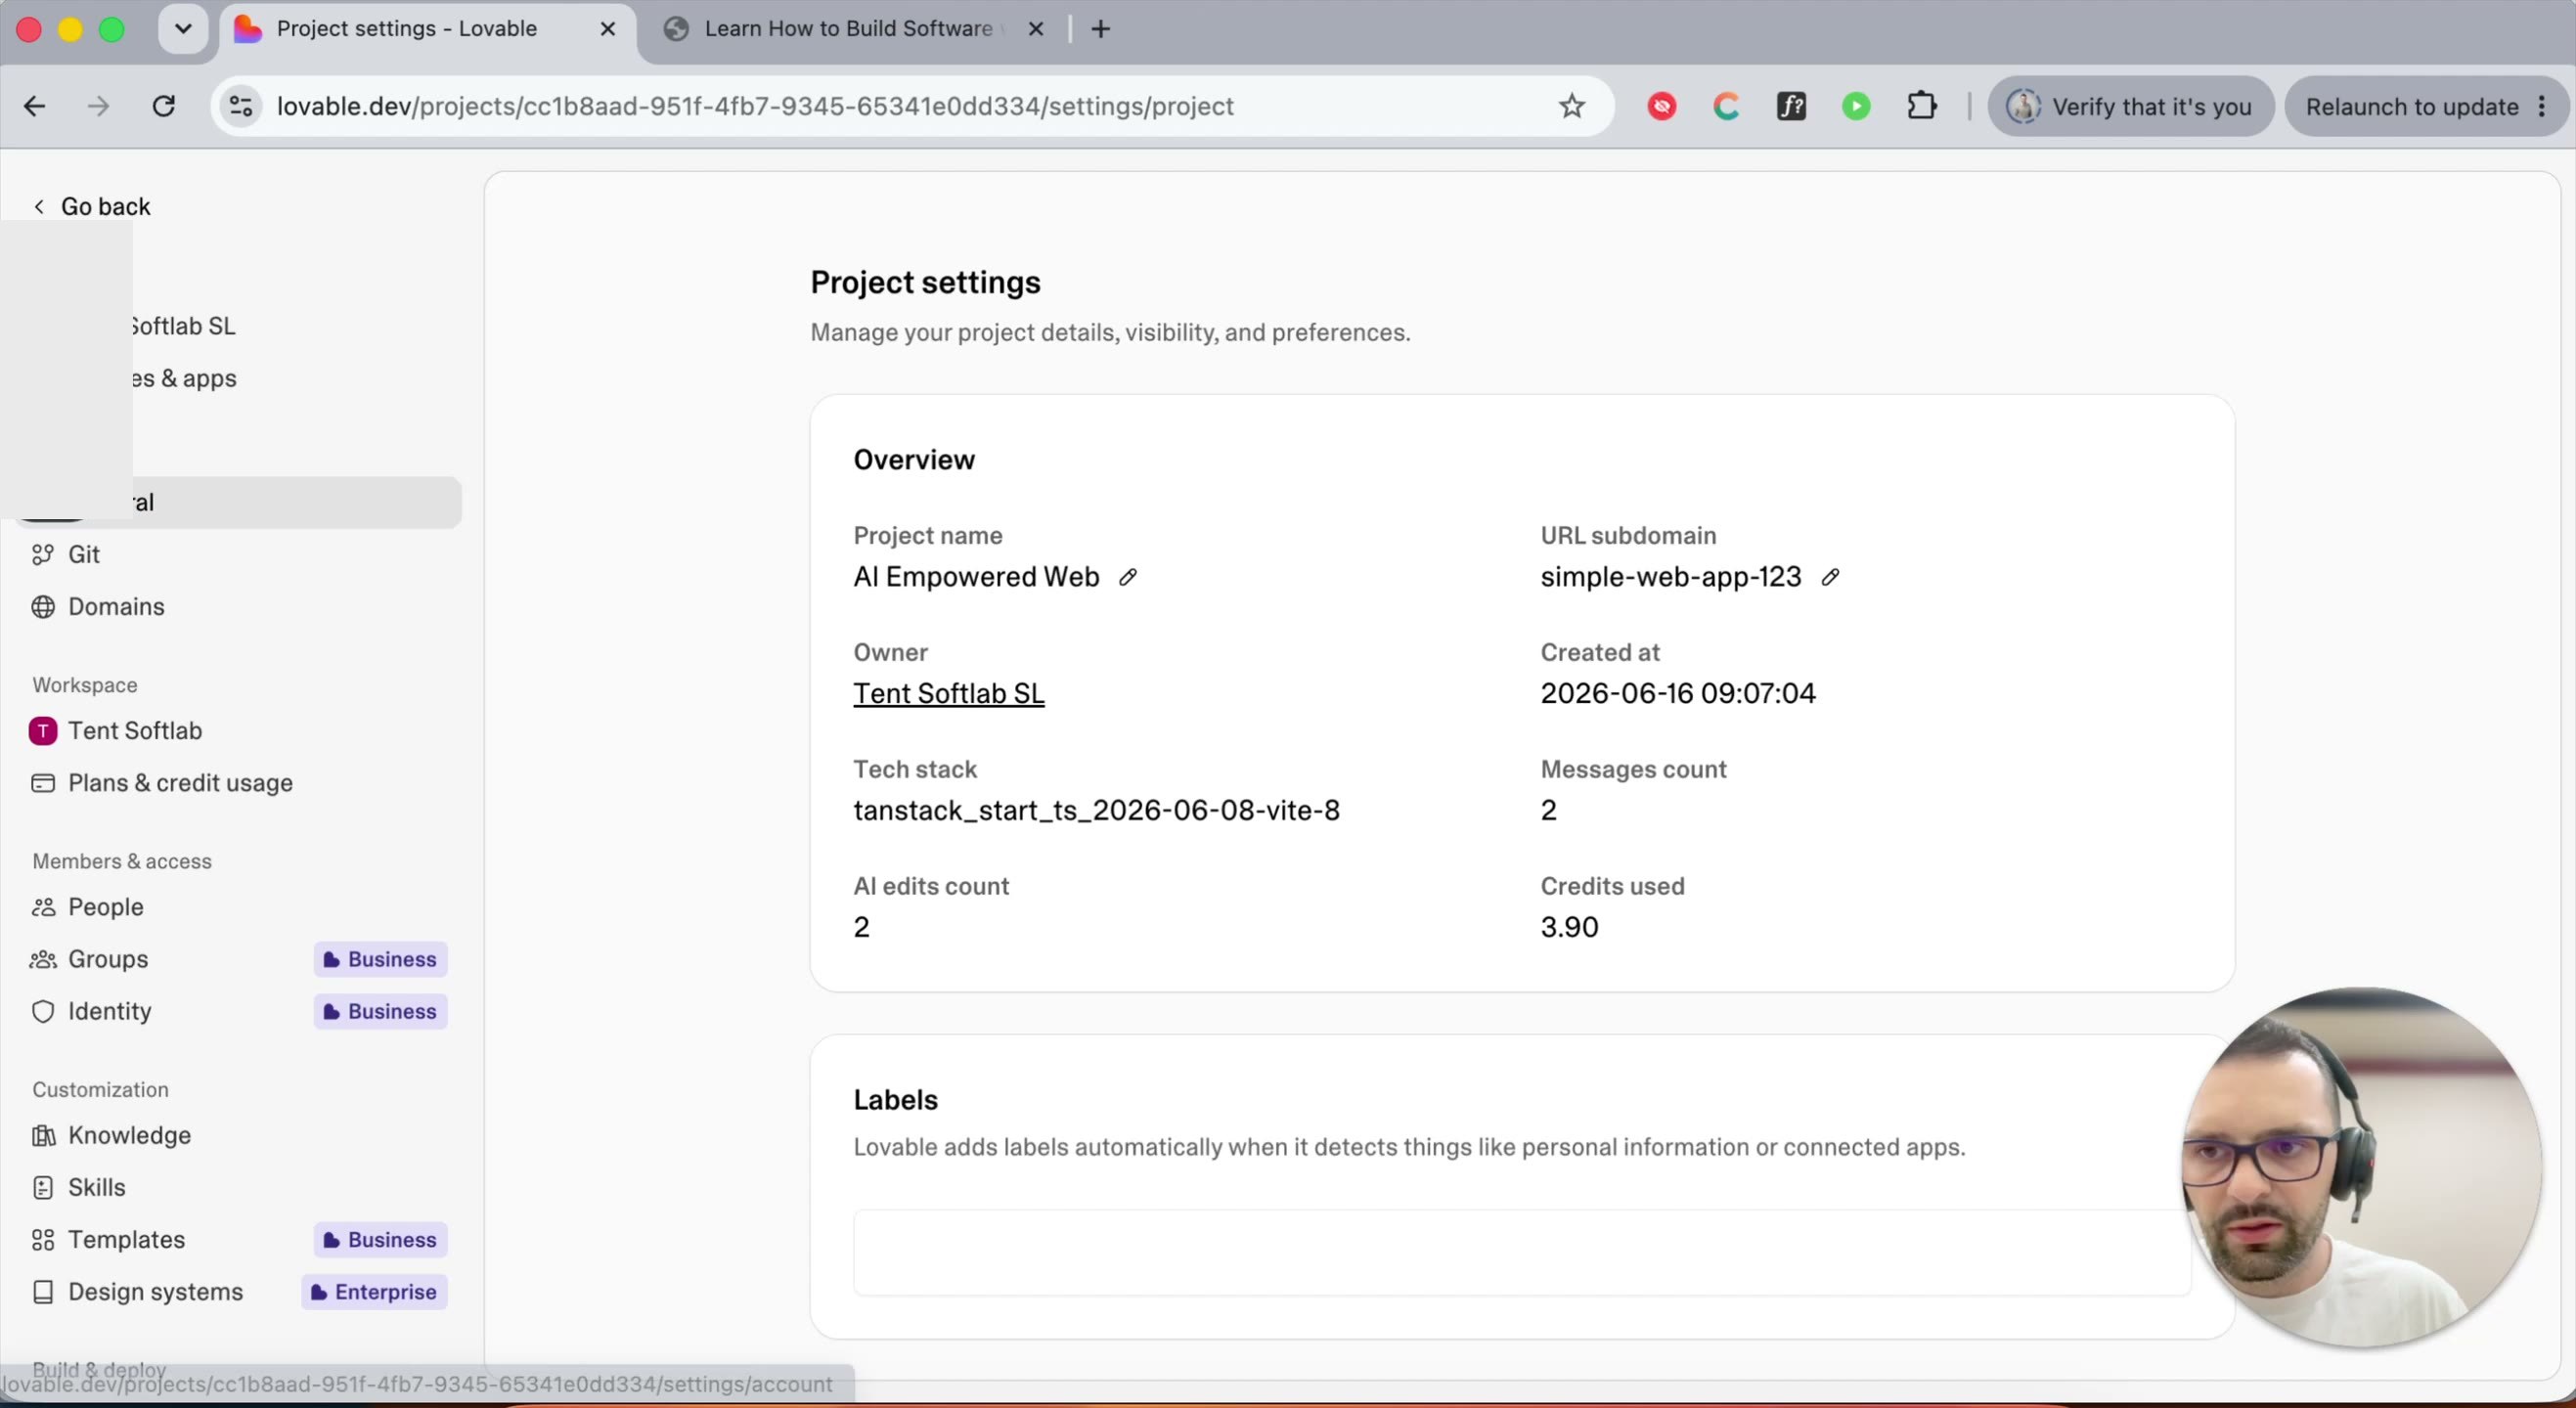
Step 9 — Open Project Settings. Back in the editor, open the project dropdown in the top-left corner and go to Settings.
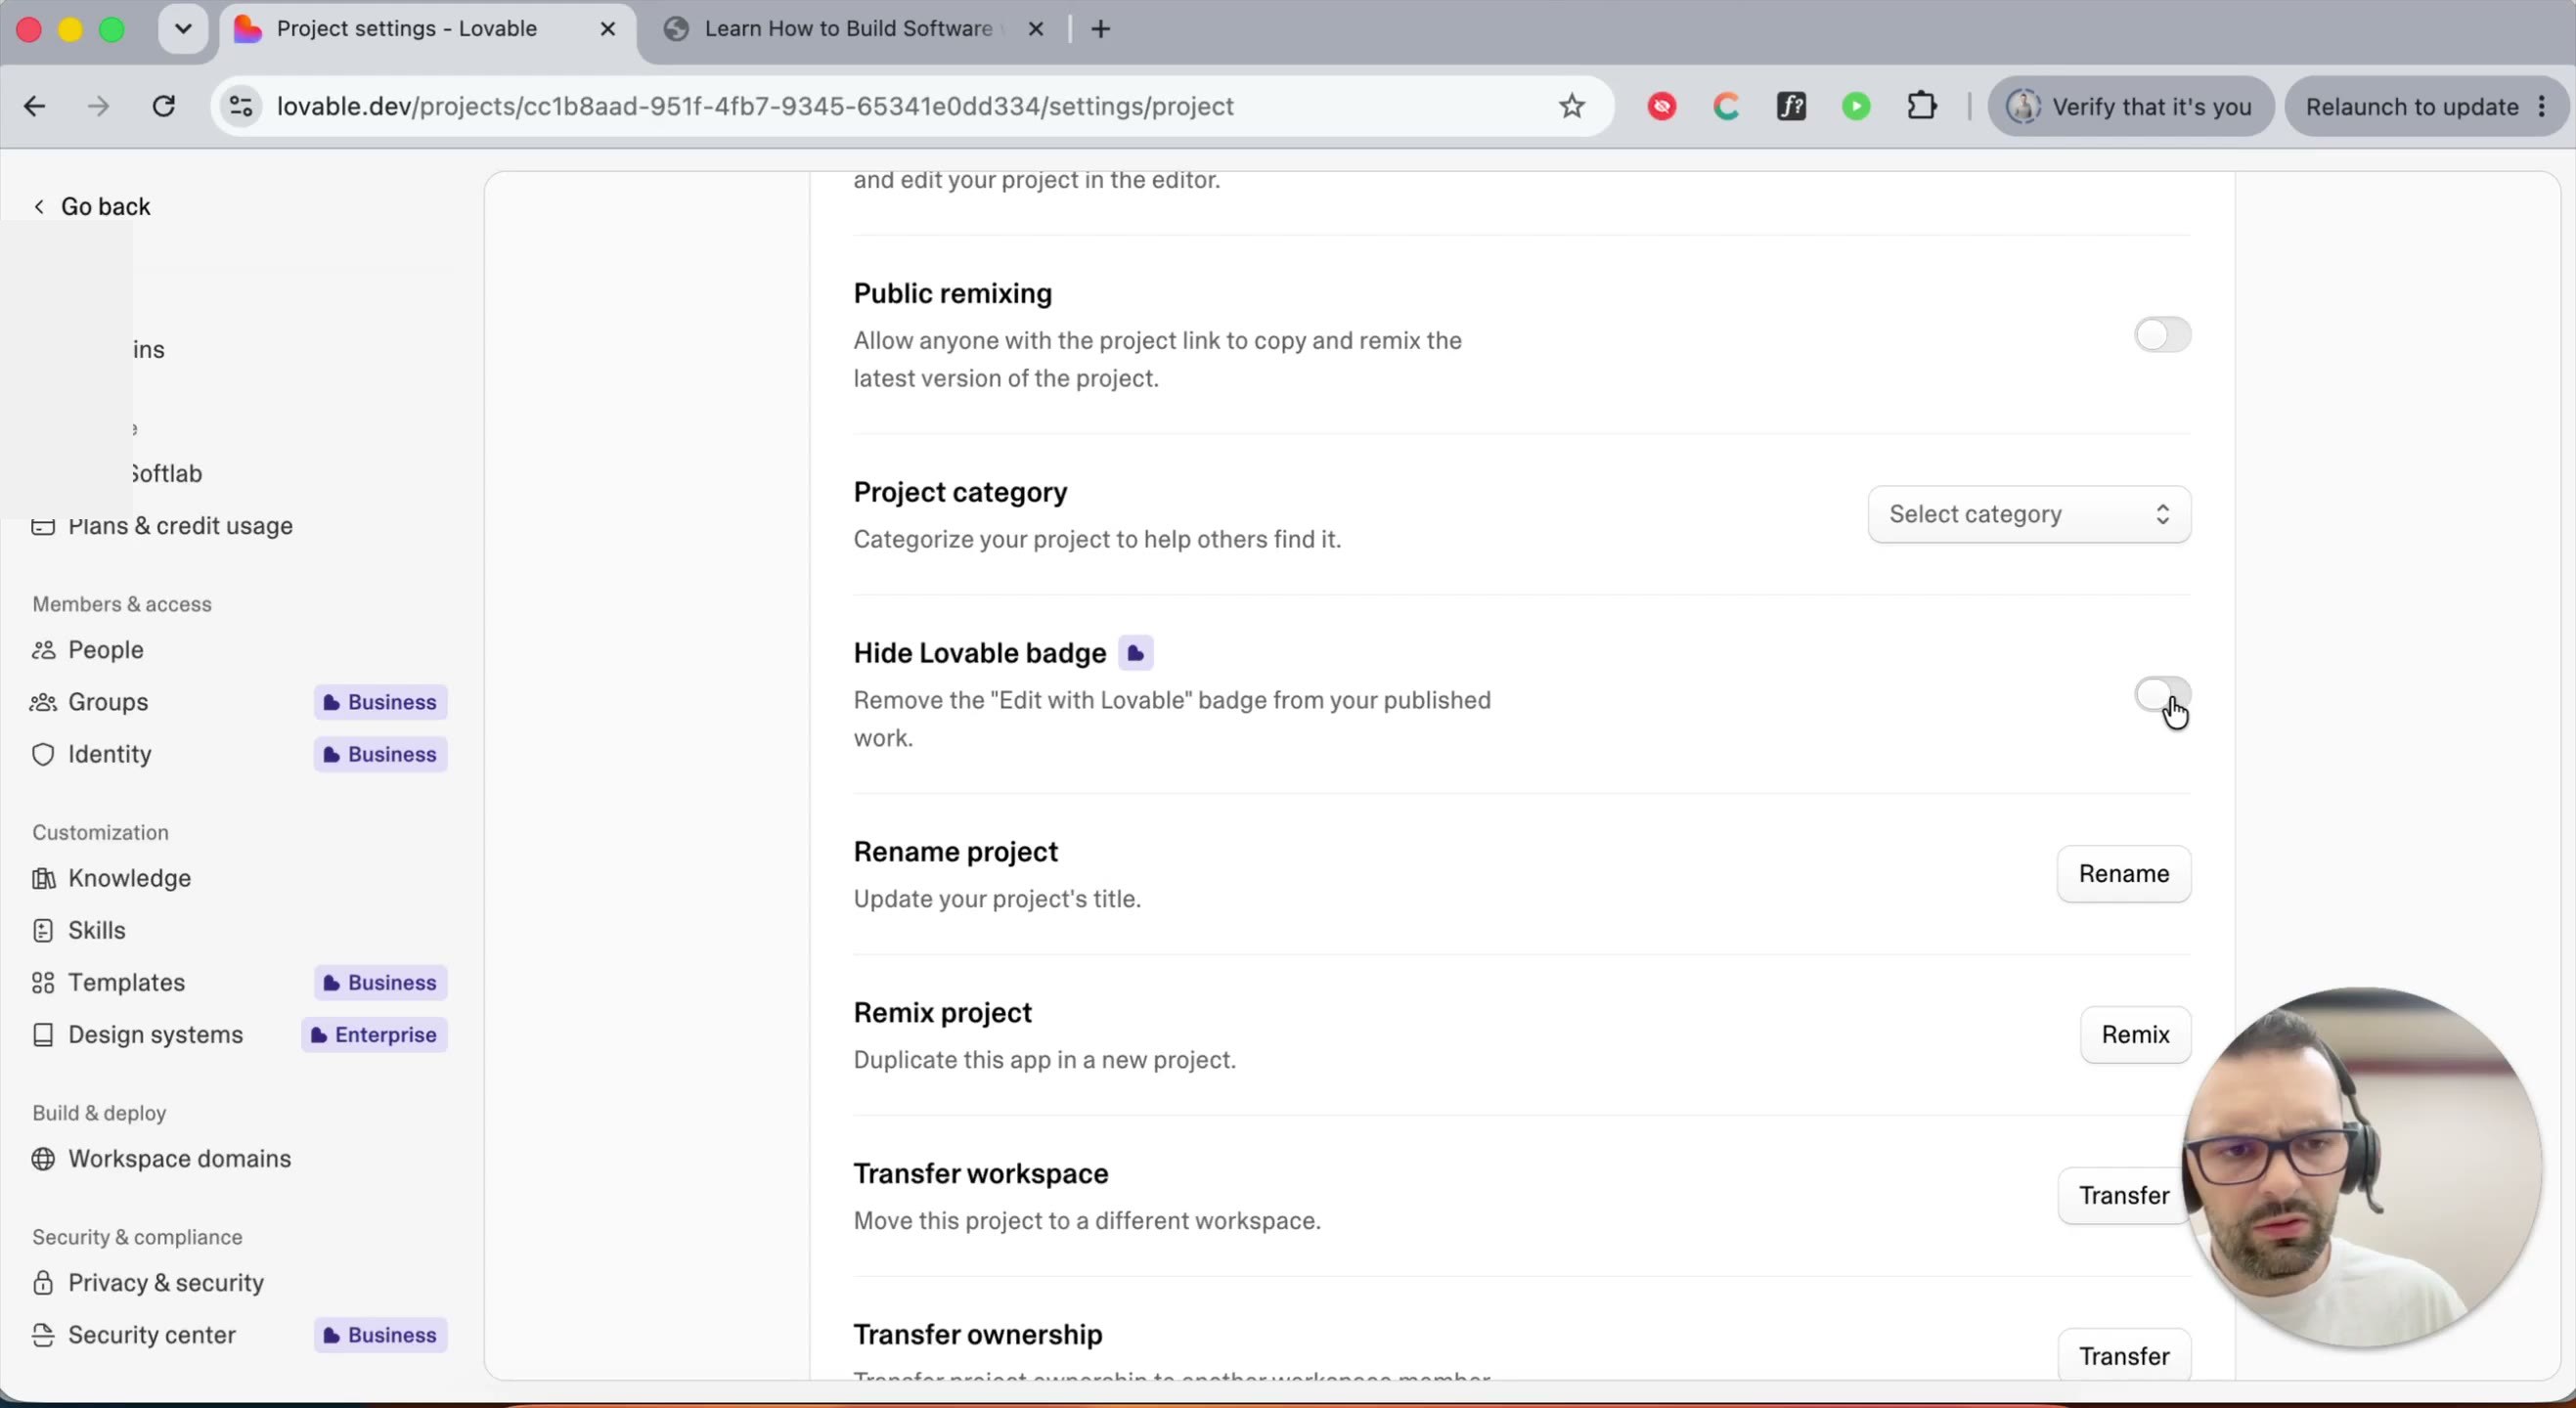
Step 10 — Toggle "Hide Lovable badge." Scroll down to find this setting and switch it on. Note: this requires a paid plan — it isn't available on the free tier.
Part 3: Make Changes and Republish
Publishing isn't a one-time action — every change needs to be republished before visitors can see it, the same way "deployment" works in traditional software.
Step 11 — Turn on the Visual Editor. For small text changes, you don't need an AI prompt. Click the pencil/edit tool in the toolbar under the preview.
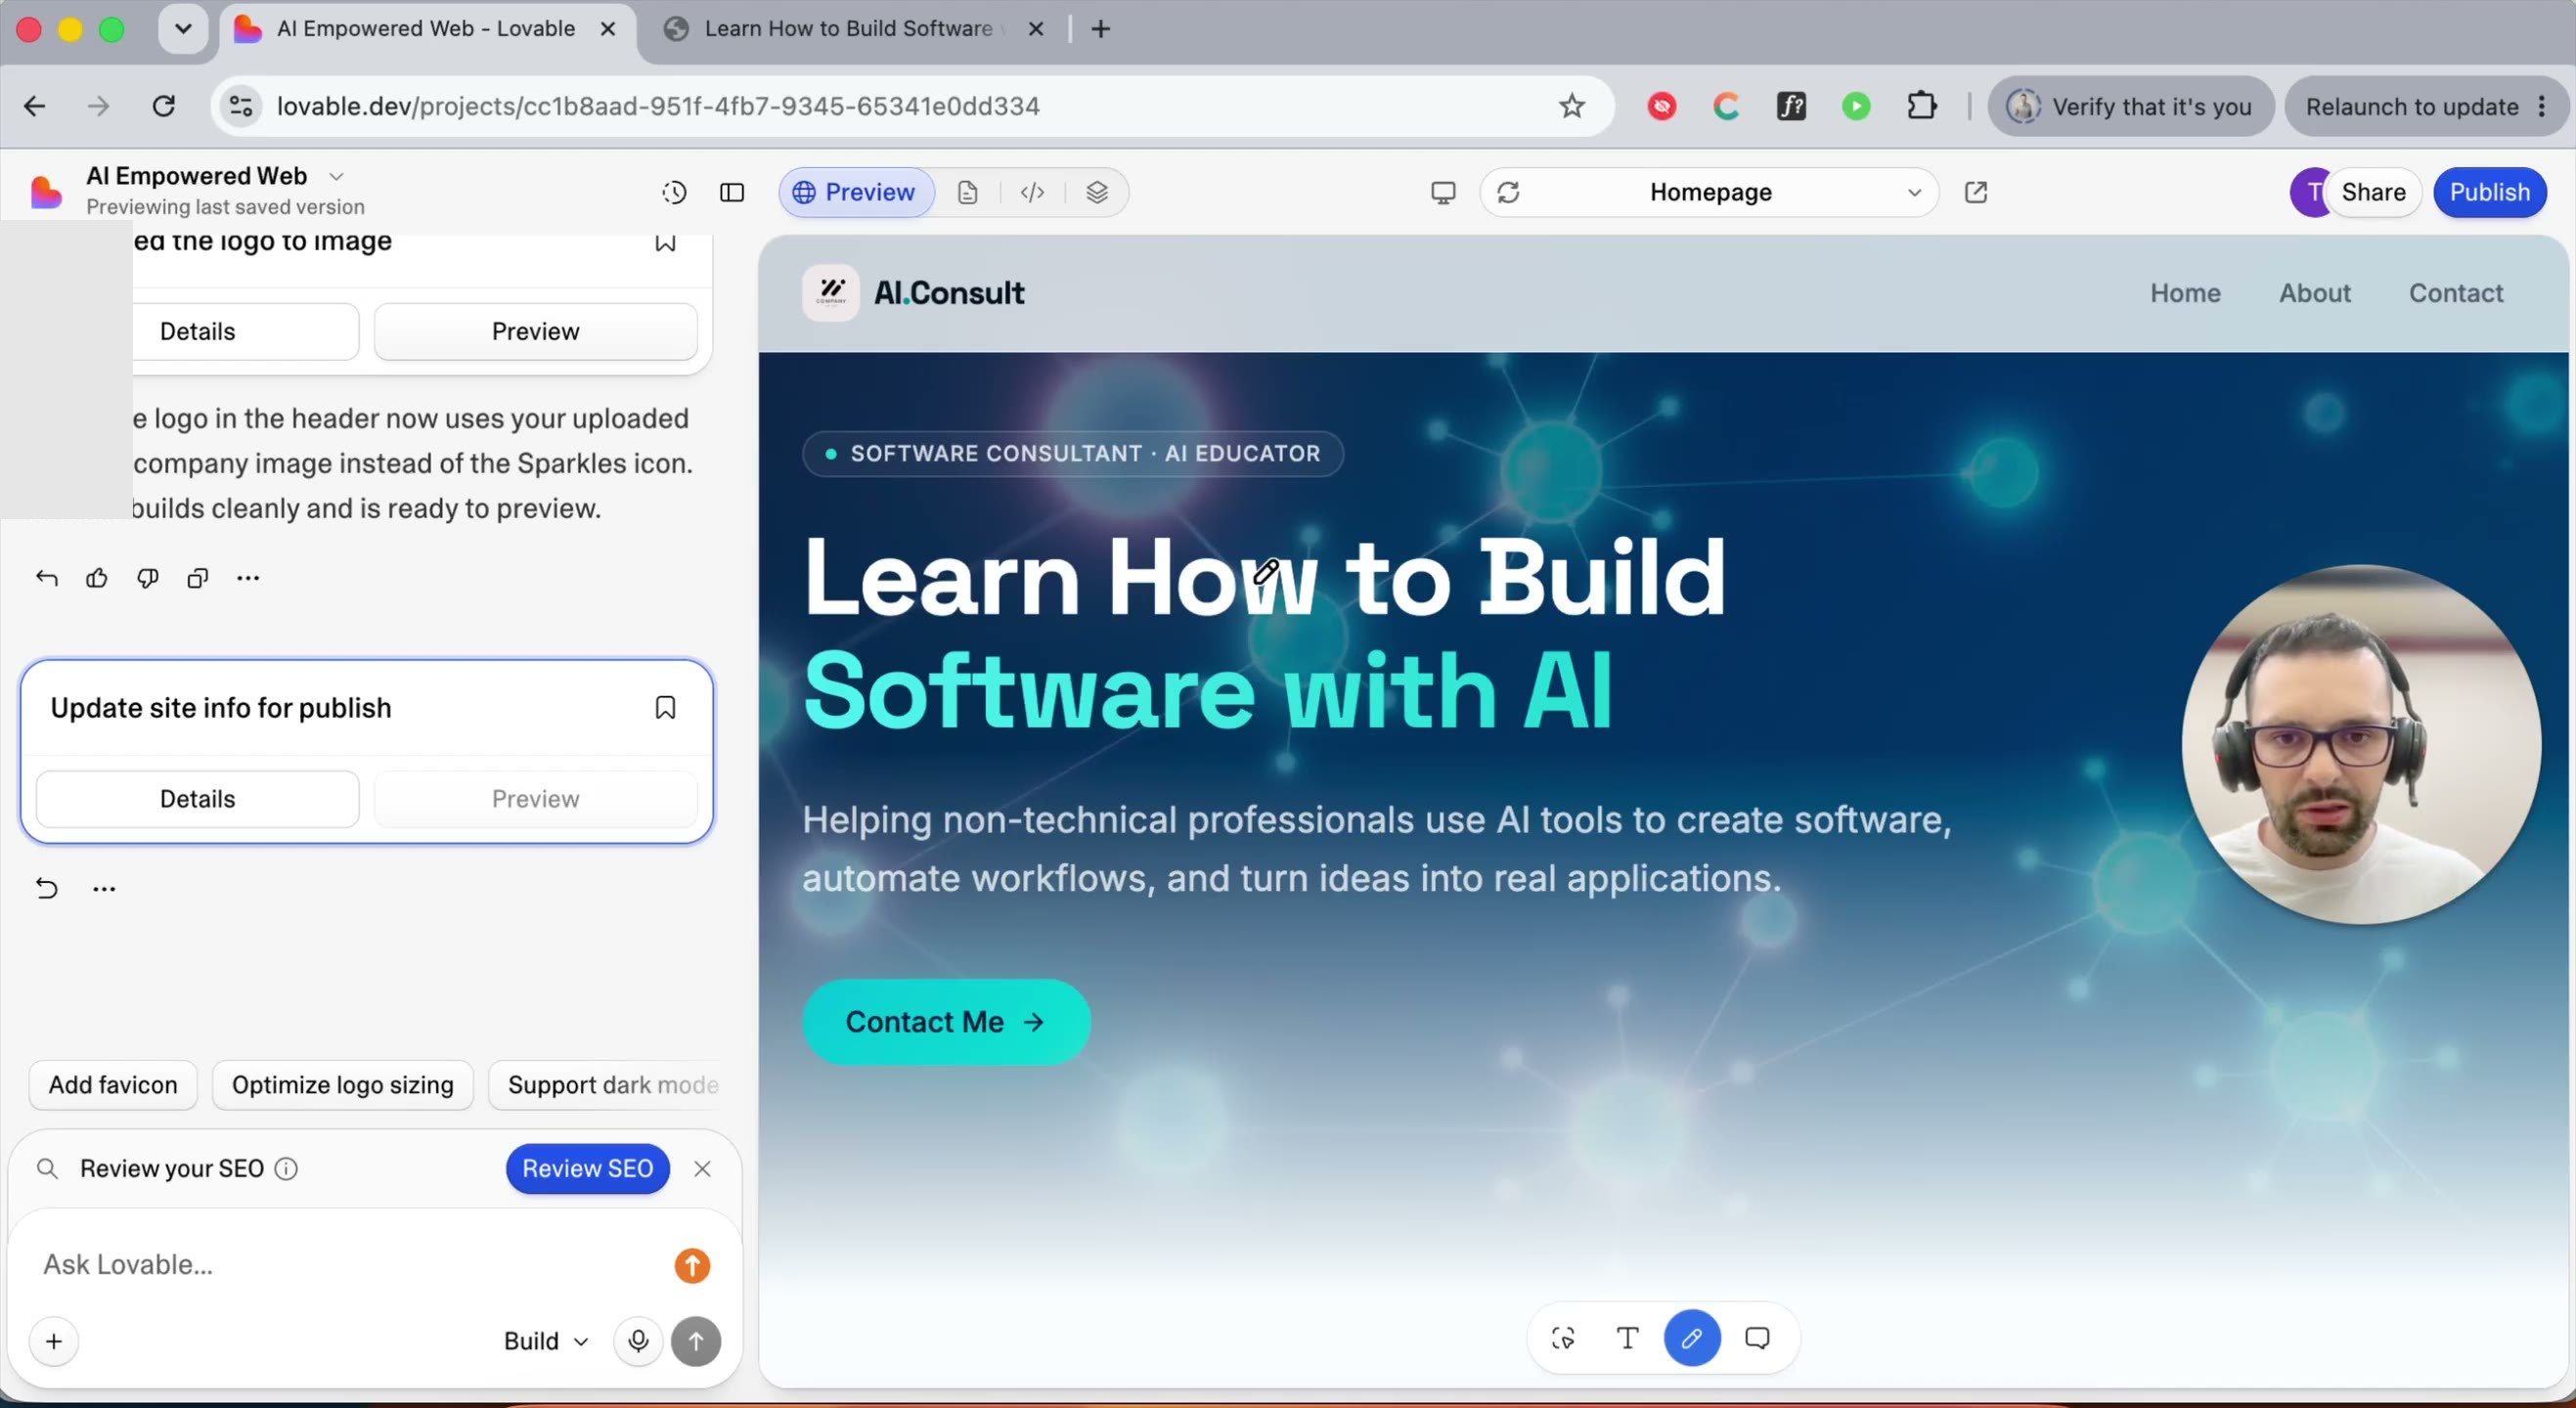
Step 12 — Edit text directly on the page. Double-click any text to select it, type your replacement, then click elsewhere to confirm. No credits spent.
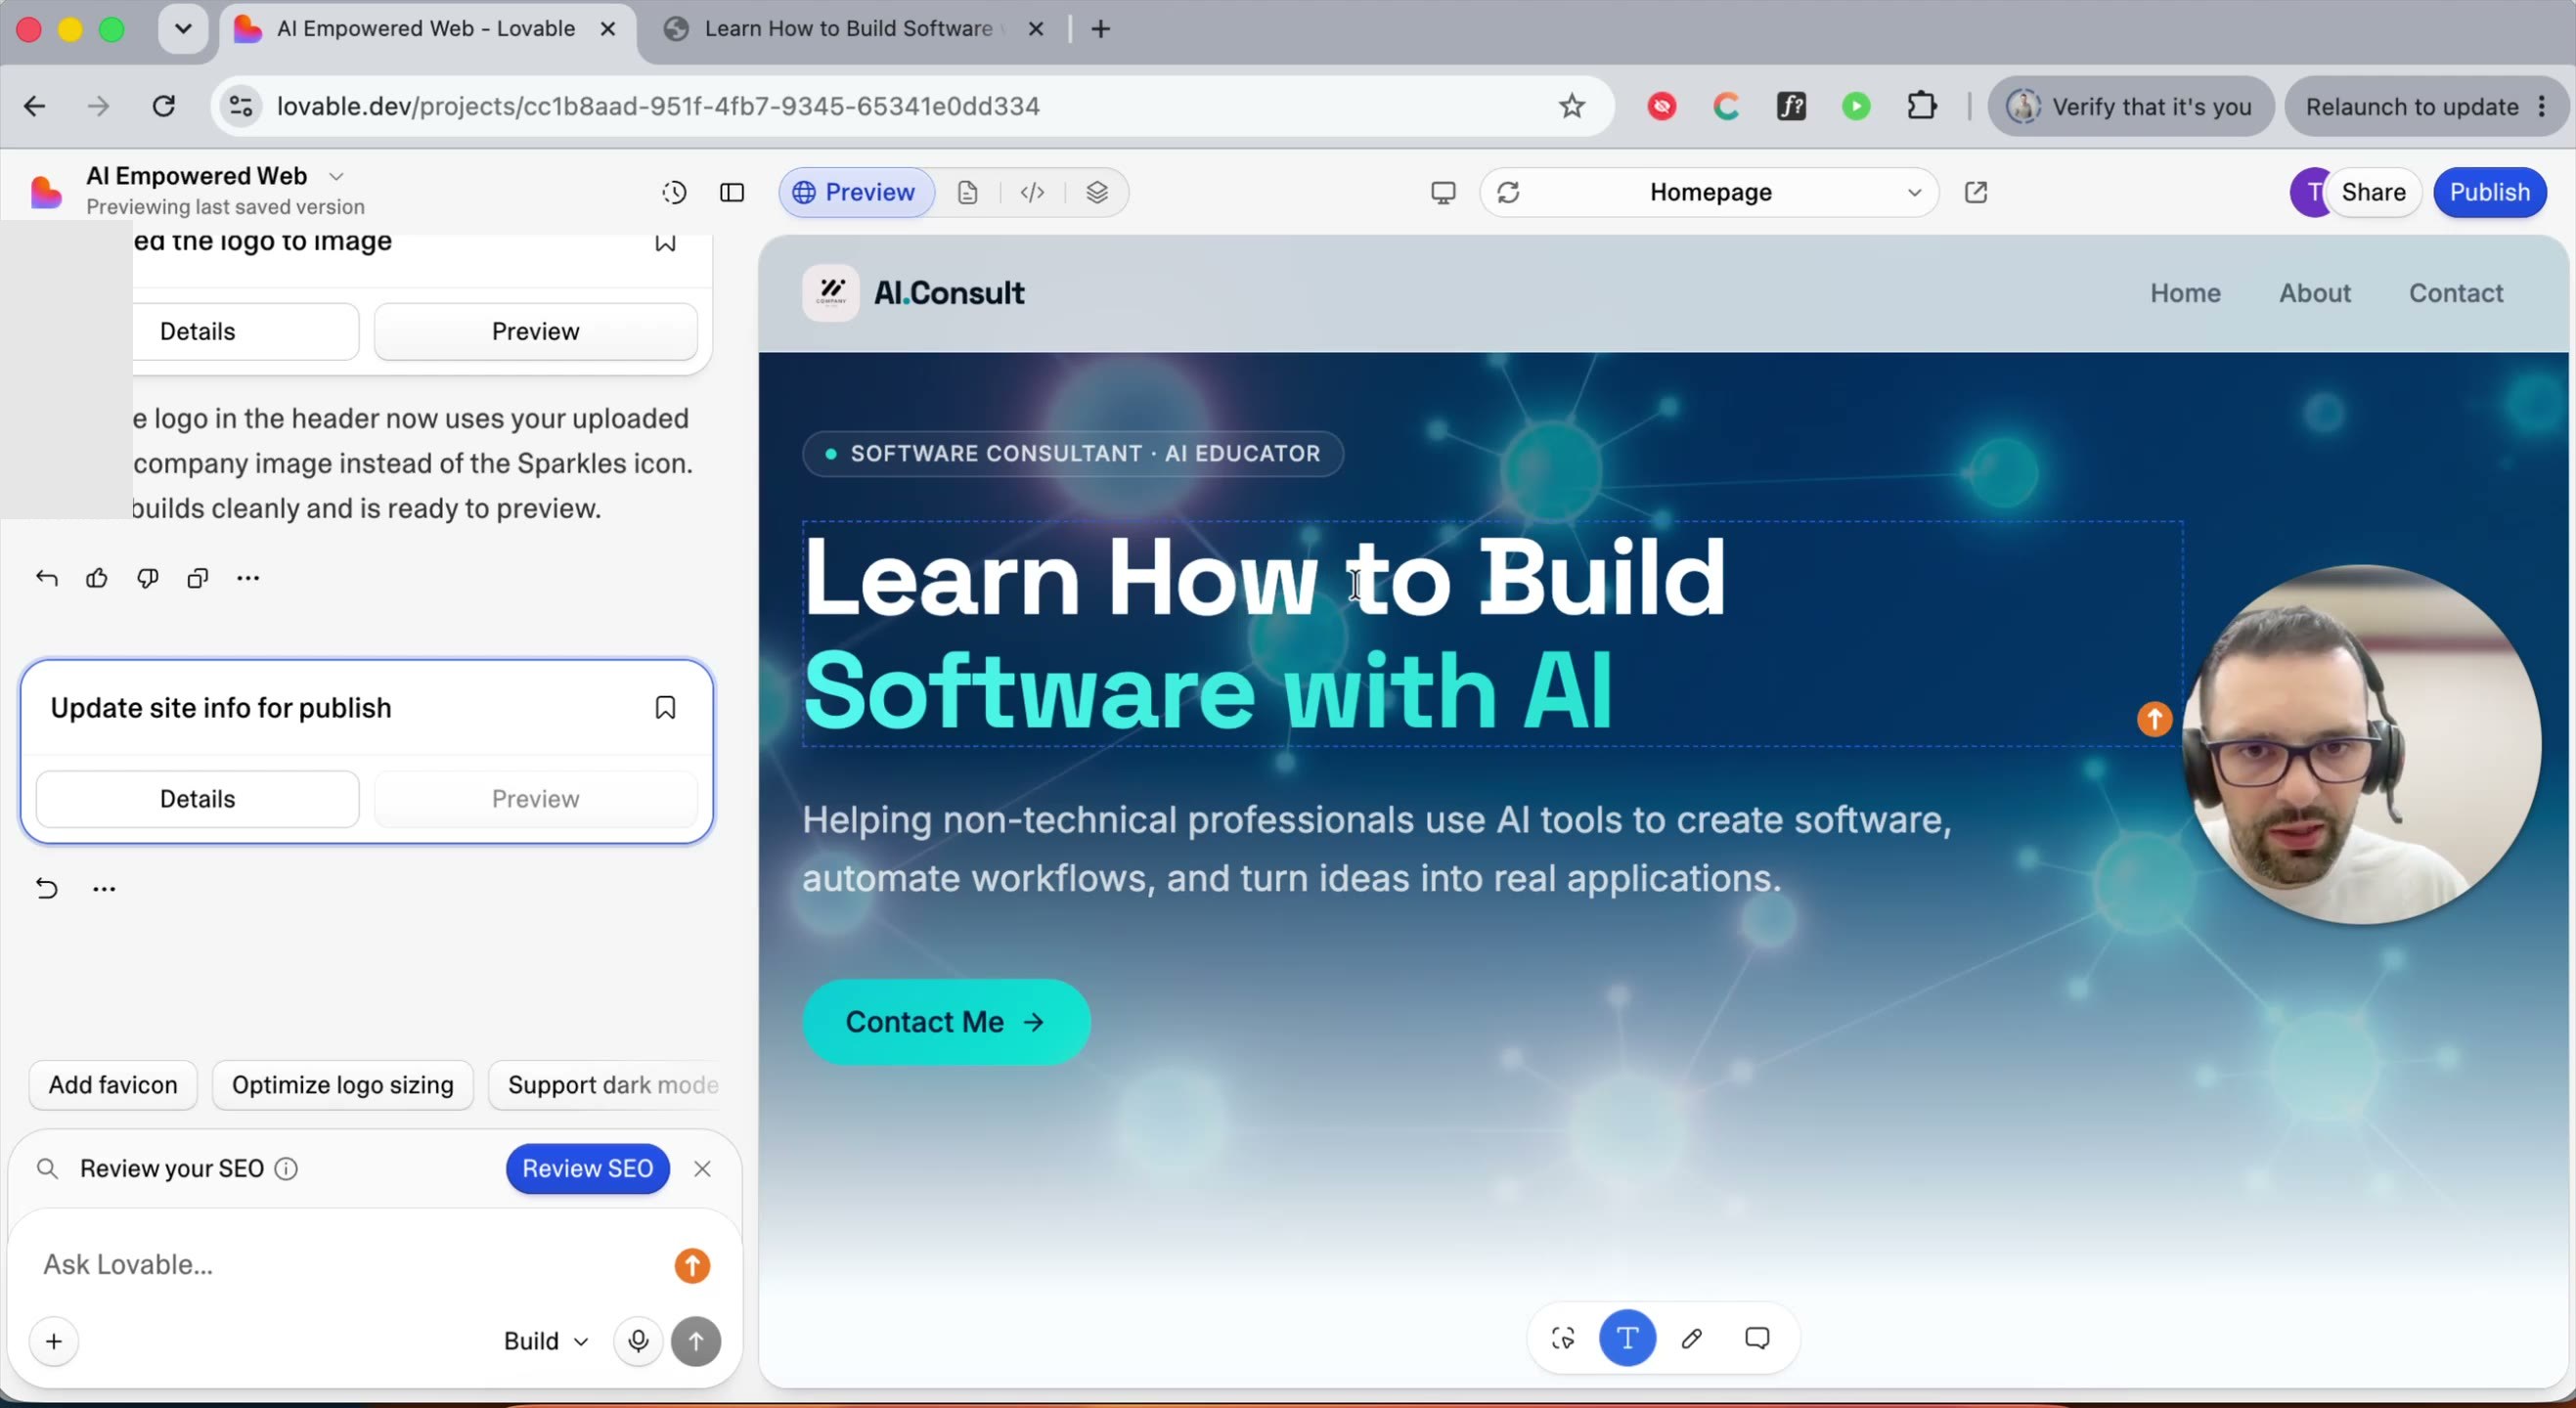
Step 13 — Notice the unpublished-changes indicator. After any edit, a small dot appears on the Publish button — this means there are changes your visitors can't see yet.
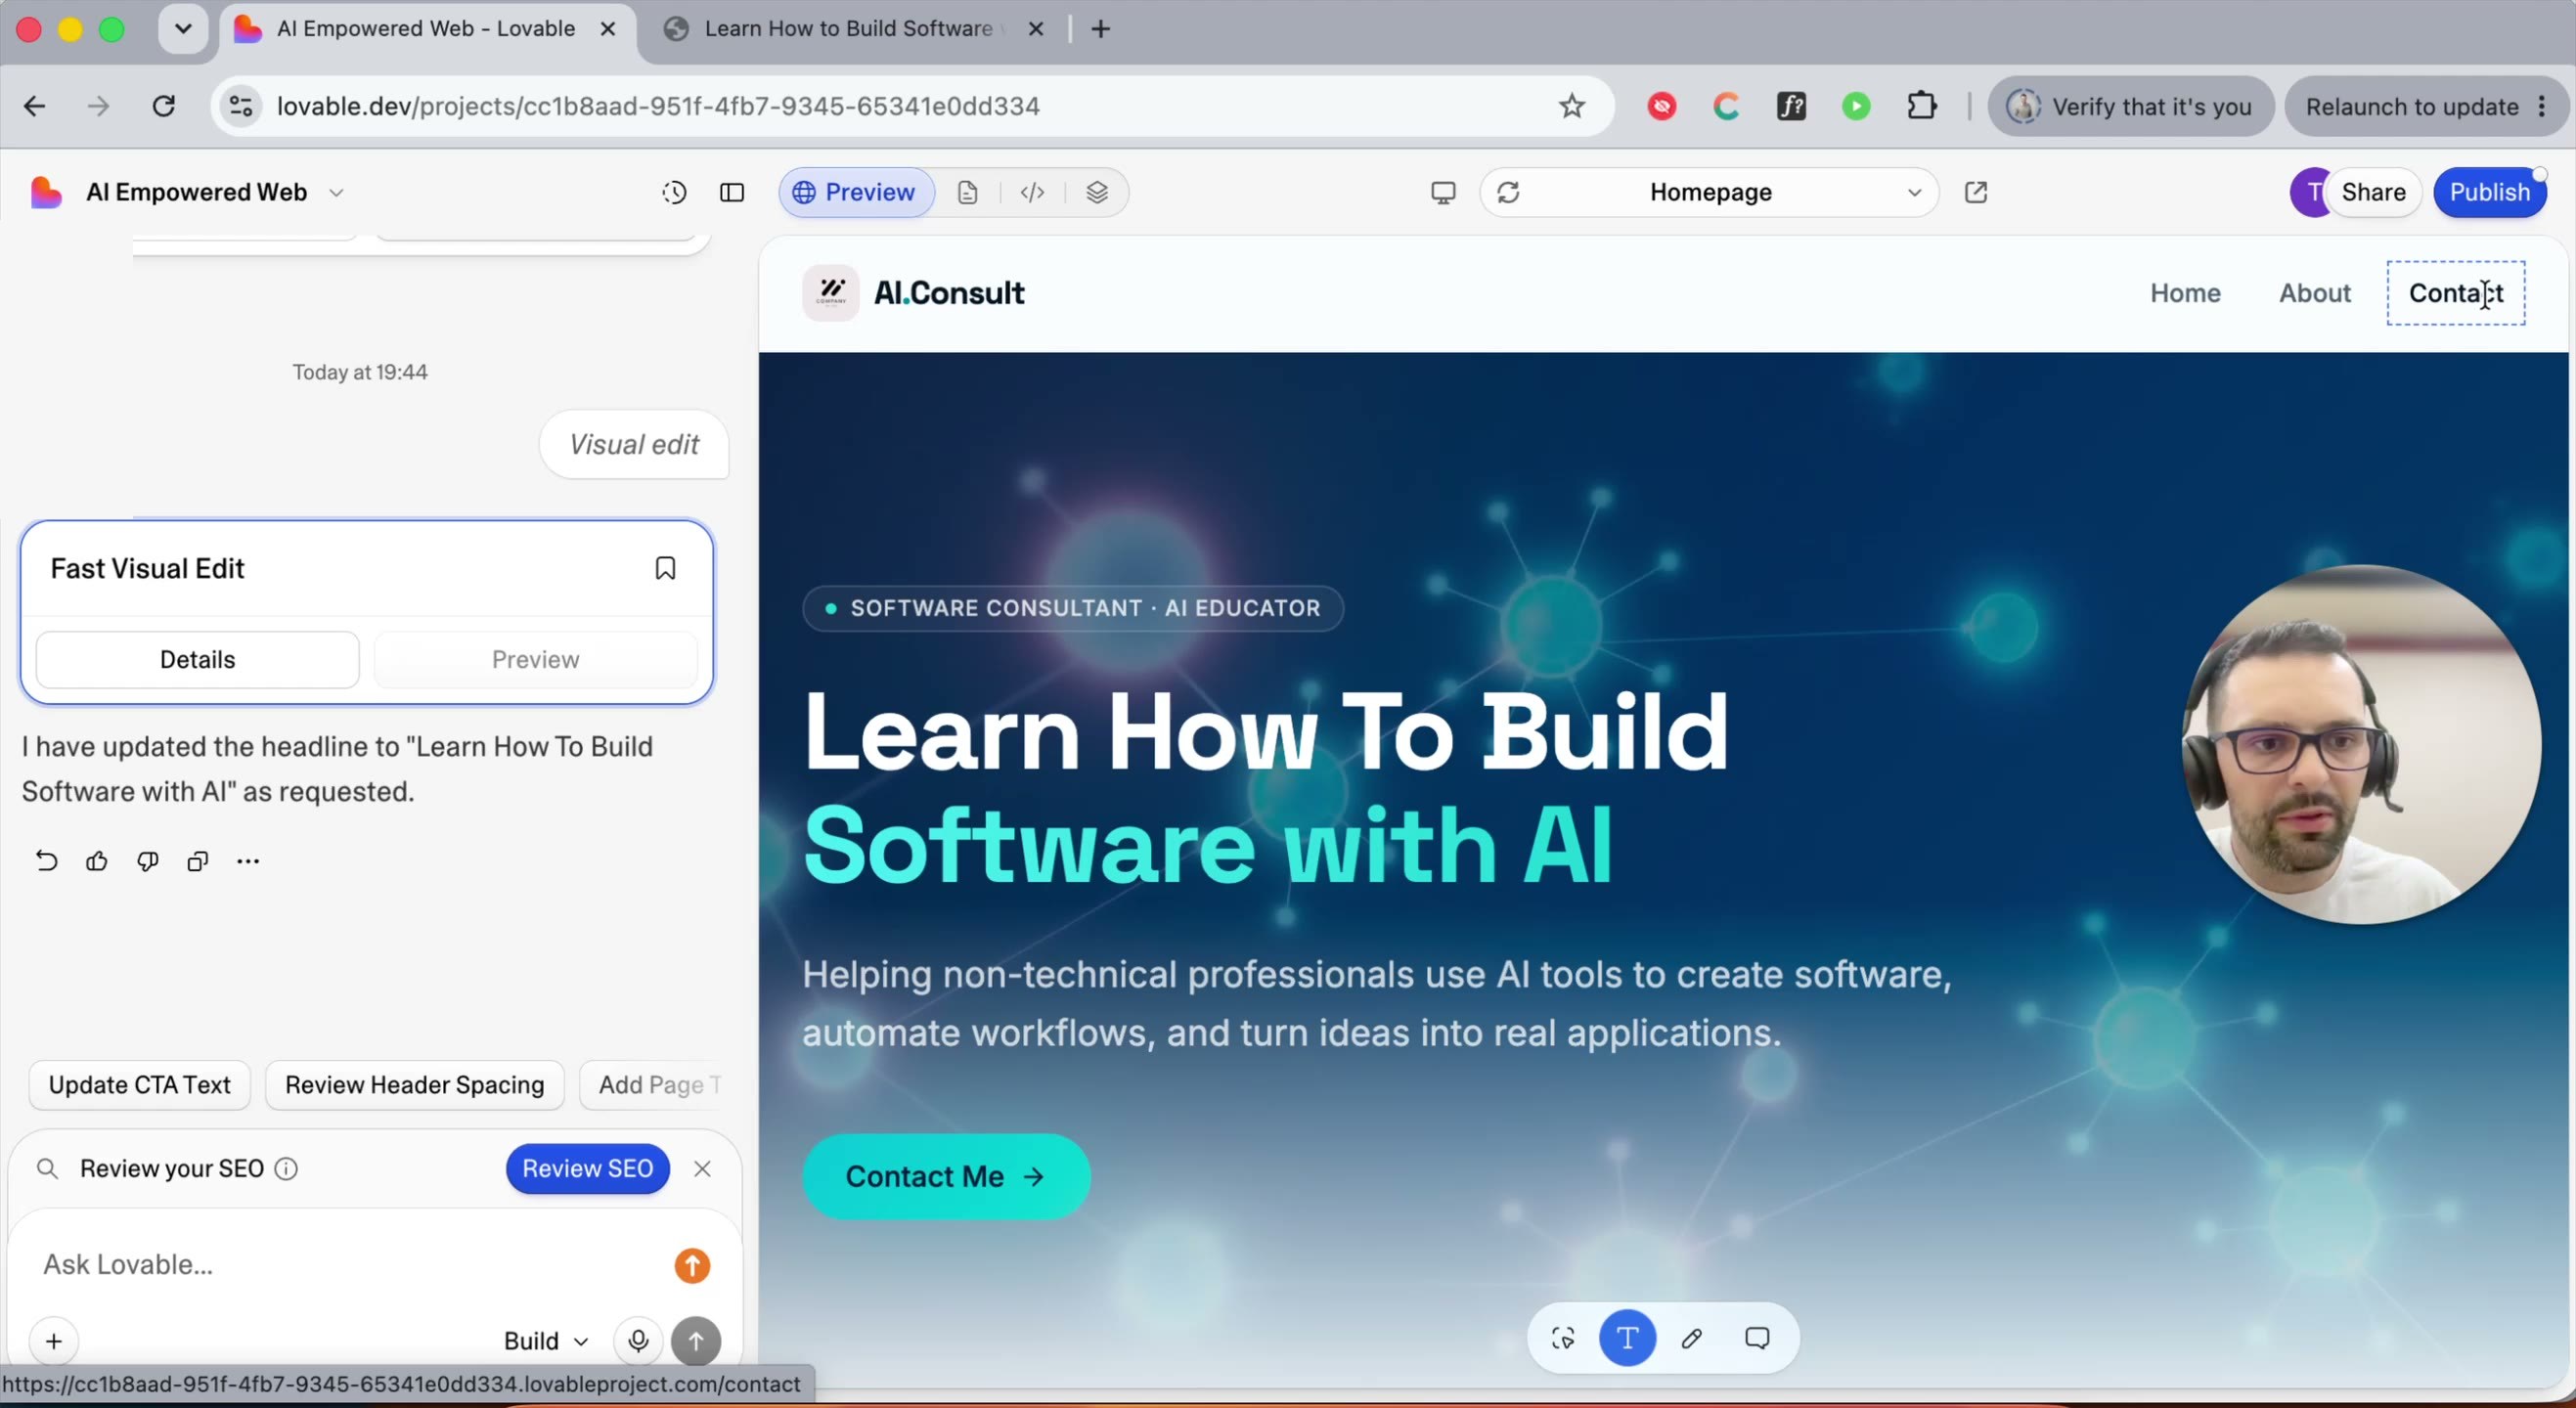
Step 14 — Republish. Click Publish, then click Update. This usually takes under a minute, faster than the very first publish.
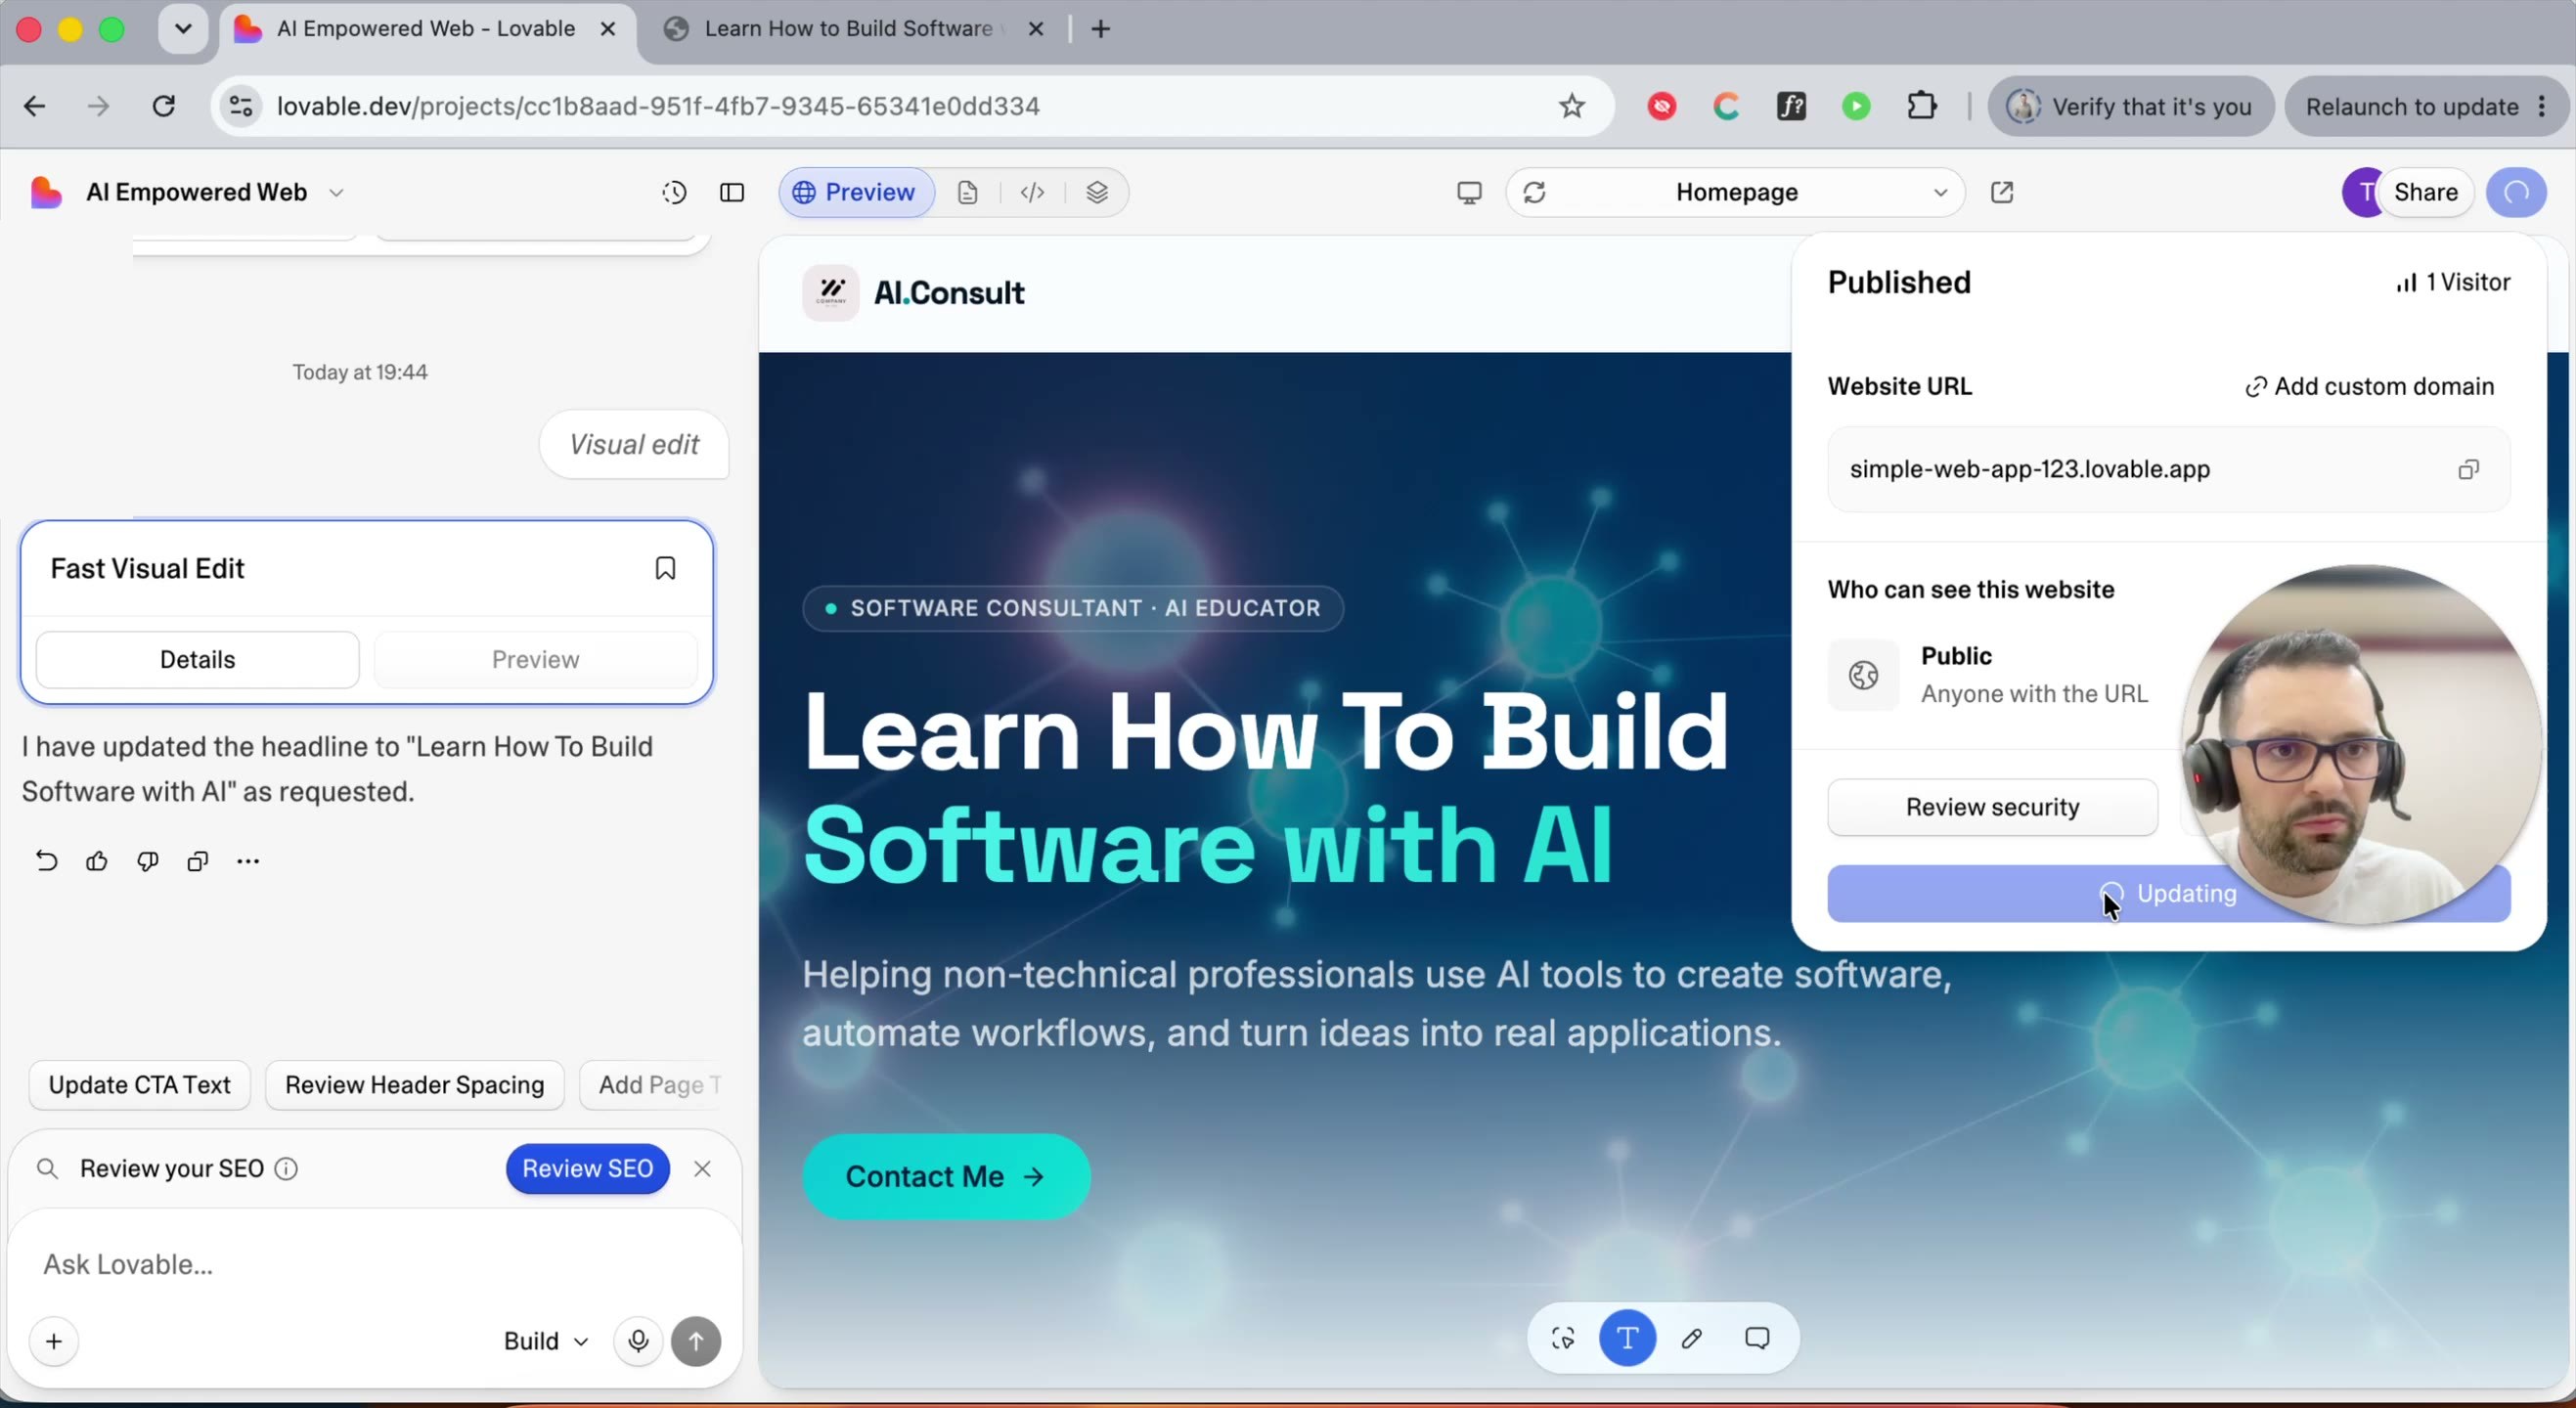
Part 4: Buy and Connect a Custom Domain
A custom domain has to be purchased (technically leased, usually yearly) regardless of what tool you build with — that hasn't changed with AI. You can buy one directly through Lovable (which integrates with providers like IONOS), or buy elsewhere — GoDaddy, HostGator, Cloudflare, and others all work — and connect it via name servers.
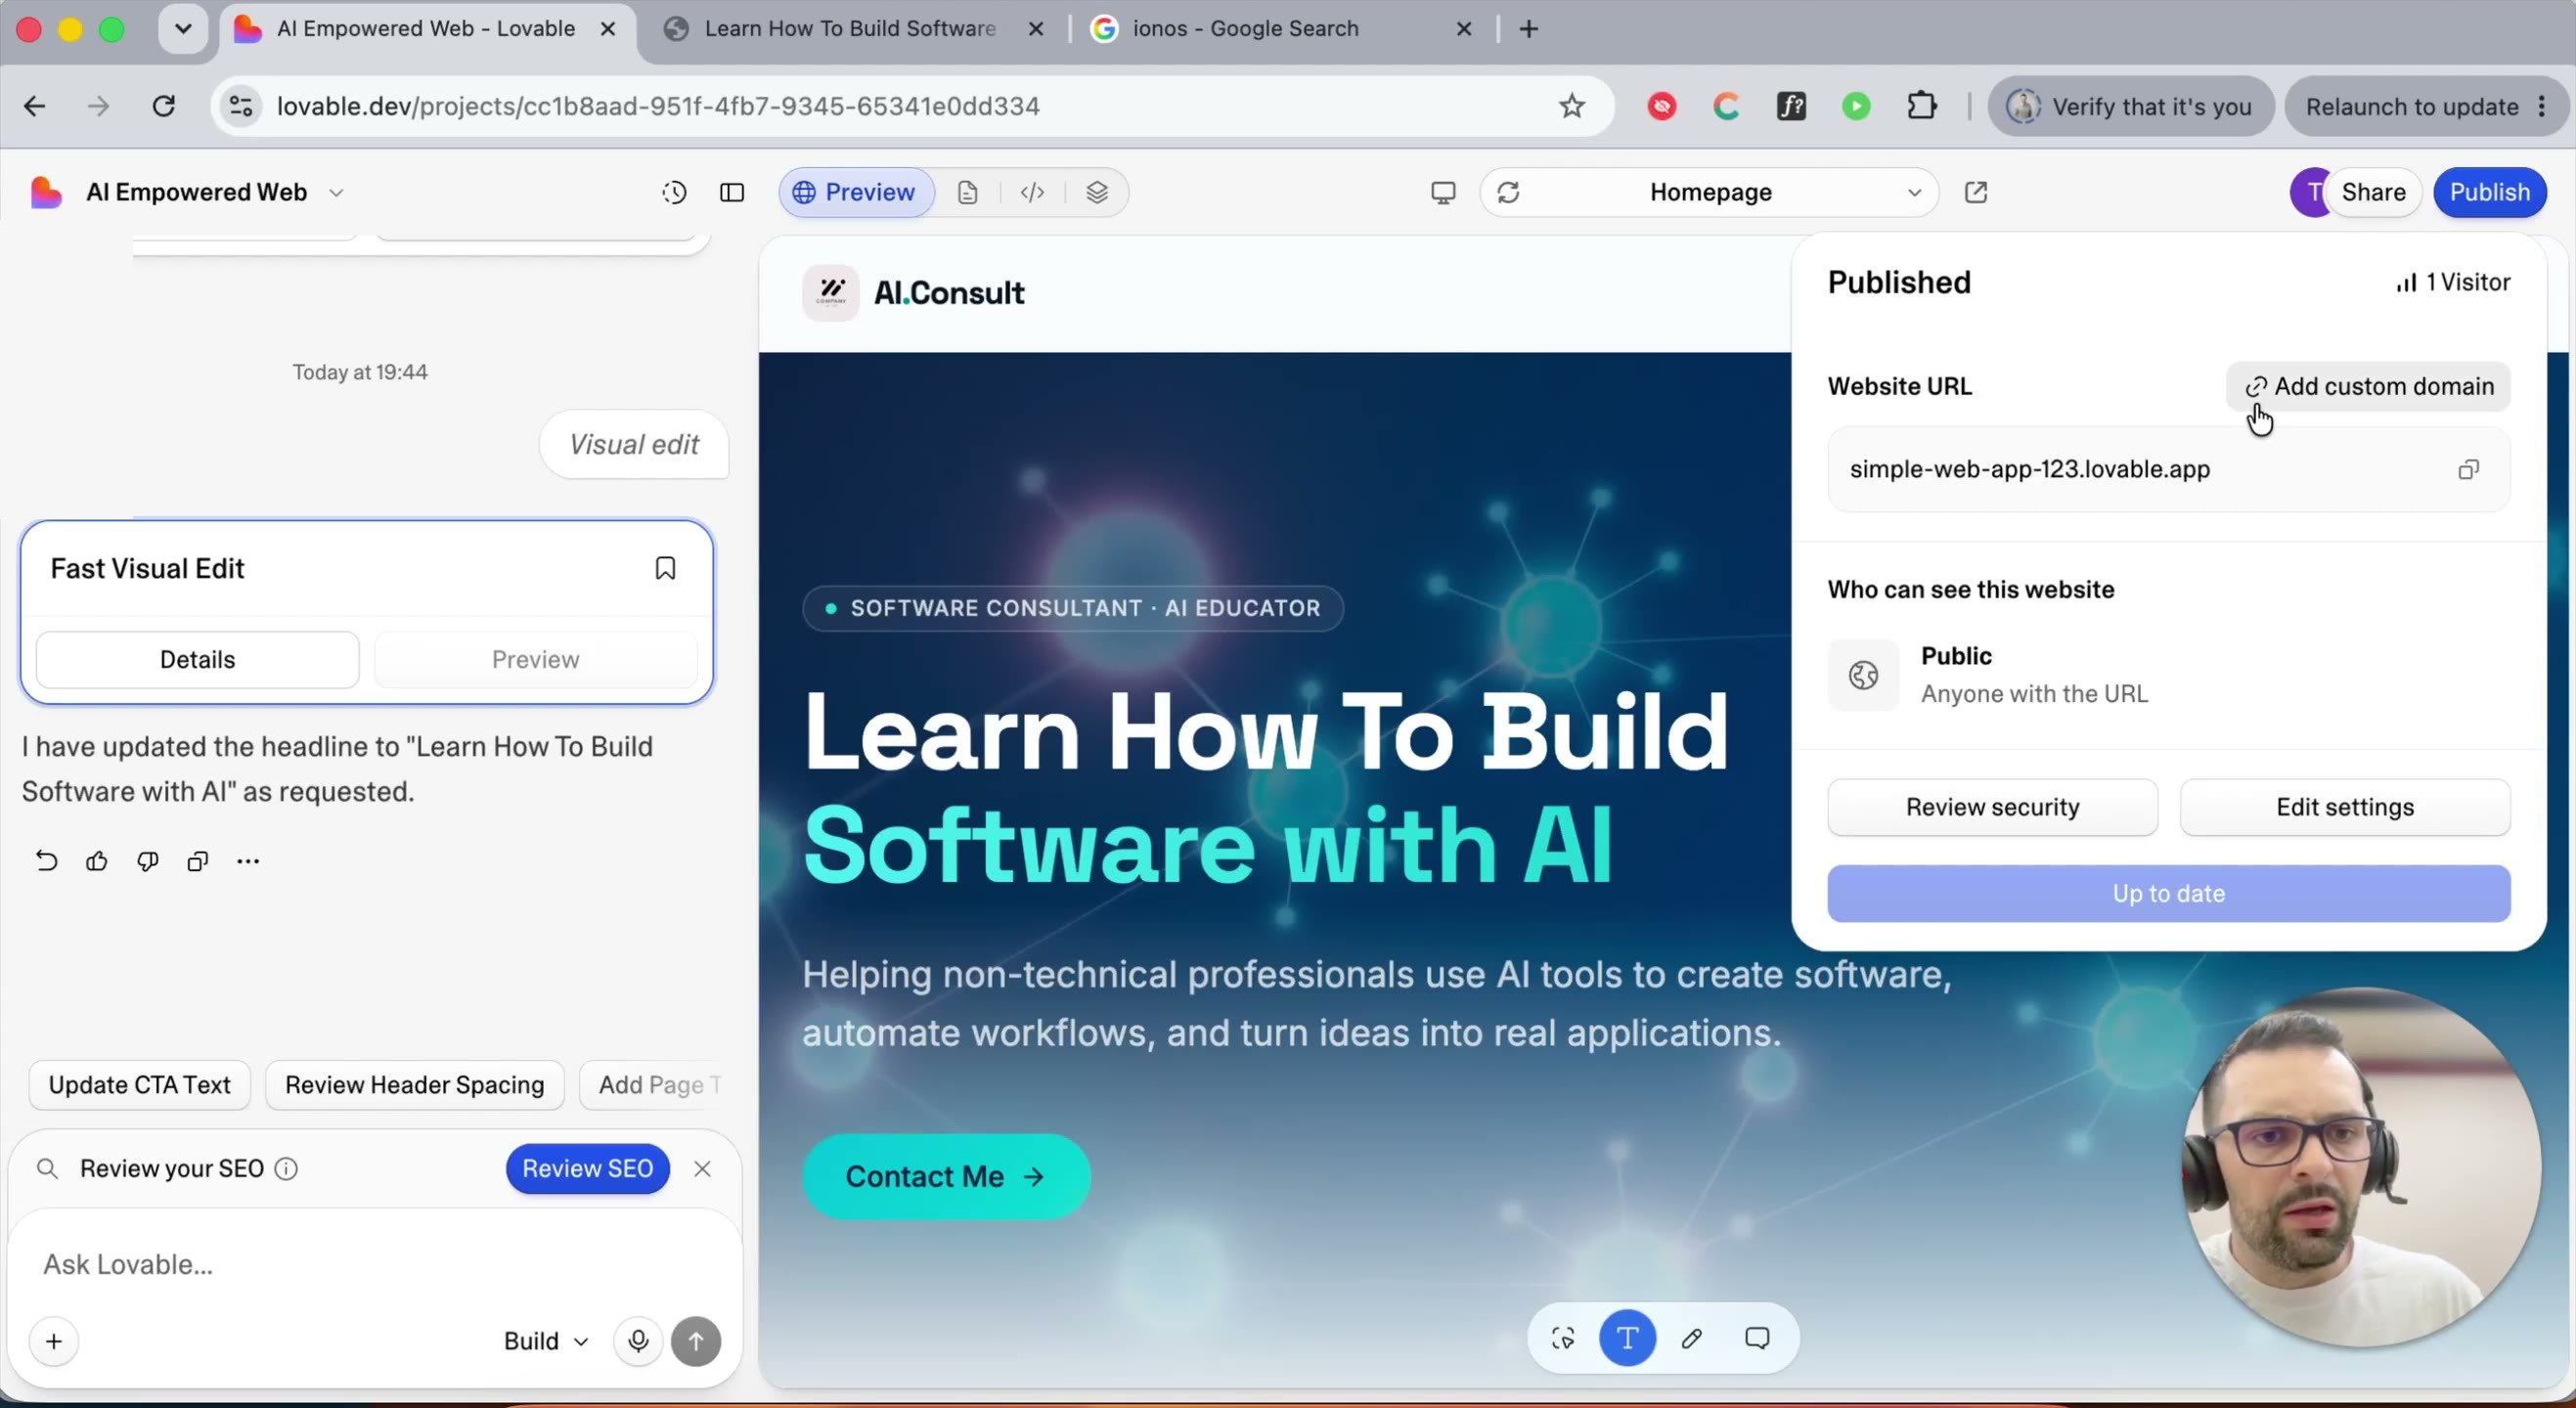
Step 15 — Start adding a custom domain. From the Publish panel, click Add custom domain. (You can also get here via Project Settings → Domains.)
Step 16 — Search for a domain and compare pricing by ending. Type a name to search; results show live pricing across different endings.
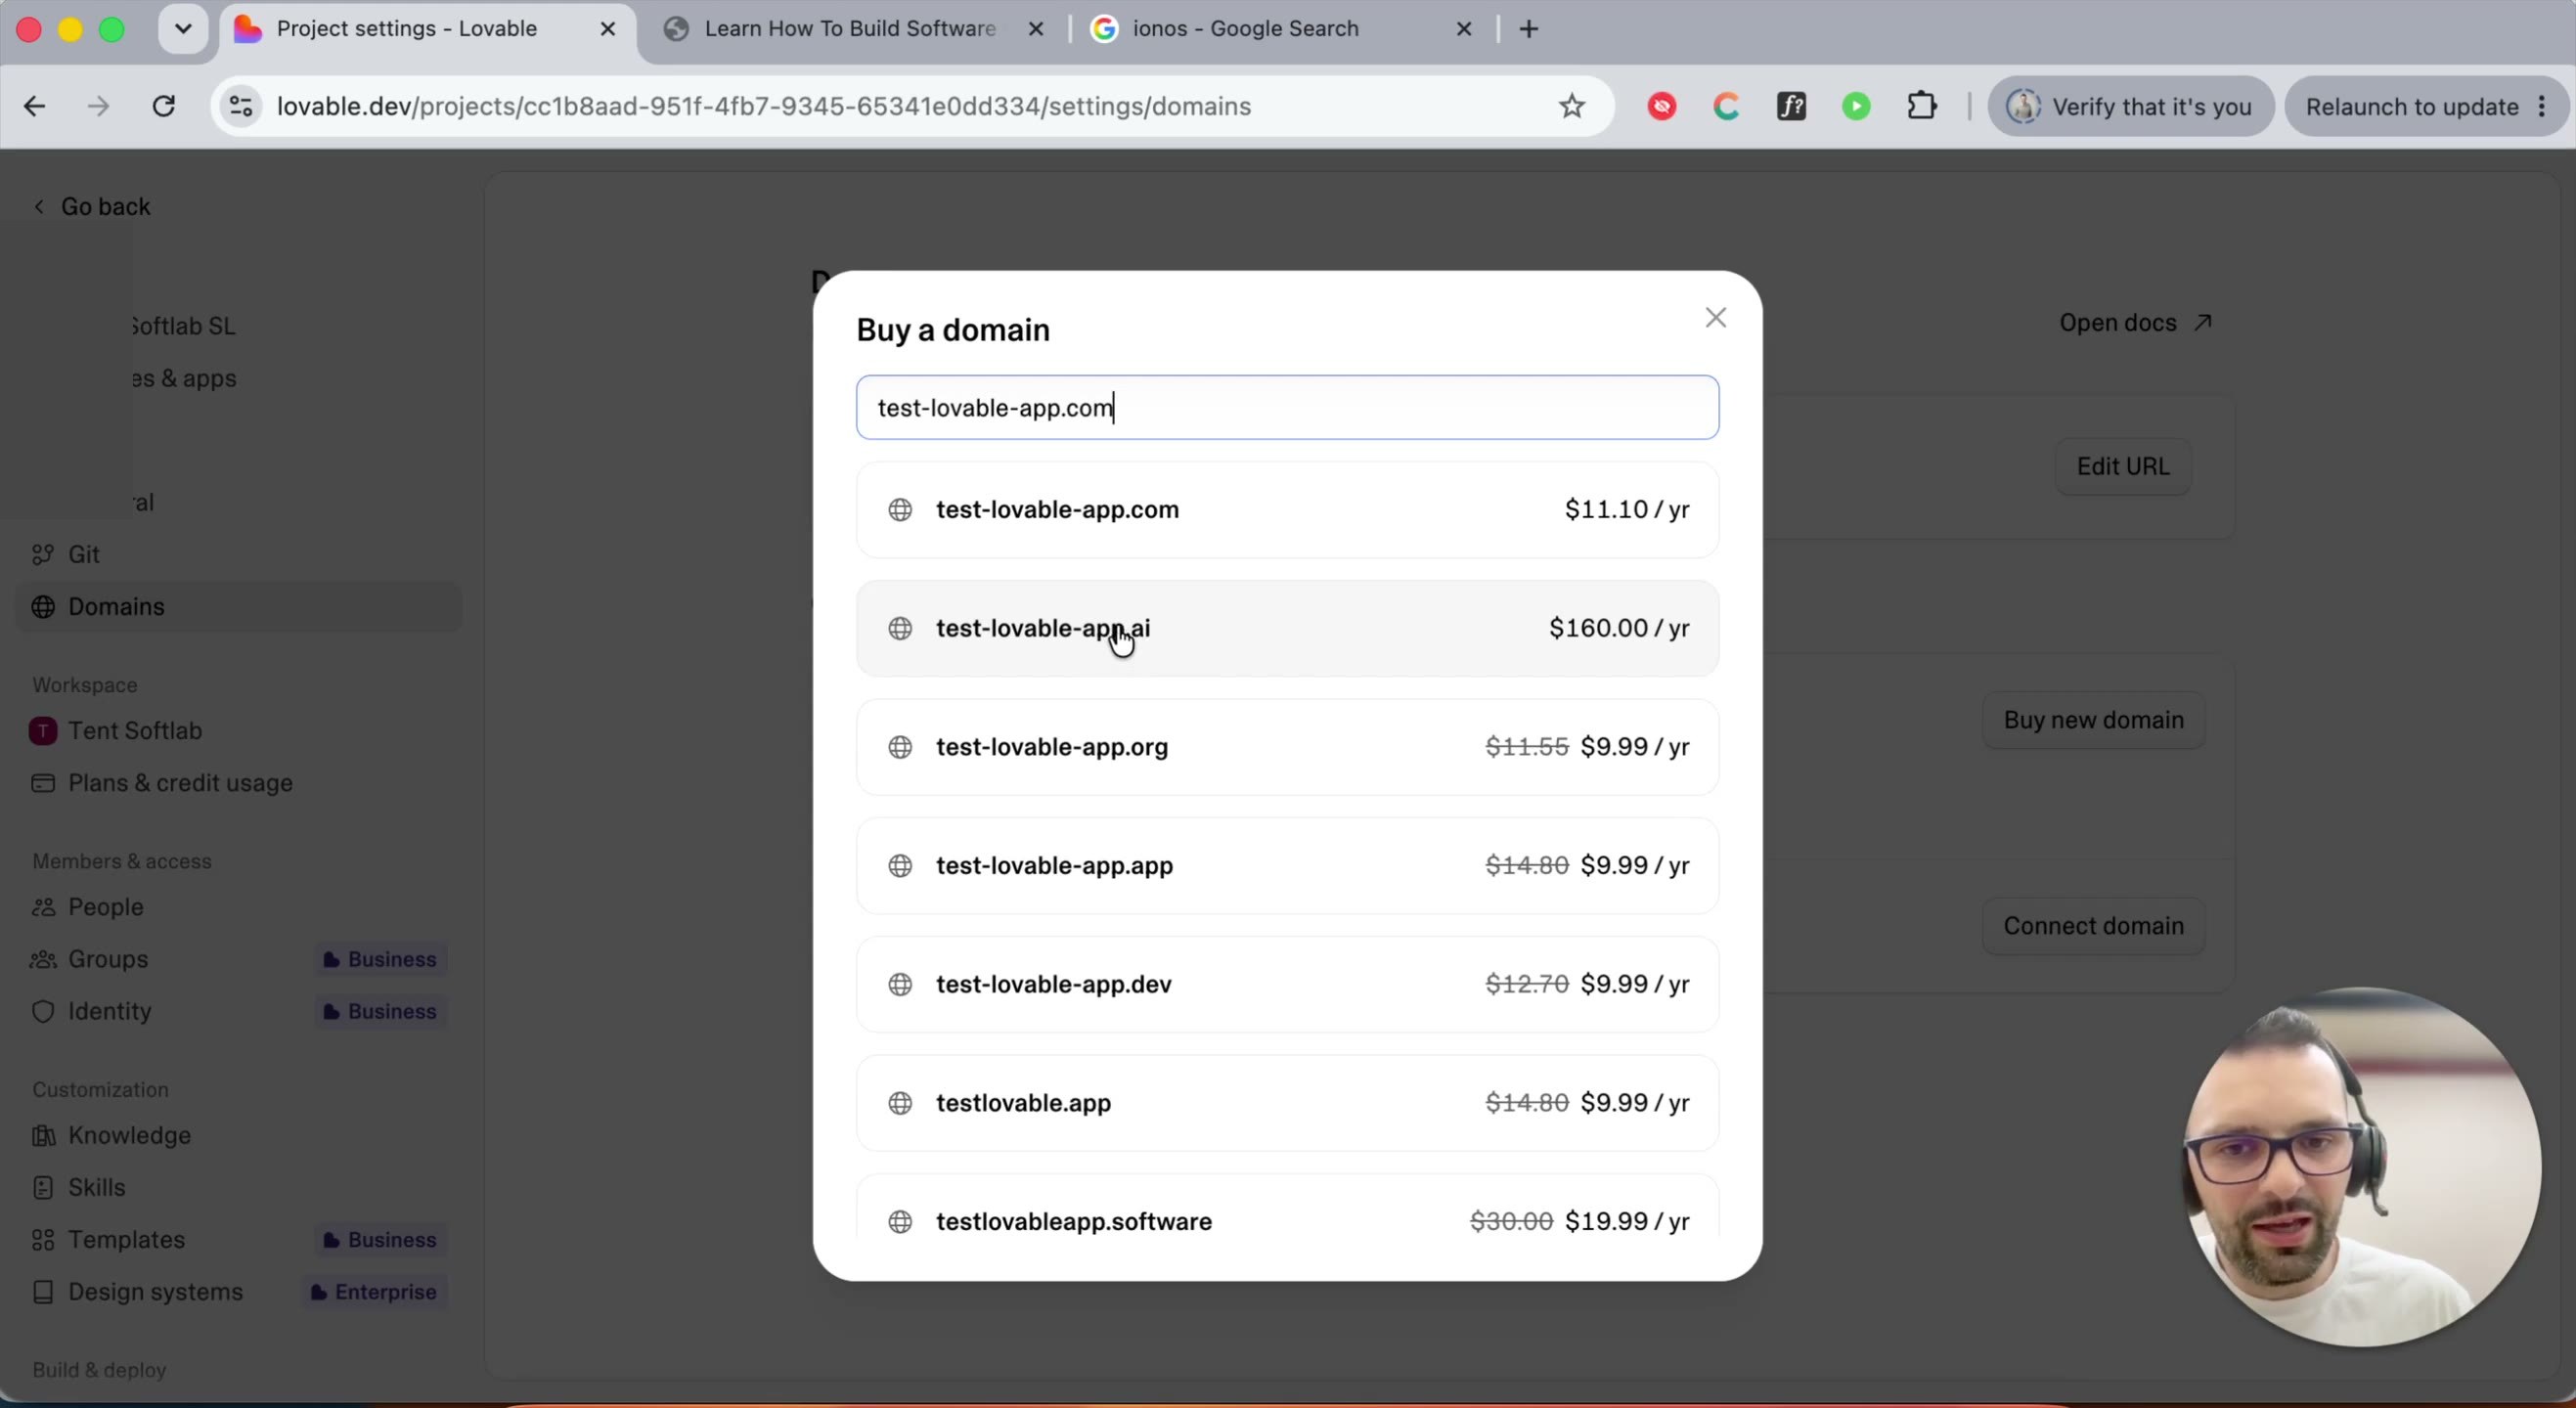
A few things worth knowing about pricing:
.comis the standard and usually the cheapest first-year option..aiis currently expensive due to demand..app,.dev, or.softwarefit a SaaS product well if.comisn't available.
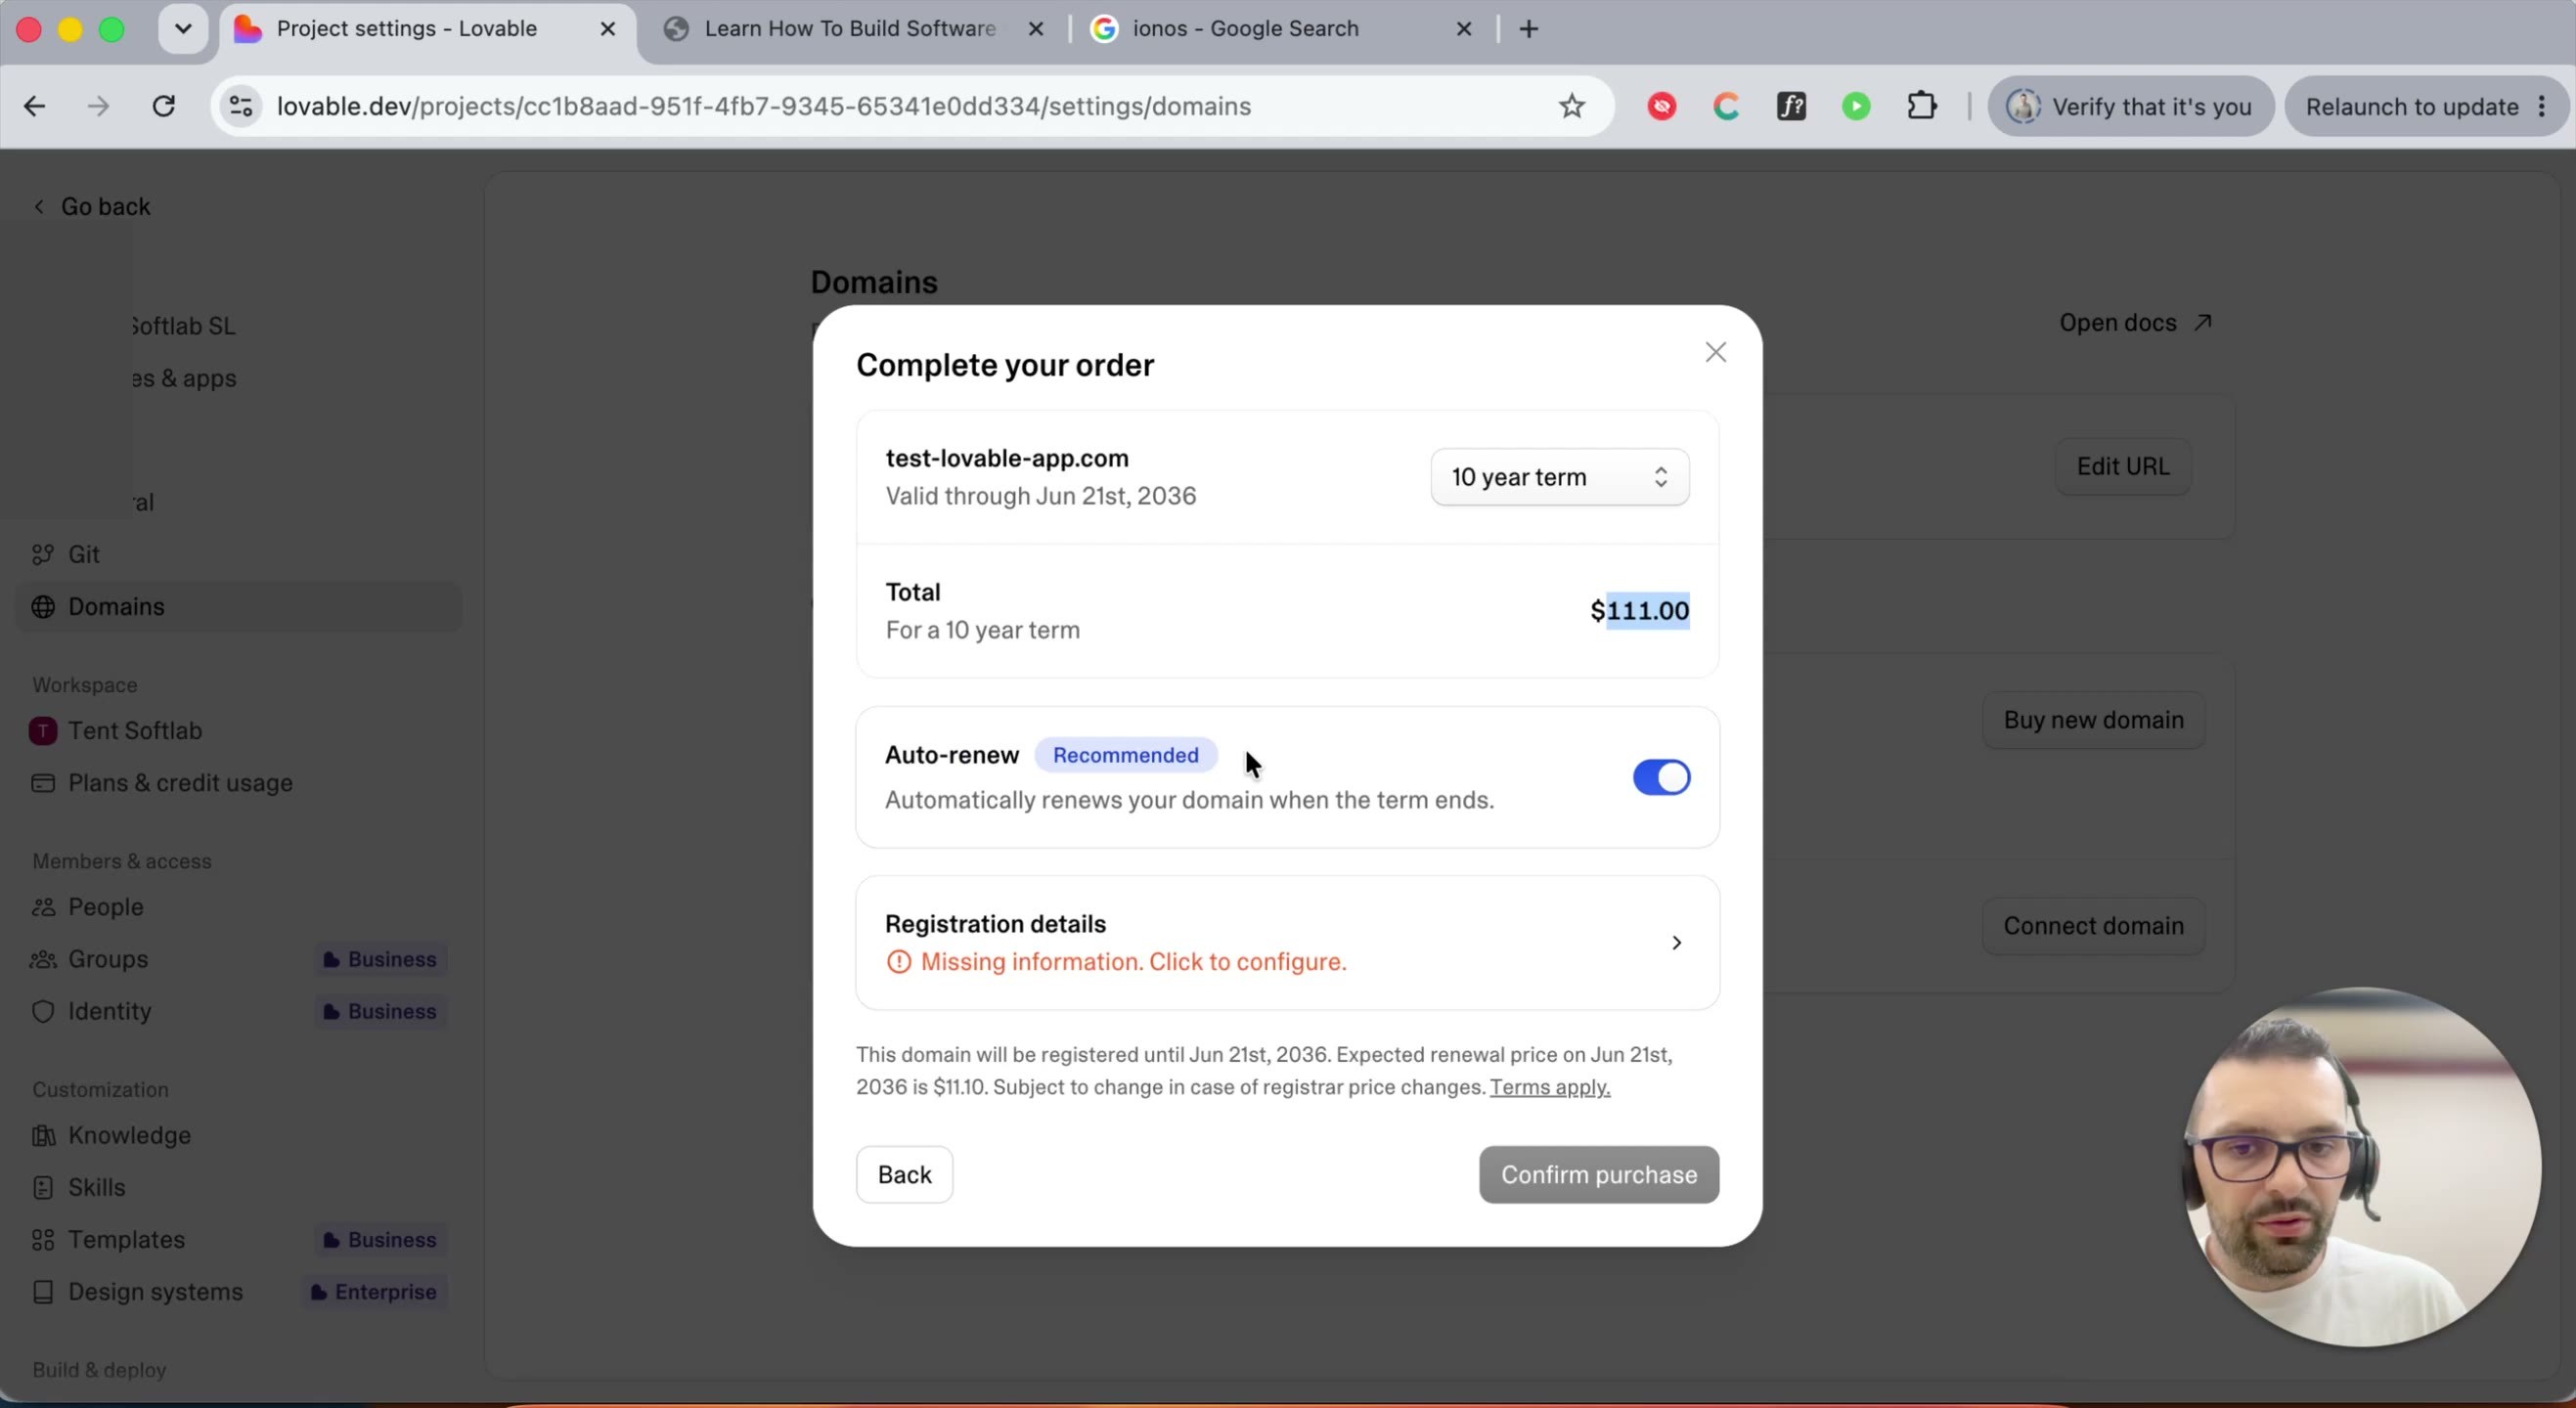
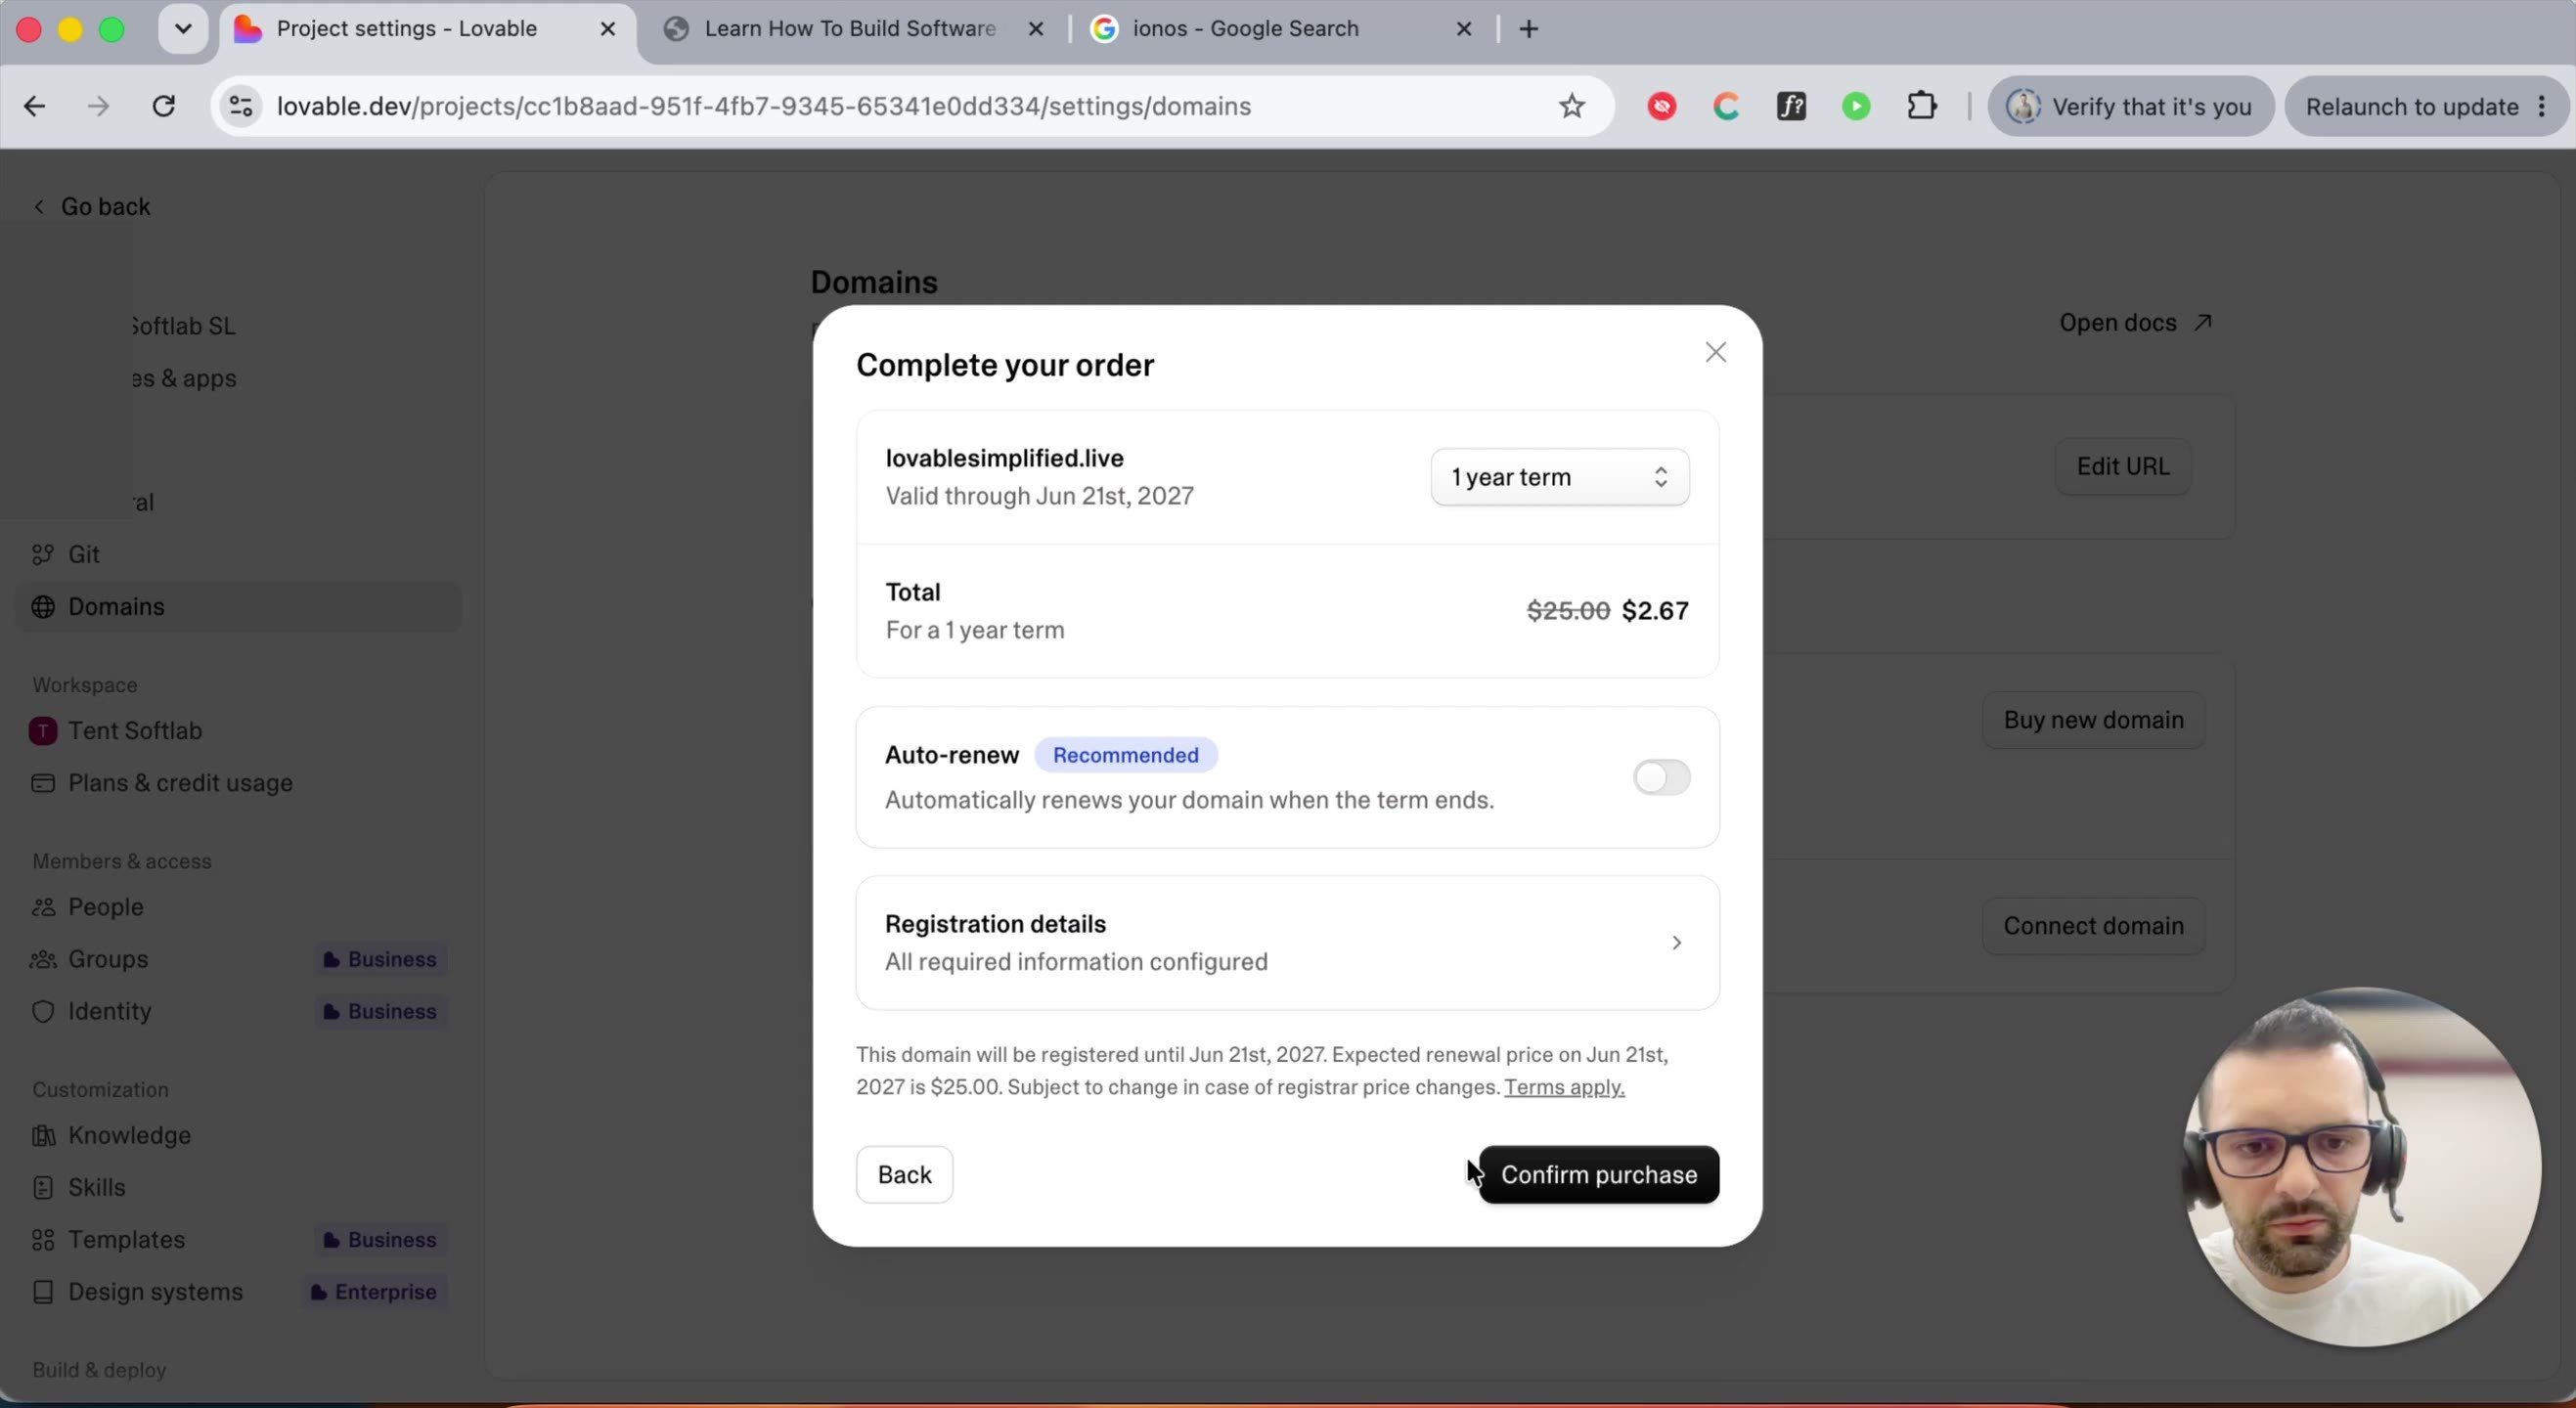
Step 17 — Pick a term length and decide on auto-renew. Selecting a domain opens an order summary with the term length (1–10 years) and total price. Auto-renew is recommended — an expired domain can be bought by someone else.
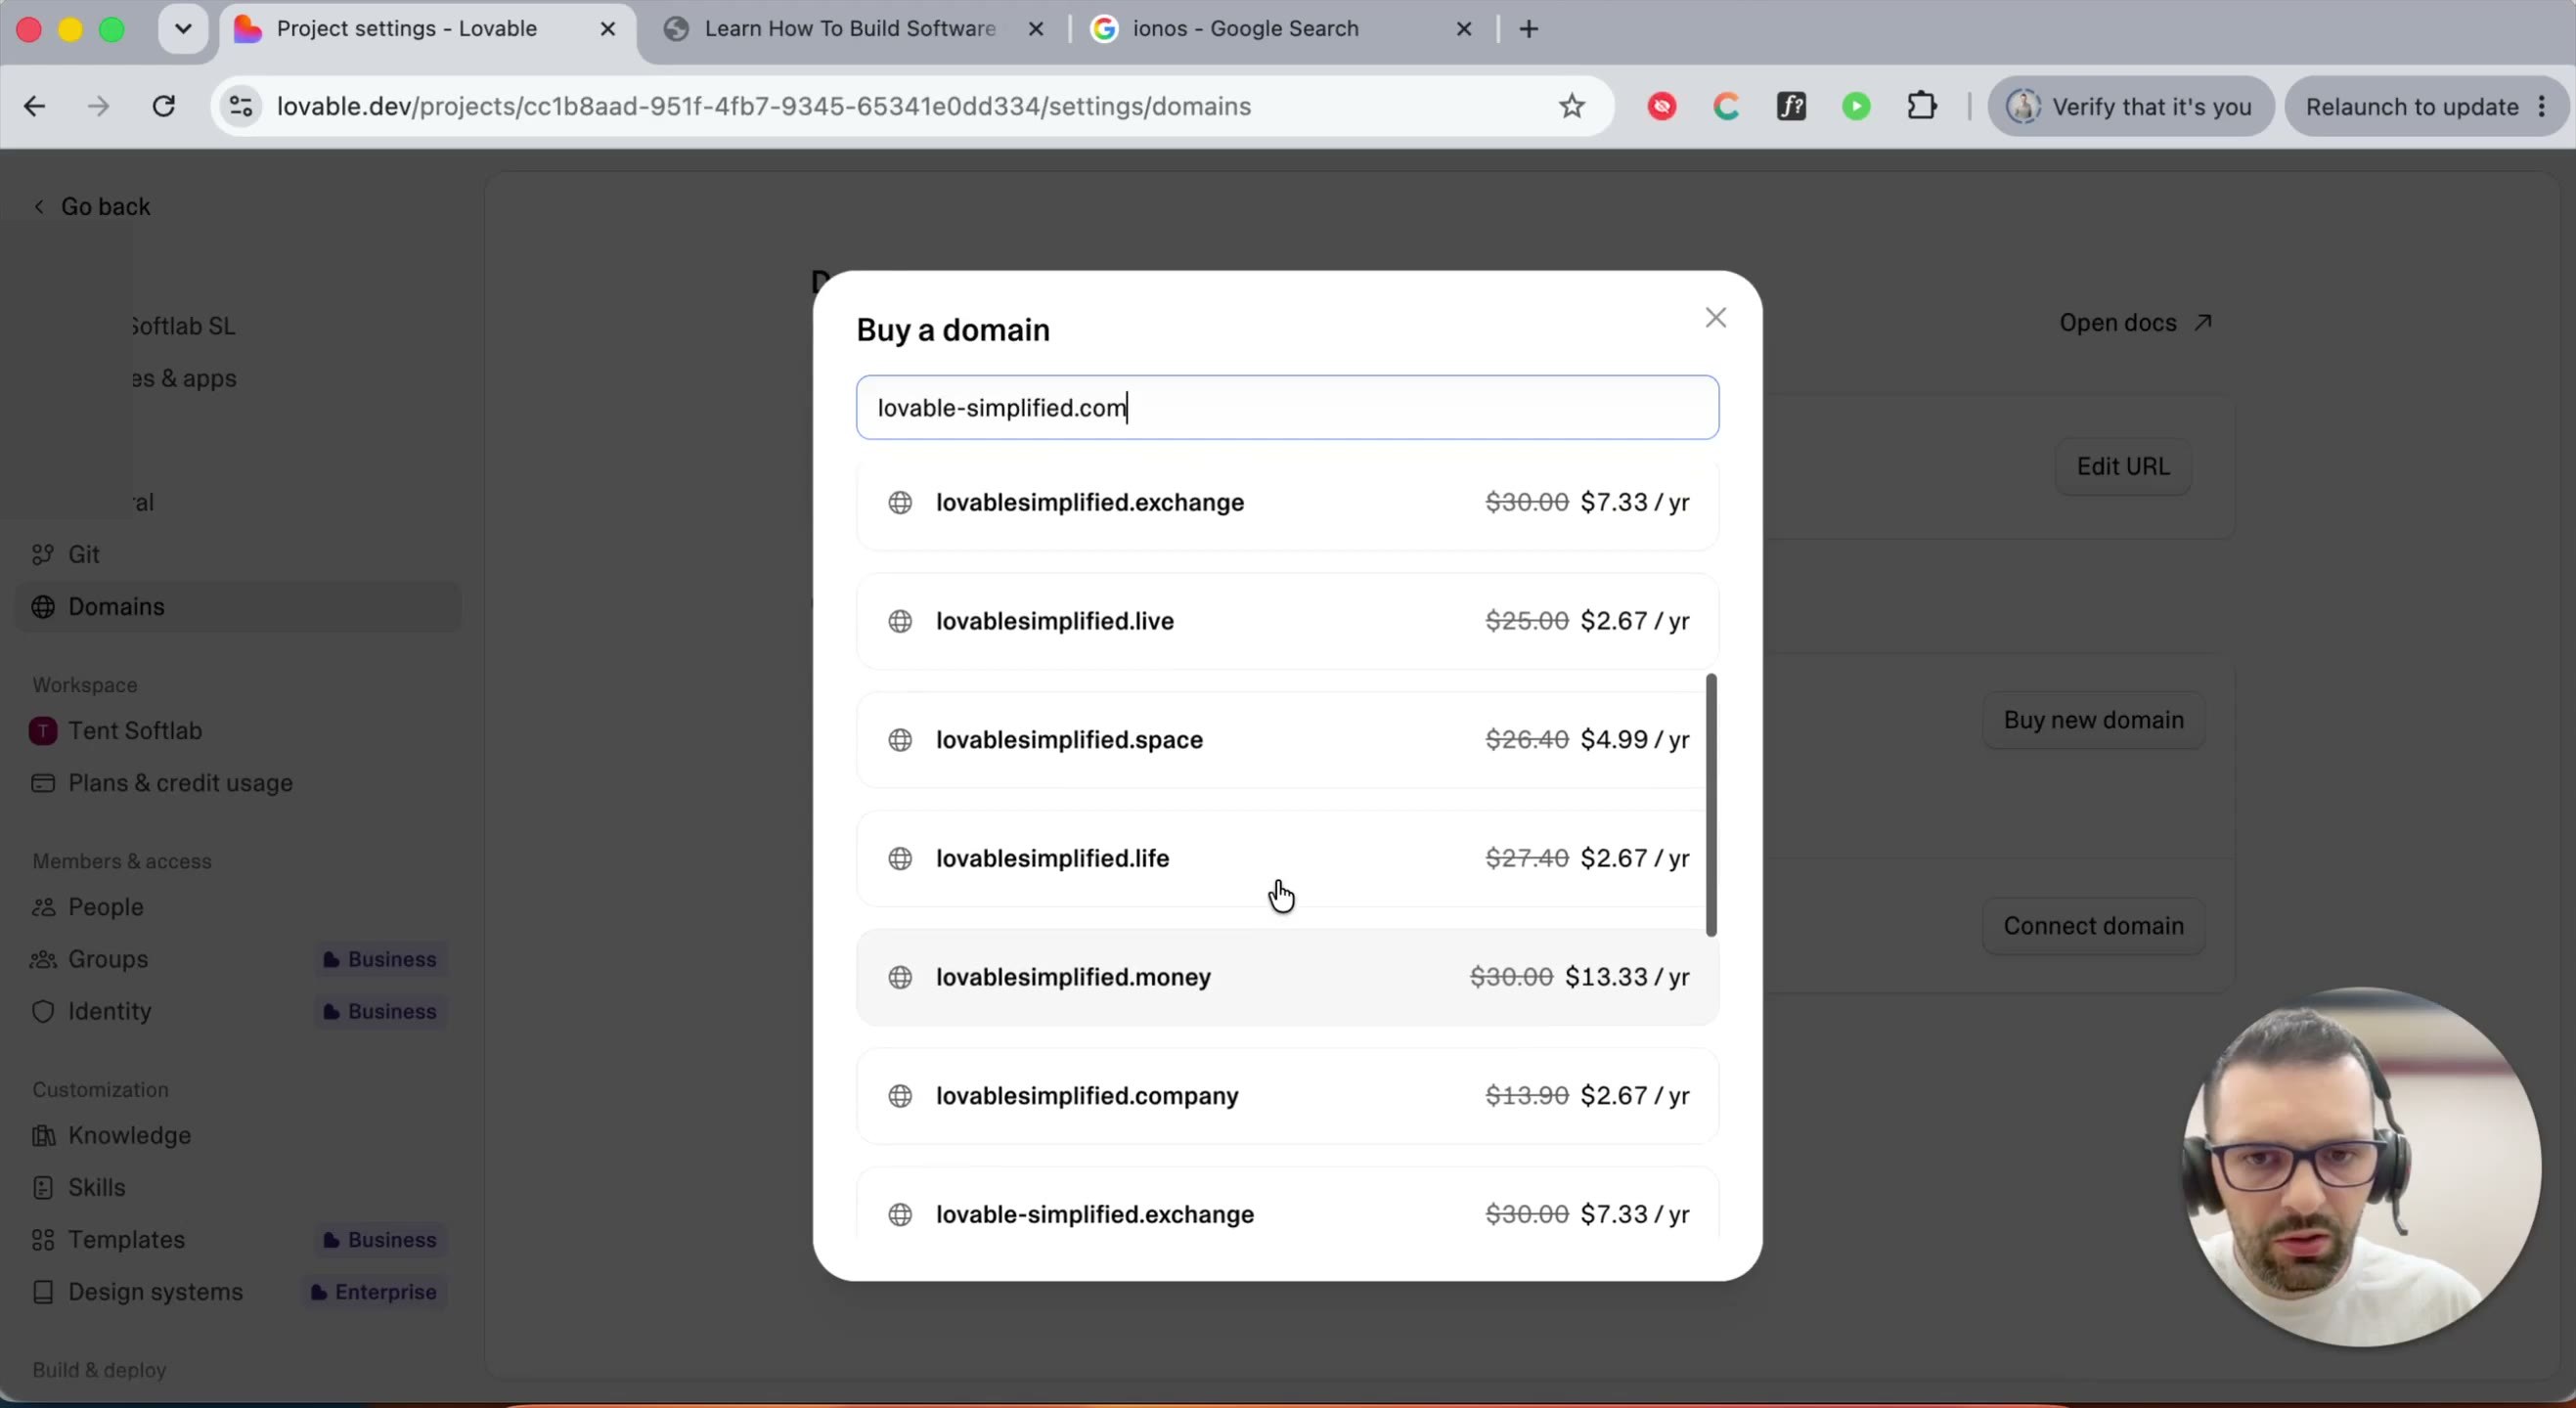
Step 18 — Search for your actual domain name. Go back and search the name you actually want for your project.
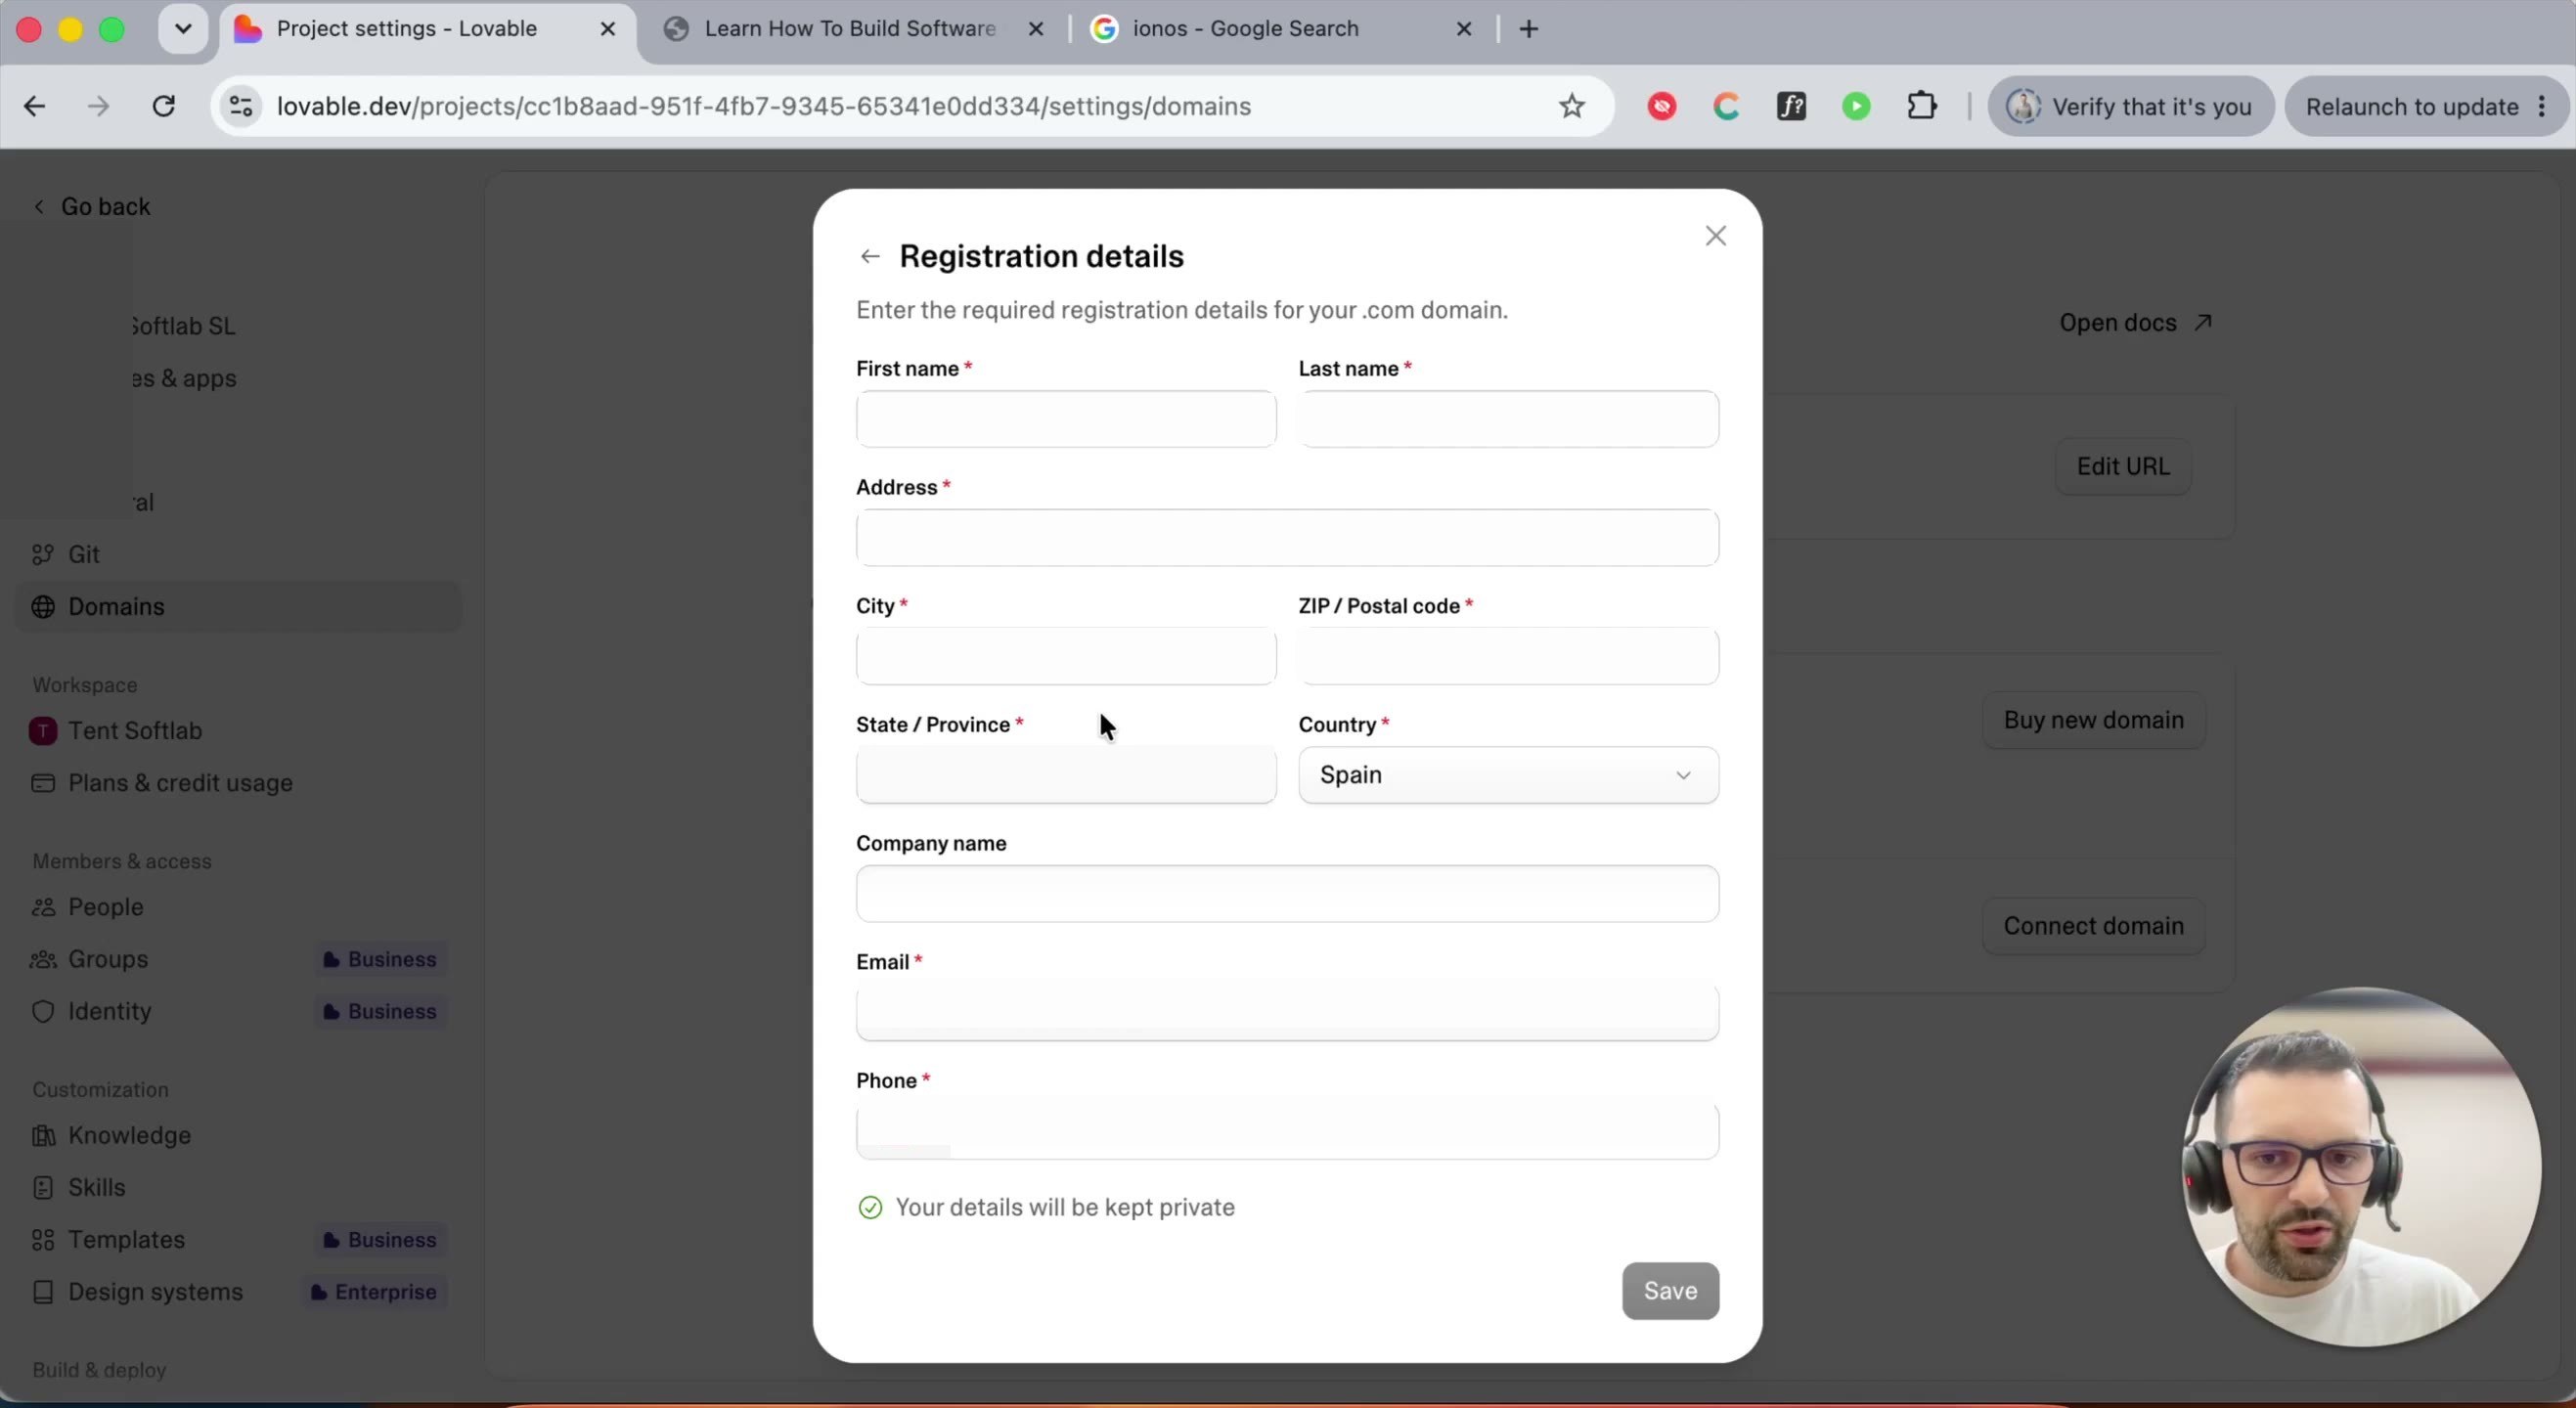
Step 19 — Enter your registration details. You'll need to provide the name, address, email, and phone number associated with the domain — required for domain registration, but the field notes your details are kept private from public lookup.
Step 20 — Review your order and confirm. Double-check the term, price, and auto-renew setting, then click Confirm purchase. Checkout is handled via Stripe.
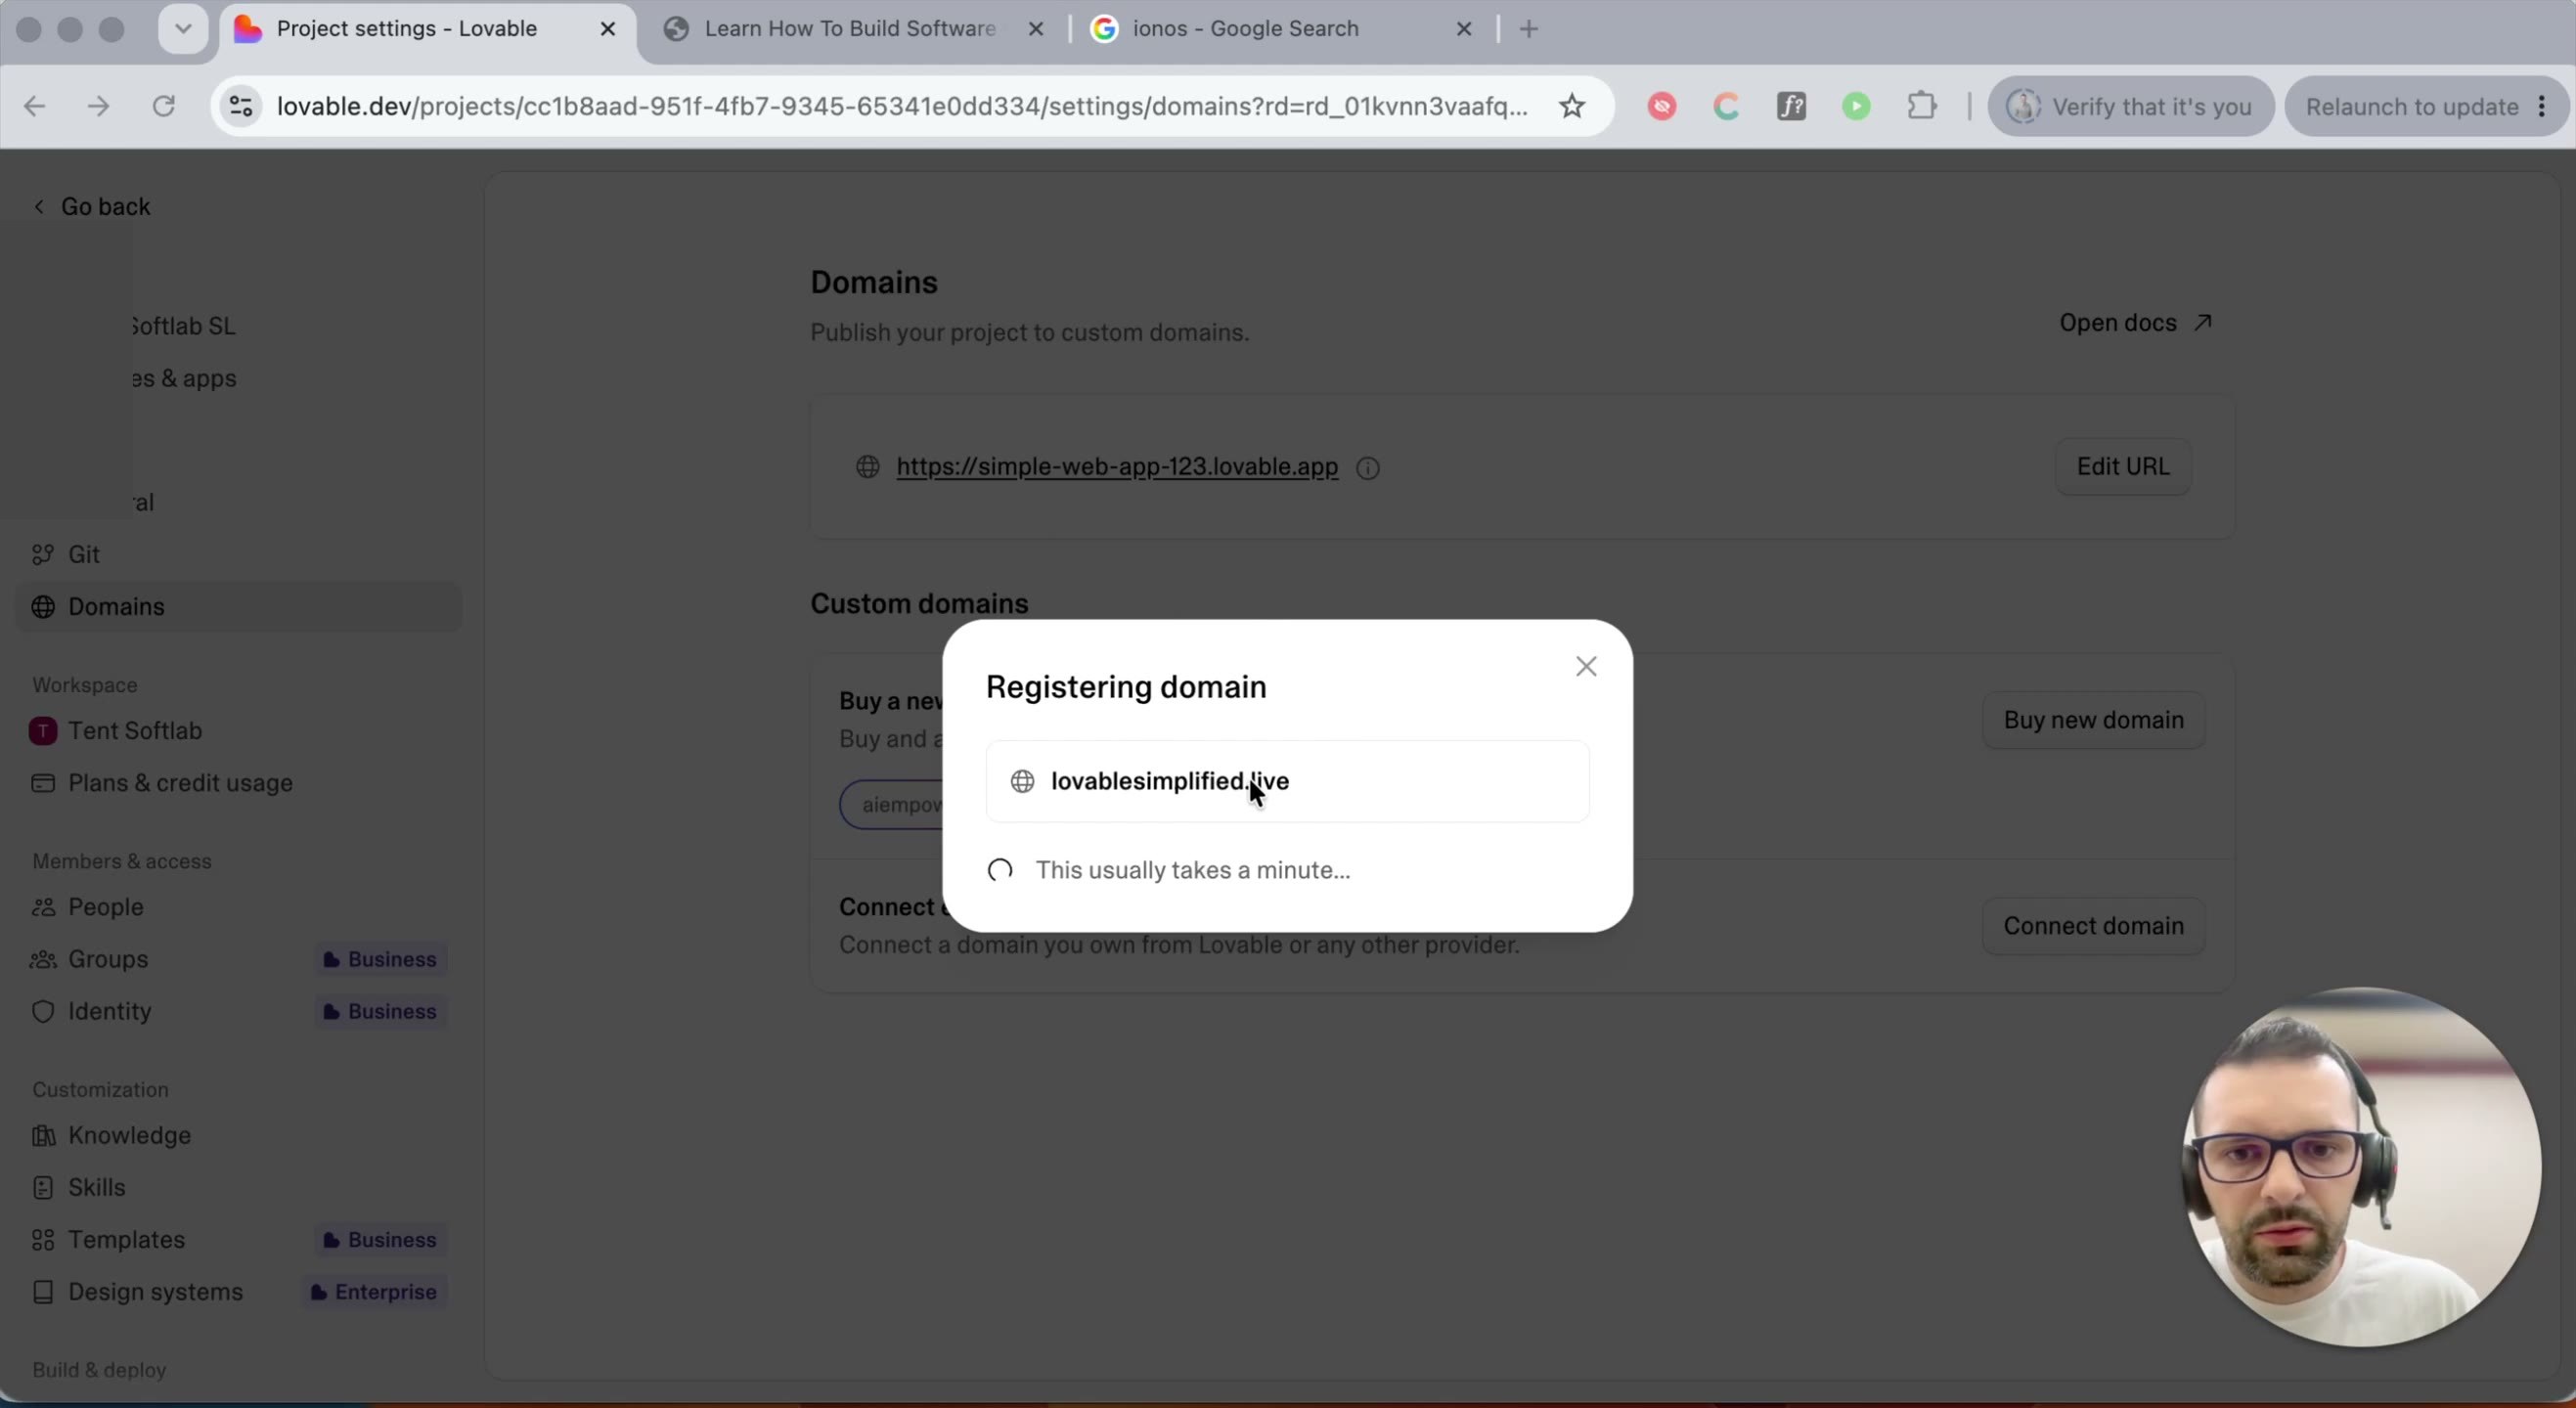
Step 21 — Wait for registration. This usually takes about a minute.
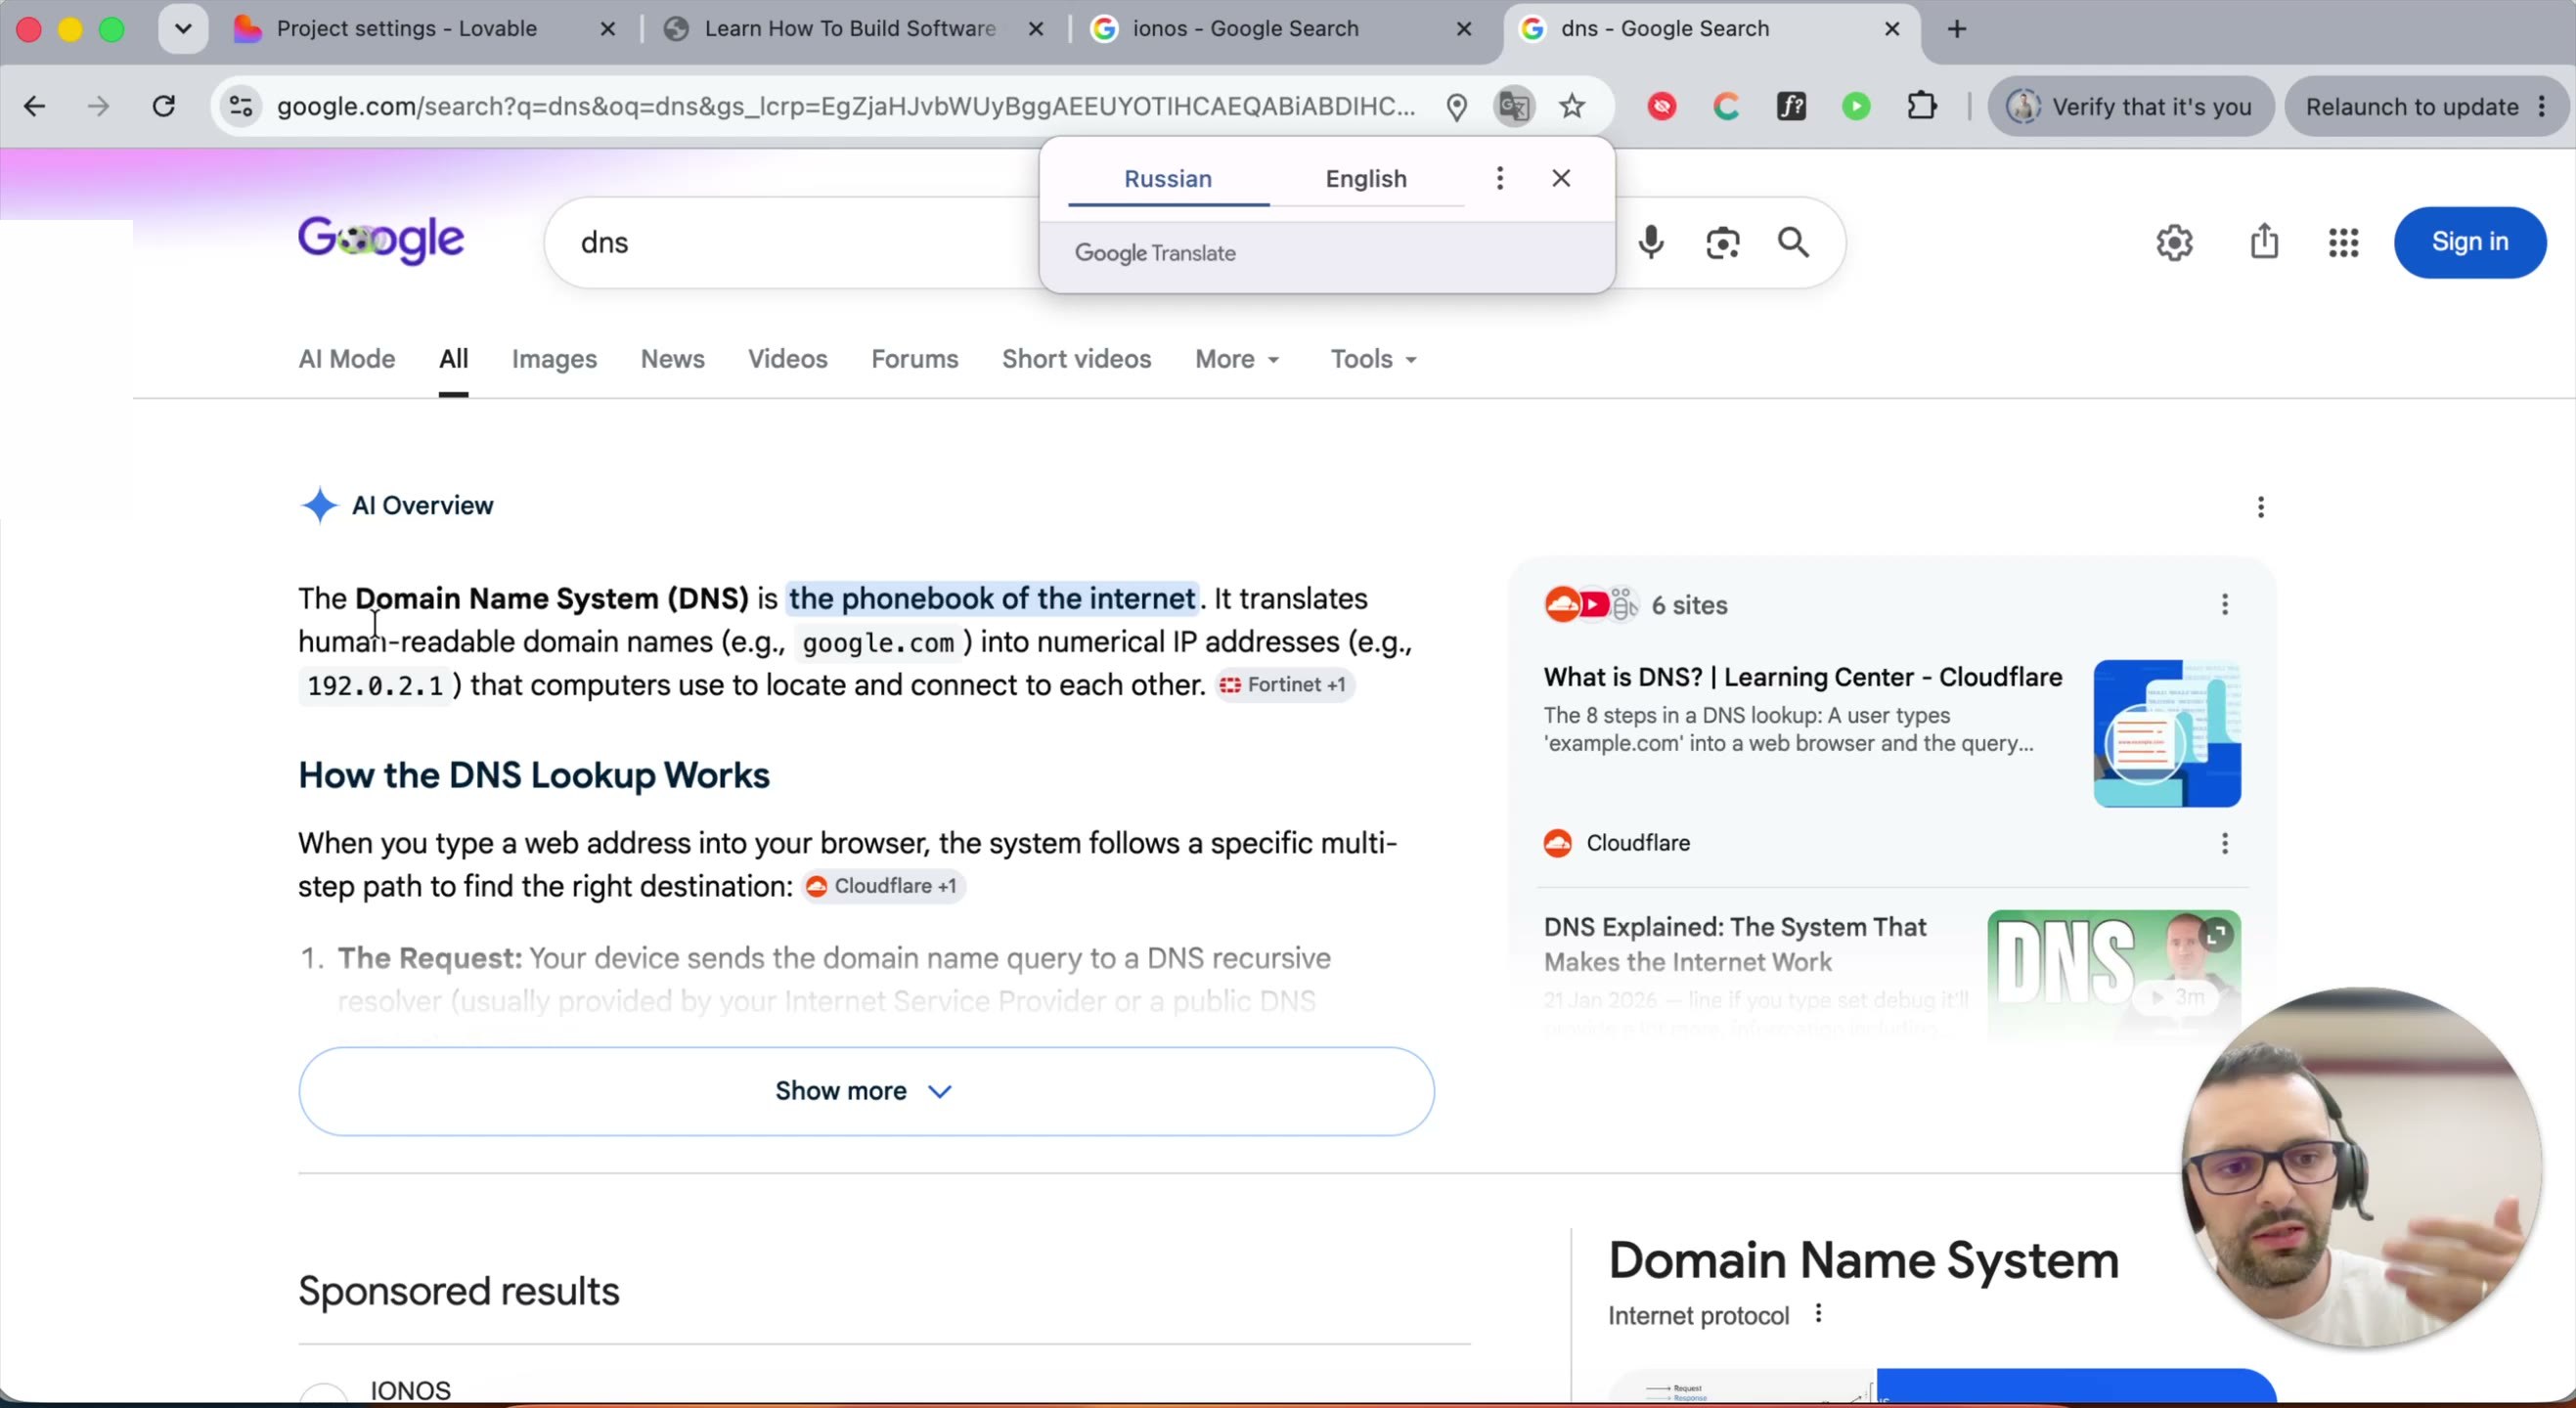
Step 22 — Understand DNS propagation. A freshly purchased domain isn't instantly active everywhere. DNS (Domain Name System) is the internet's phone book — it maps your readable domain name to the server it points to. A new domain has to propagate across DNS servers worldwide before it resolves everywhere, which is why Lovable notes it can take up to a day, even though it's often much faster (sometimes under an hour).
Once DNS has propagated, your custom domain will point directly at your published
Lovable project — no more .lovable.app in the address bar.